Case study
Worldbuilding Fellowship

Epic put out the call for their Worldbuilding Fellowship in late September 2022. As soon as I saw the posting on their blog I applied. I had a fantastic time in the Storytelling Fellowship in 2021 and I learned an incredible amount of information in the In-Camera VFX Fellowship in April/May of this year. After those experiences I’d jump at any chance to get into another Fellowship.
I heard back after a month that I had gotten in. I had to scramble to change my class times at the college and I had to talk to PXO to get the time to be in the Fellowship. Lucky for me, both the college and PXO saw the benefit of me getting this education.
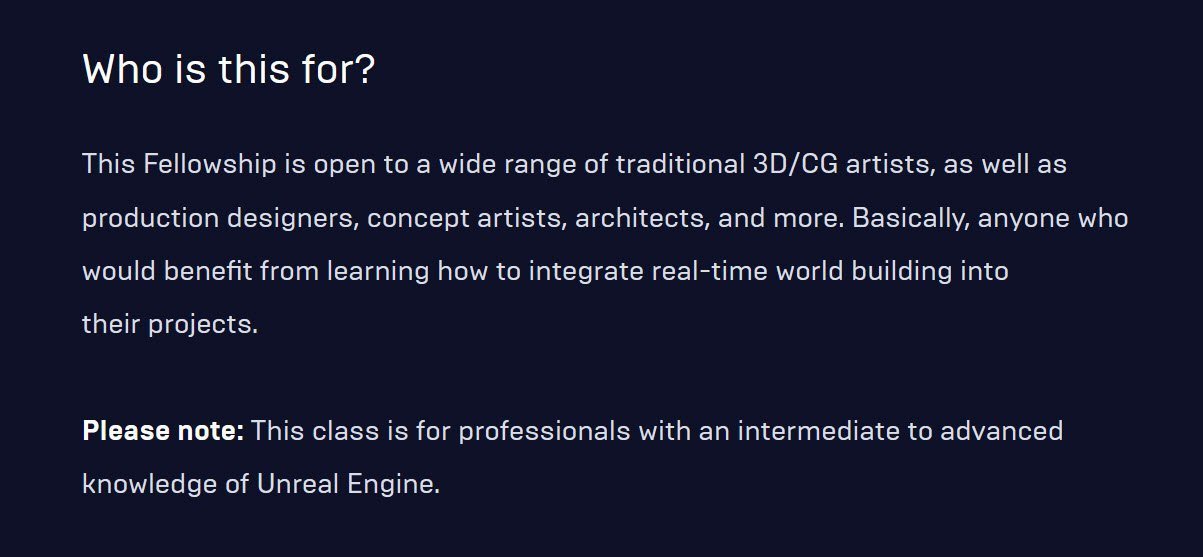
Something that freaked me out a little is that Epic specifically wanted people who really knew Unreal well. It mentioned in their post that this was for ‘professionals with an intermediate to advanced knowledge of Unreal Engine’.
I’ve been playing around with Unreal for the past year, but I was really nervous that I’d be surrounded all these Unreal ninjas and I’d be eating their dust.
My wife is now familiar with how intense and hardcore Unreal Fellowships are. We made plans to go to her parents where I could work in the basement and she would have some people to talk to. She knew that I’d be in front of the computer for several weeks.
The morning of our Fellowship orientation, I felt very sick. We ended up not going to her parents since I didn’t want to possibly give them Covid.
The orientation explained a lot about how the Fellowship would be organized. The content of this Fellowship wouldn’t be focused around a short film. Instead it was all about building an environment. We could model as much as we wanted, but with the short time frame we could use pre-existing assets (either free or ones we purchased).
There were around 120 people enrolled. We were broken up into smaller Teams where we’d have a Mentor and a Teacher’s Assistance. The Mentor is our first point-of-contact to help us out if we had any questions, as well as give advice for our environment. I really liked my Mentor/TA combo. David Garcia was my Mentor, who I knew from the Storytelling Fellowship. He’s a The TA for our team was Jana Hafez who teaches Unreal here in Toronto. Both of them were super-helpful and quick to respond with any question that I had.
The Fellowship is consisted of different classes:
Classes - This is where we had our classes that ranged from an Intro to UE5 to Post-Processing and rendering.
Live Labs - This was unstructured time where we had access to the Teacher Assistants and some of the instructors. This was where we could ask specific questions about issues we were having.
Scrums - This was where we met with our Team, showed our progress and got advice about our projects.
Weeklies - In our Scrums we’d pick three or 4 people from the Team to show to everyone in the Fellowship their progress at Weeklies. This was great to see how people in the other teams were doing.
Guest Speakers - We had a ton of great guest speakers. From indie creators like Cory Strassburger to supervisors from Pixomondo.
Honestly, it’s not hard to feel intimidated in these things. On my team there were people from ILM, Sony, the head of Amazon Virtual Production, a lot of really talented people.
For the theme of your environment, you couldn’t just pick anything off the top of your head, they had categories and a random number draw to determine what environment you had to make. This is what my random draw came up with:
Setting - Temple (interior or exterior)
Architecture - Baroque (5) (Early Modern, no deterioration/immaculate, made from Rock/Concrete/Clay)
Visual Style - Realism (3) (Color Palate: Tri-toned)
Environment conditions - Windy (5) (Time of Day - High noon, Climate Type- Extra Terrestrial/Outerspace)
Surprise Twist - Mythical Beings (7)
That ended the Orientation, so I spent the weekend working out concepts and playing around with different ideas.
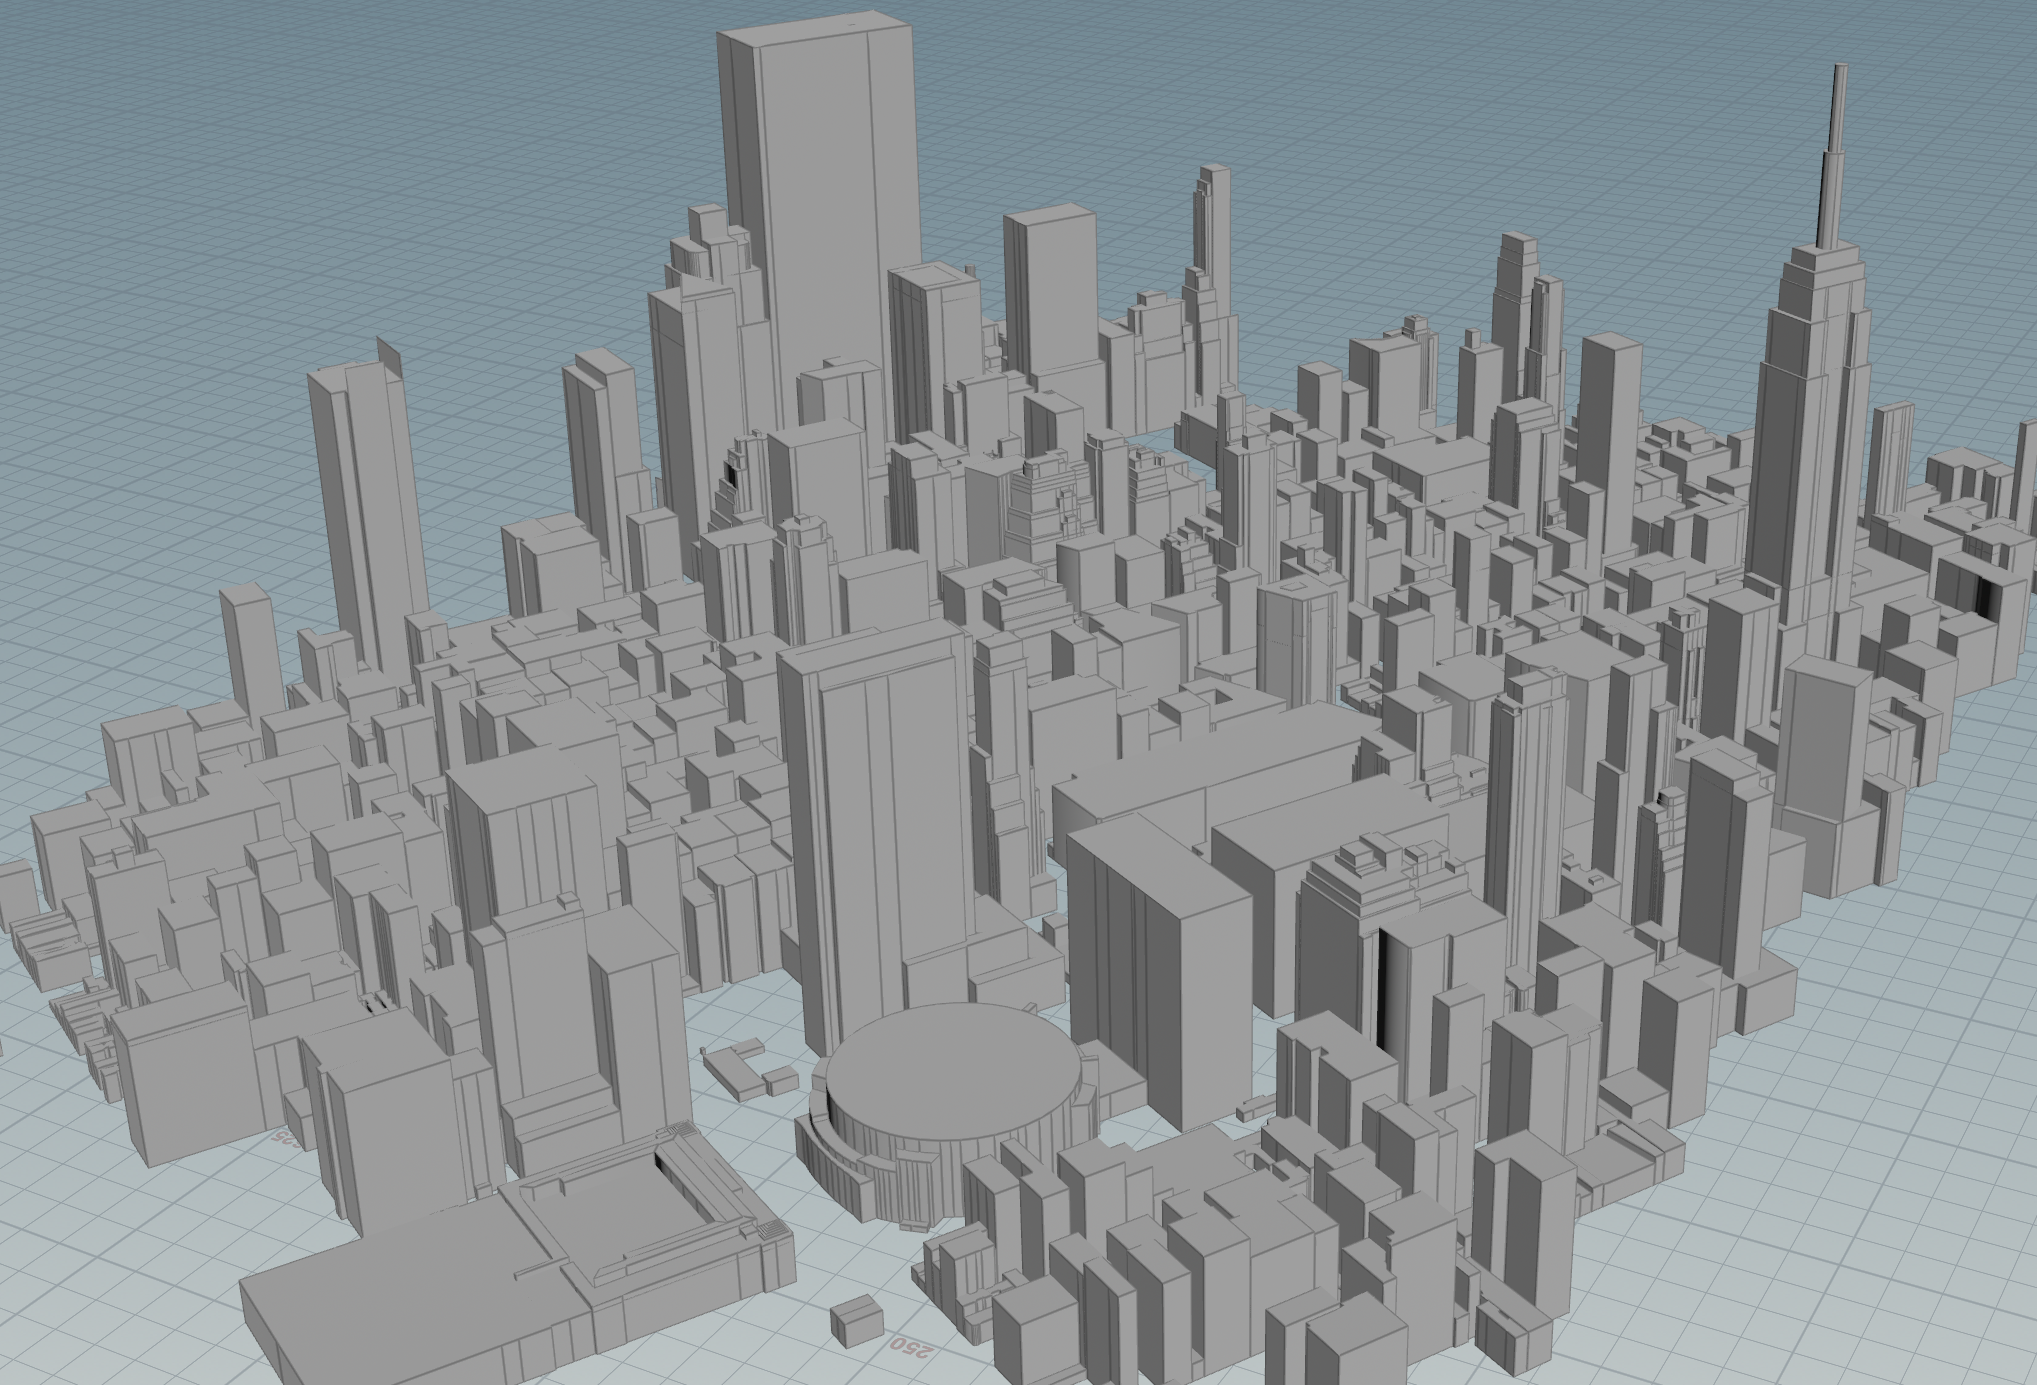
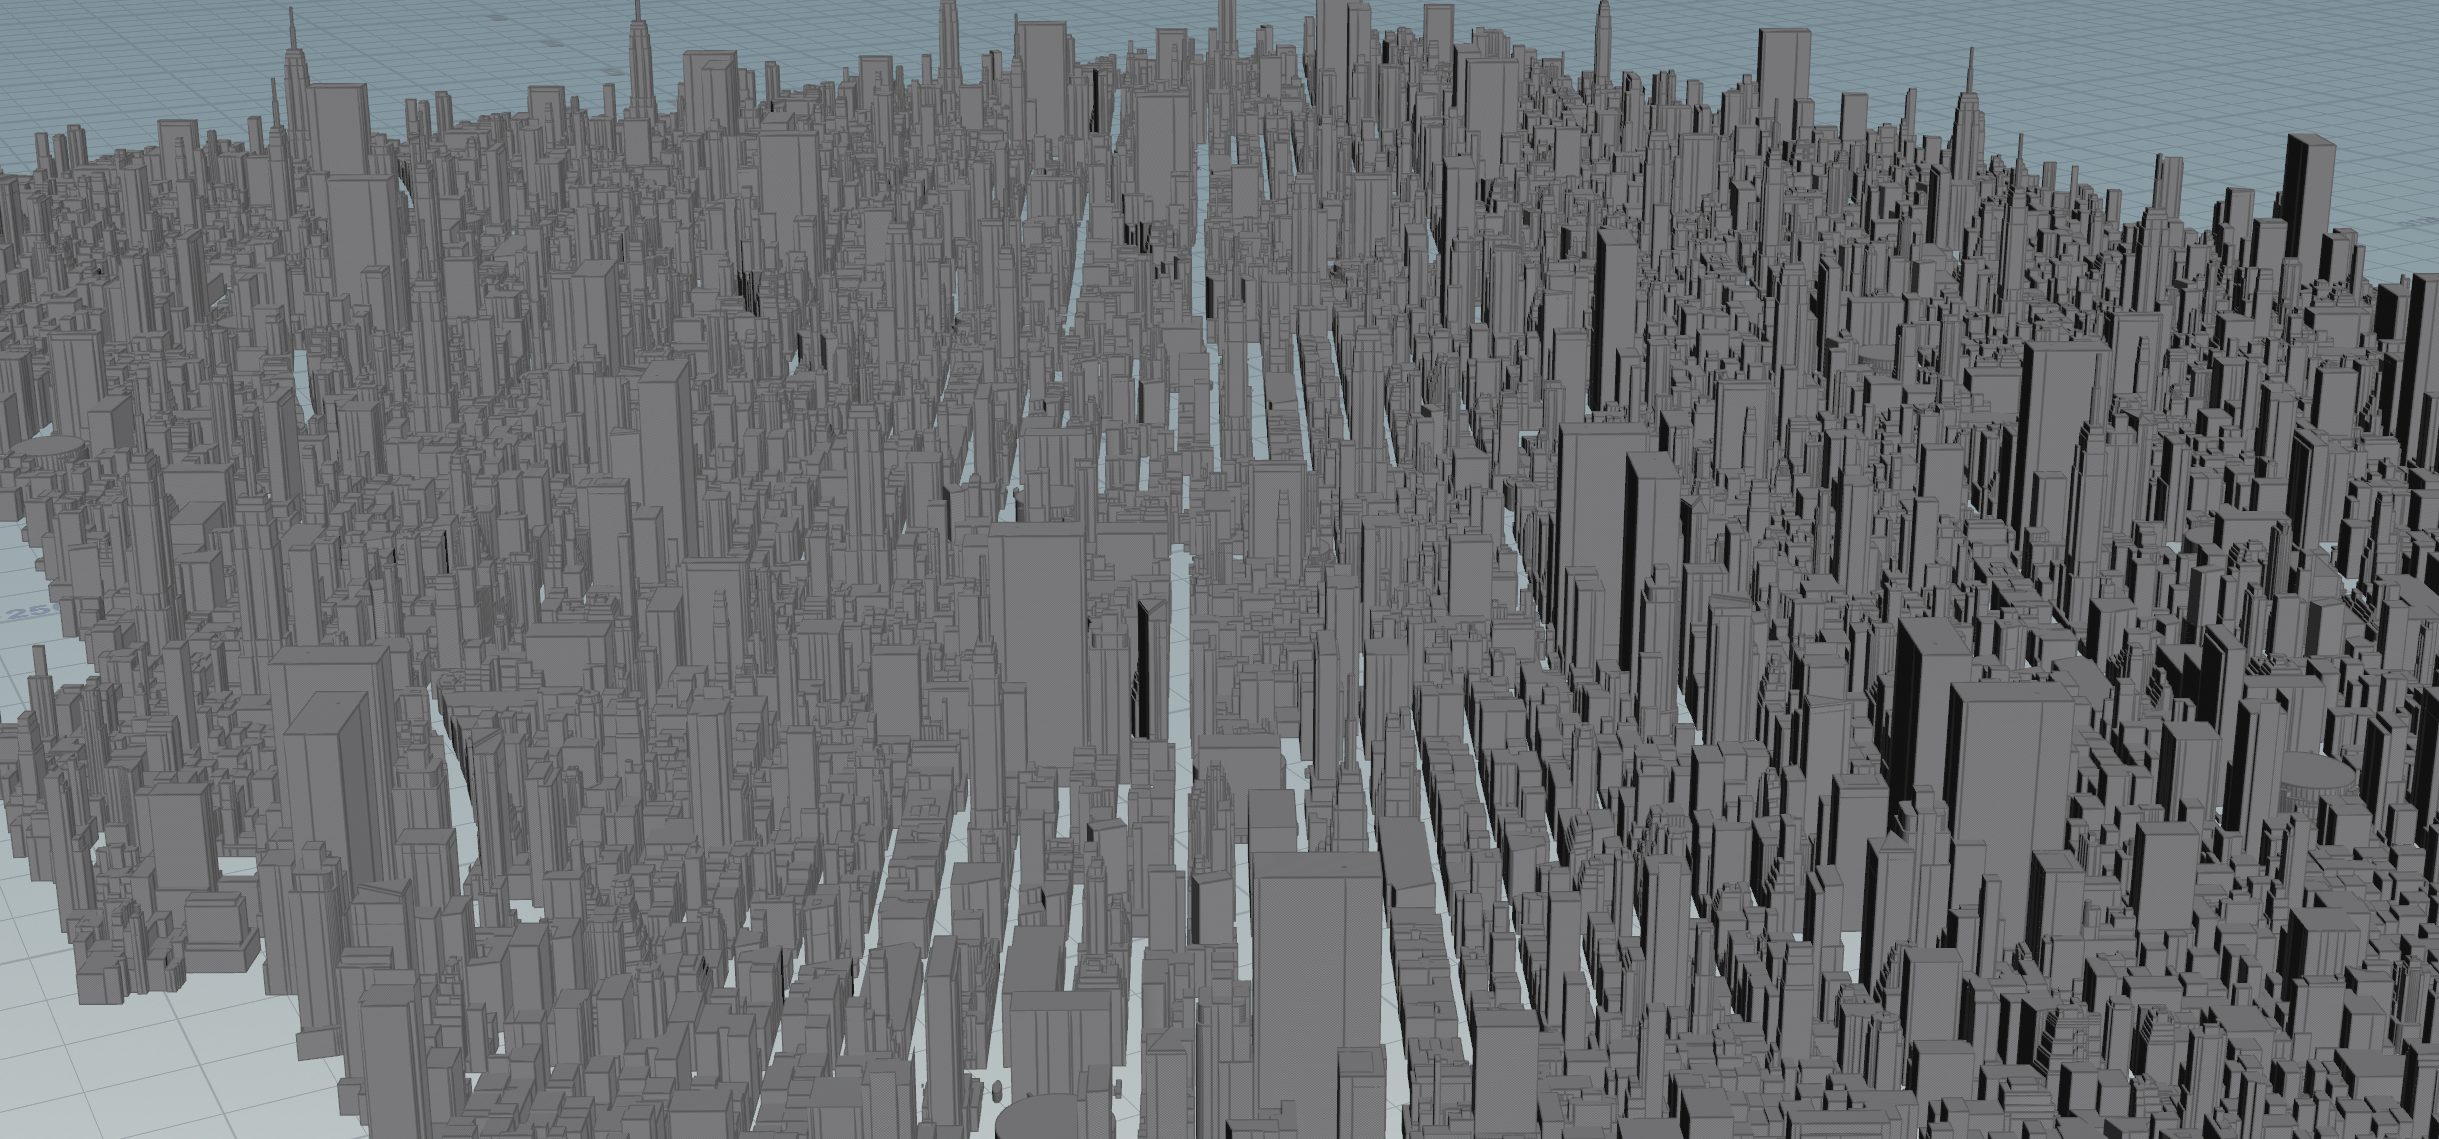
My first thought was to do a shot with a city in it. Maybe my ‘temple’ could be a huge building in the middle of a major city. I grabbed some Open Street map data of New York and threw it into Houdini to get some boxes in place for the city.
I picked an area of downtown Manhattan, since there was a lot of data for it in Open Street Map. It was quick and easy to duplicate this a few times, although I wish I didn’t include the Empire State Building as it’s so distinct and you can see it several times in there.
Houdini has OSM importers that are really easy to use, this just took a few minutes to set up.
I packed up the initial data and copied and transformed it several times.
I thought maybe my ‘temple’ could be a big-ass building in the center of all that. I downloaded this free Houdini tool someone put up on their Gumroad that iteratively makes all these cool cuts in geometry.
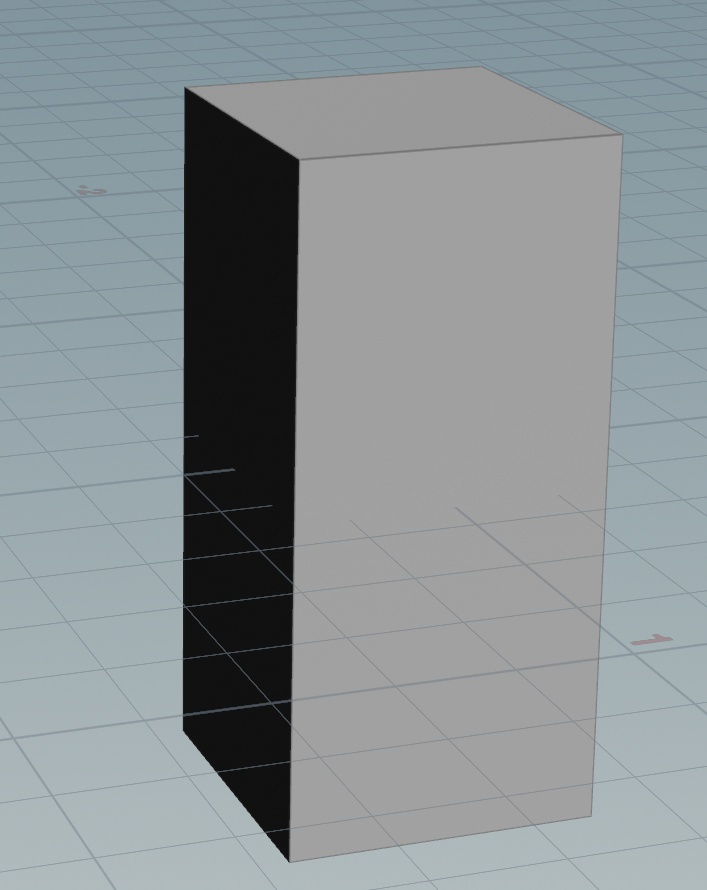
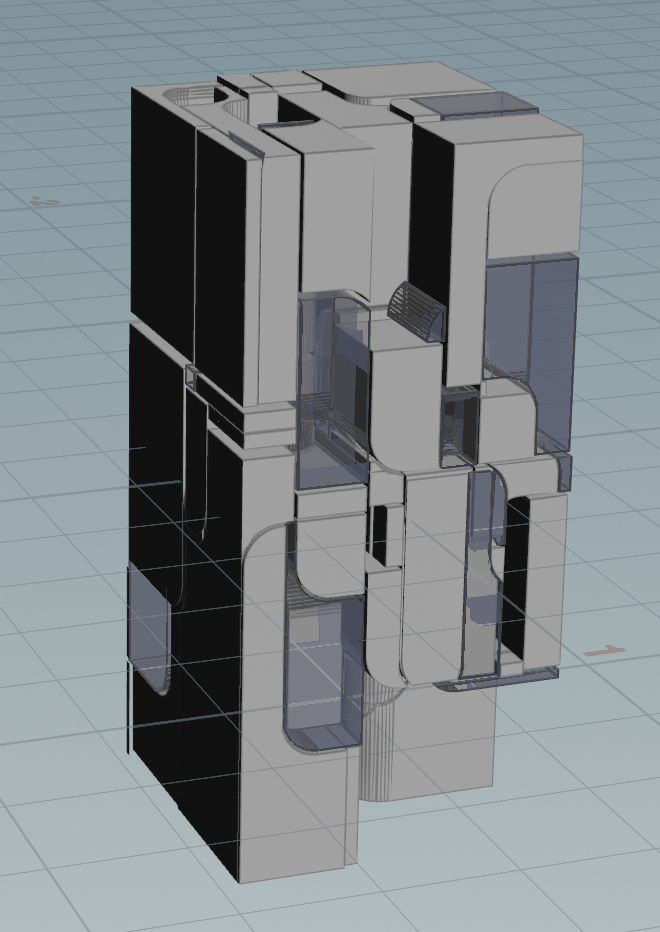

Maybe it’s a futuristic, alien temple? I tossed it all into Unreal and played around with the lighting.
I was a bit nervous about the art style that came up for my random roll, Baroque. I wasn’t really familiar with it so I looked it up. It’s a very busy style with a lot of decorative flourishes. It has a very epic feel to it. One of the hallmarks of it is big arches, so I took a crack at trying to make some.
It took me a while to figure out the best way to approach it. And honestly, I don’t know if this is the ‘best’ way. They’re semi-procedural (as long as they’re on a grid) and I can make some adjustments to the shape of the arch.
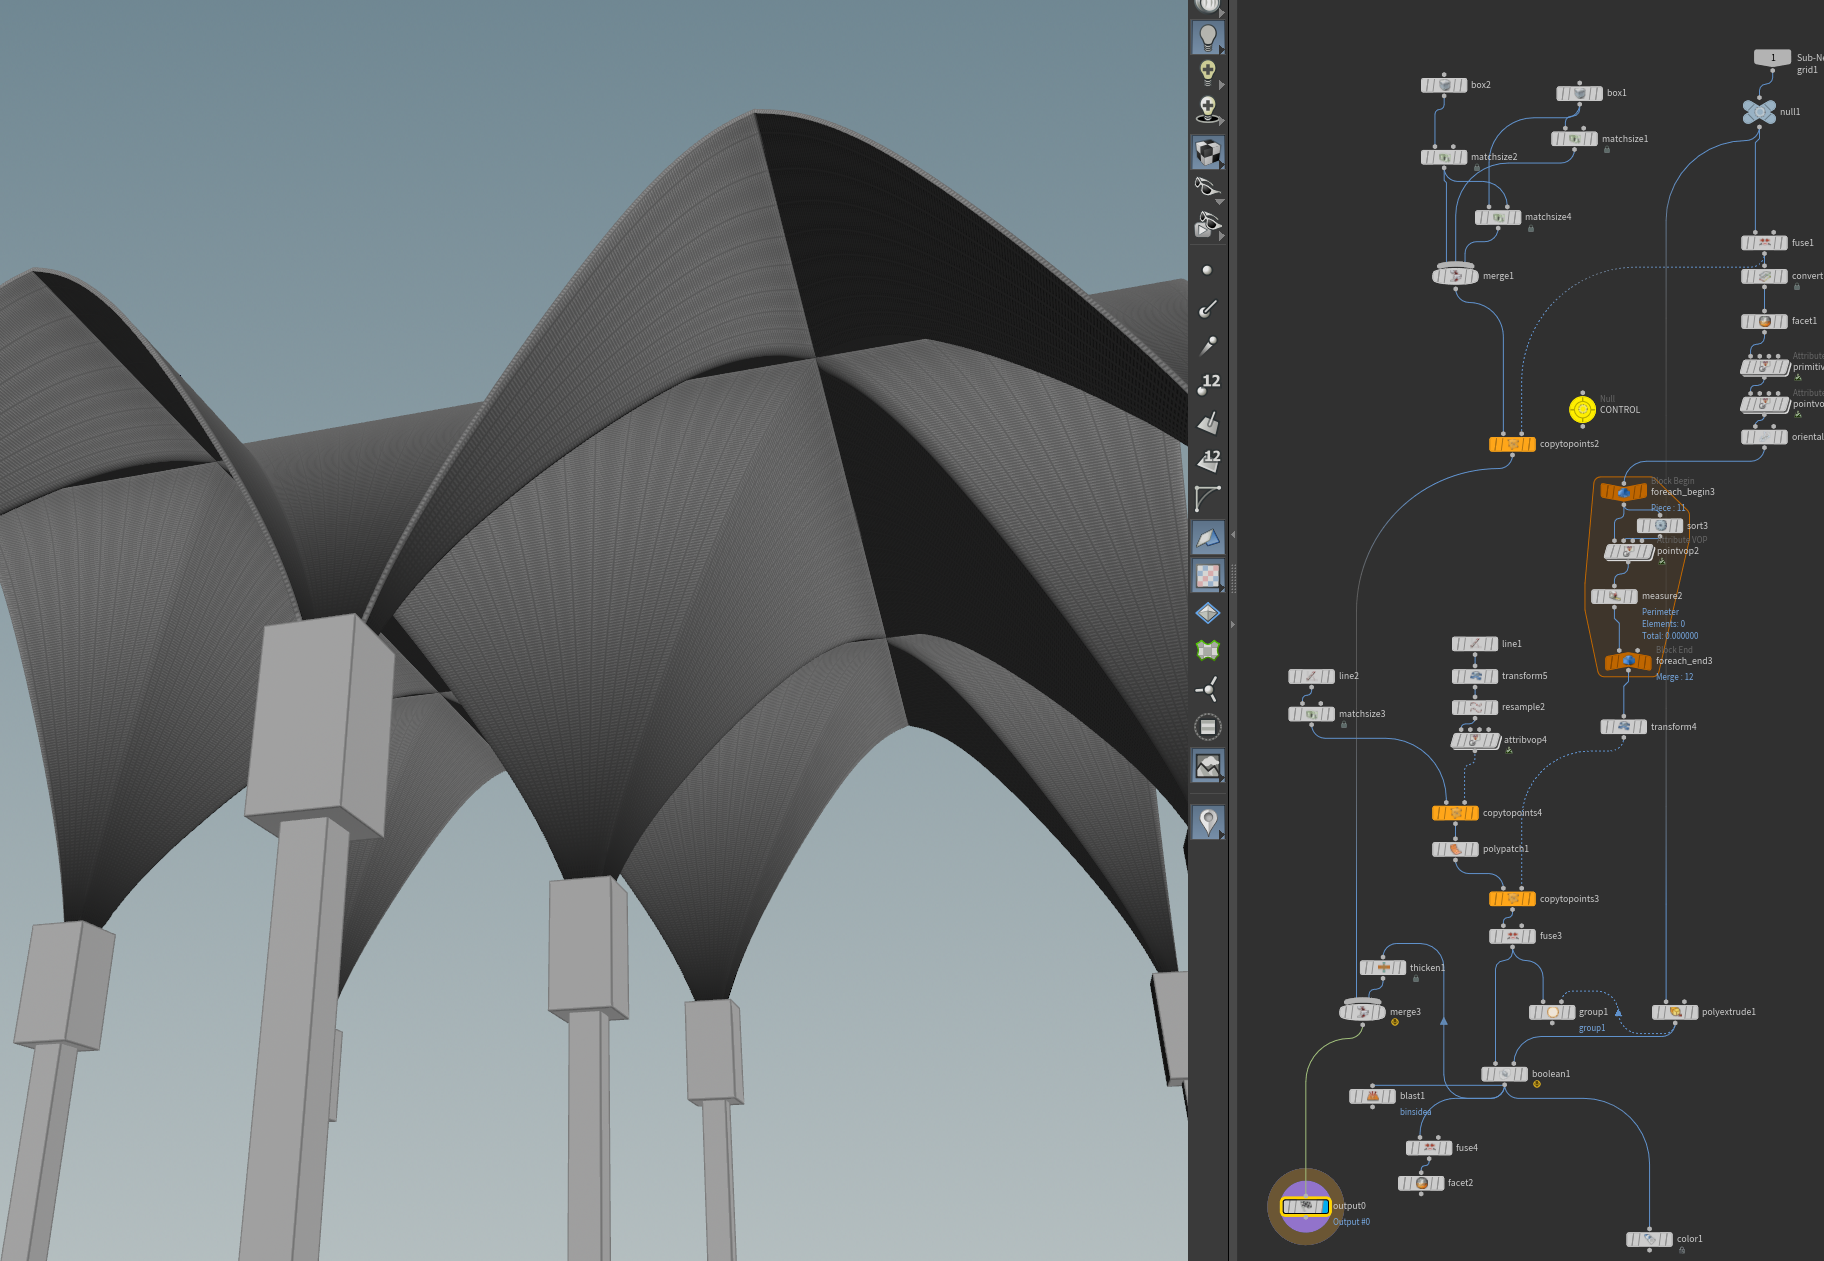

I threw in some lighting and added Manny for some scale.
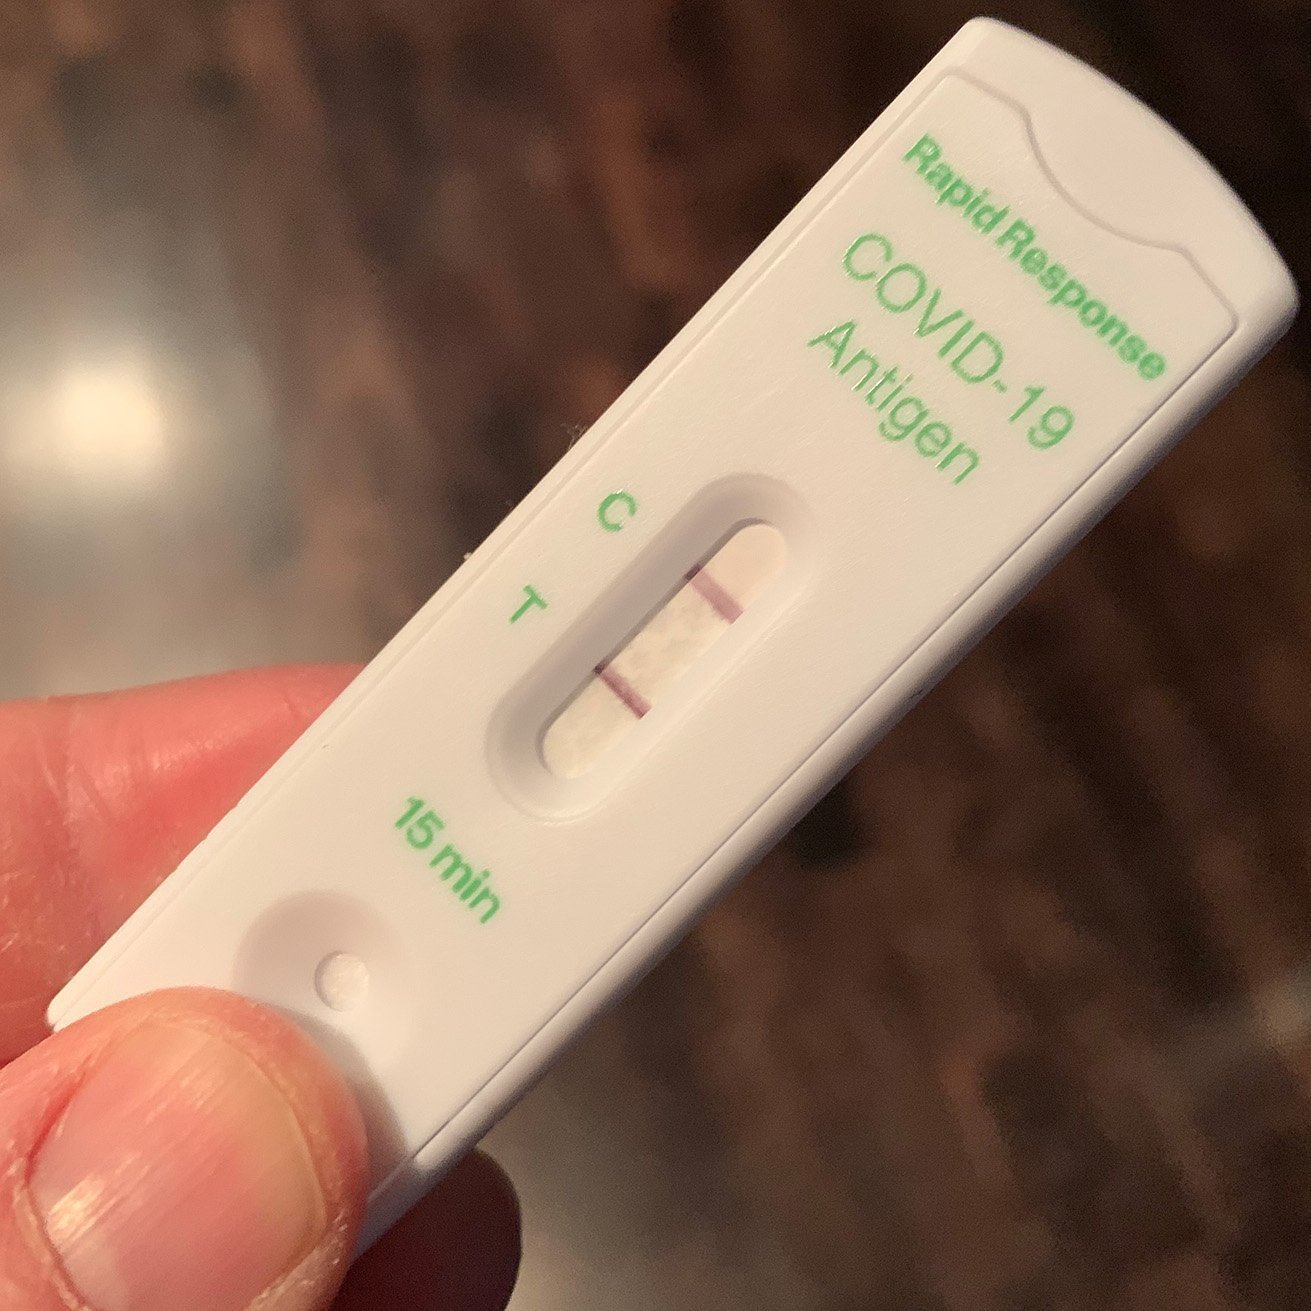
I had been feeling miserable all weekend so I took a Covid test. It was positive. At least it explained why I felt so miserable, but I was very frustrated. I’m still not sure how I caught it.
I kept working on a few ideas for my environment. I found this website that allows you to download high quality Lidar data from Norway for height maps (quick tutorial here).
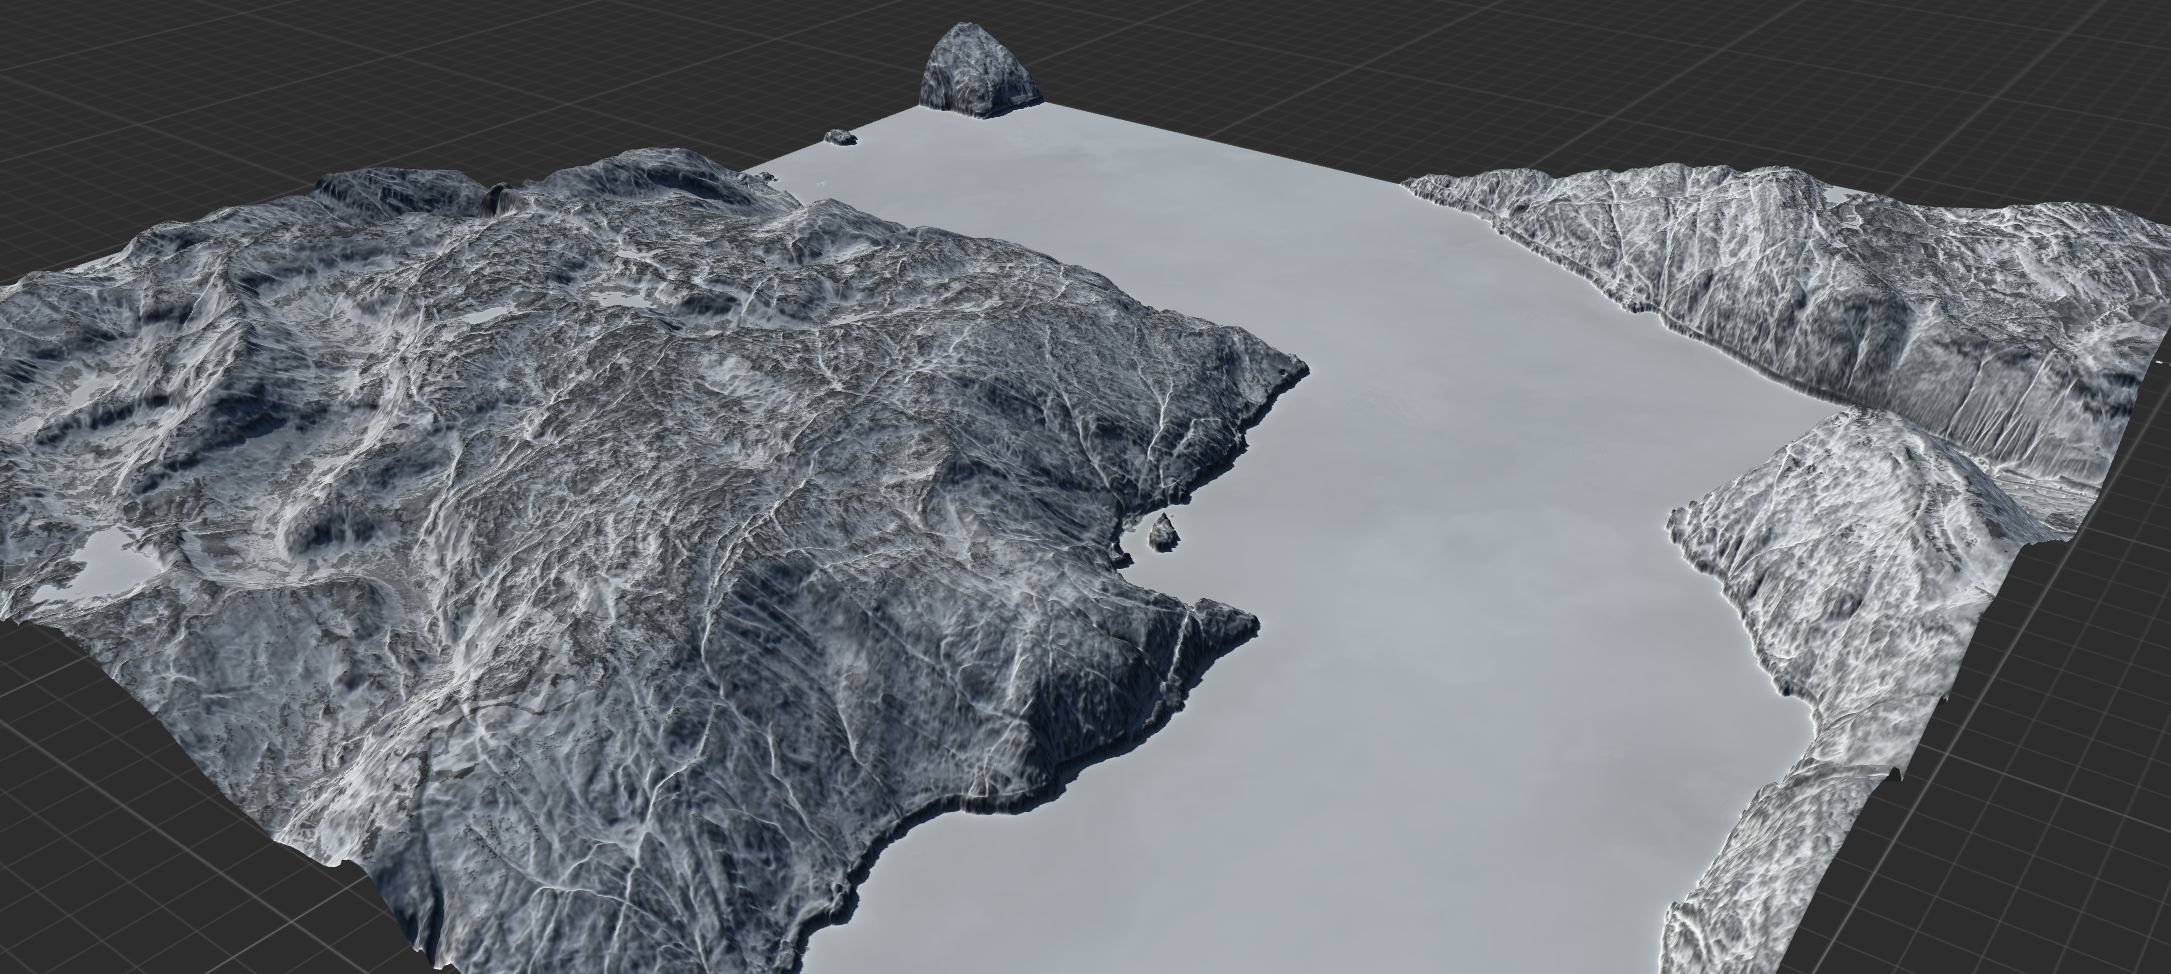
Terrain detail from the government of Norway.
I was very happy with how it looked (and very impressed with Gaea in general) but I wasn’t sure I wanted to make something from so far away. That site has REALLY high quality scans though.
I saw an awesome concept of a bridge from the Art of God of War book. I thought the bridge was cool, so I started playing around a bit. The Nanite talk from that morning was still in my head so I thought “what if the bridge was made up of skulls”? I did a test with scattering 300,000 skulls around the bridge and wanted to see if Unreal could handle it.
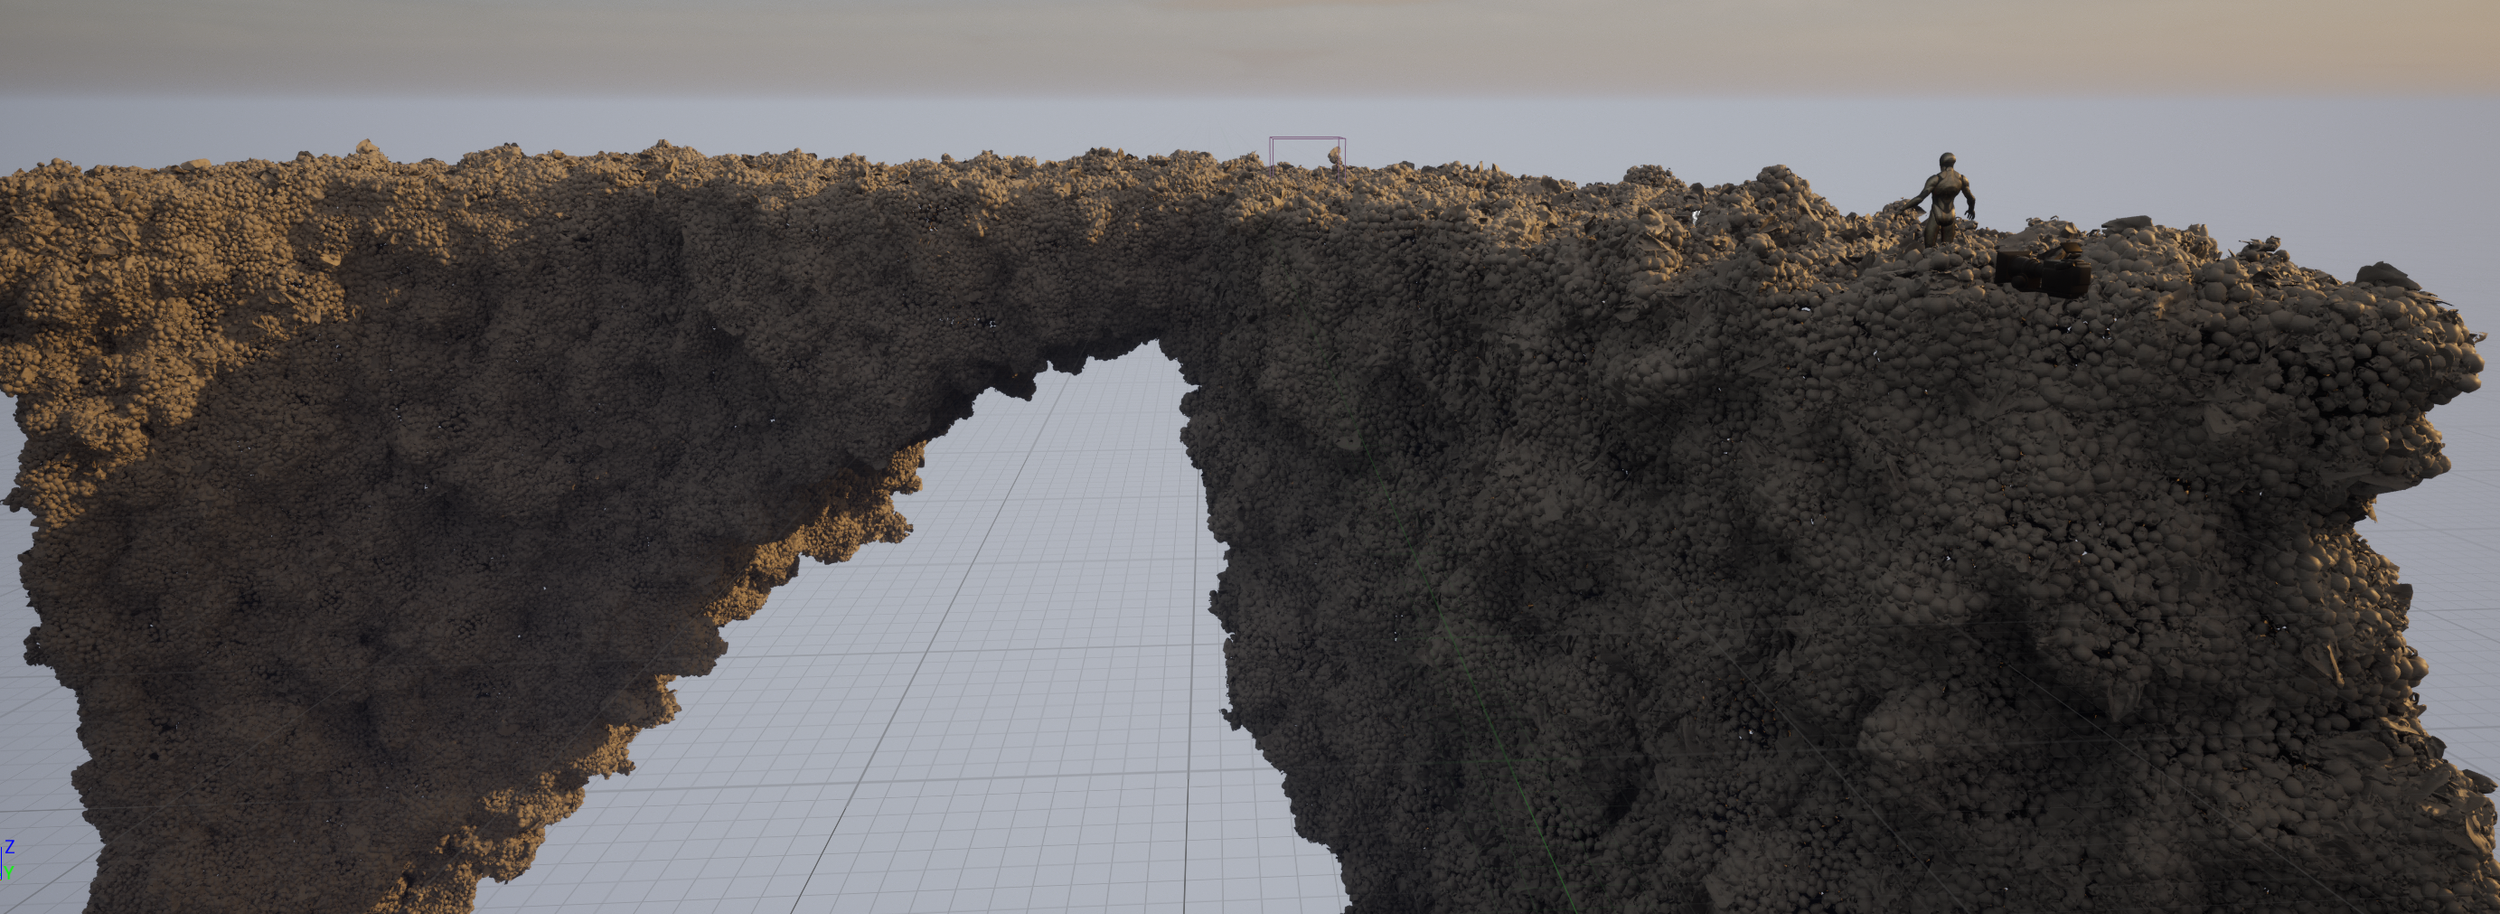


My graphics card (a 3080) complained a little with some initial slowdown, but after a minute or two it was fine. Nanite really is amazing.
As I was building scenes, one thing I was really struggling with was scale. How far should distant objects be? How big is a mountain? I wanted to look at a good project and see how they did it. I downloaded this Medieval Game Environment from the Marketplace. Then I used the Omniverse plug-in to export it as a USD where I could import it into Houdini and pull it apart.
Here I’m pulling out all the mountains and seeing how far they are from the origin. This was really helpful to see, as well as get an idea for how big/high they should be. Having reference made it much more approachable. In the Unreal scene, there’s so much STUFF in there. It’s overwhelming how busy and full of detail it is.
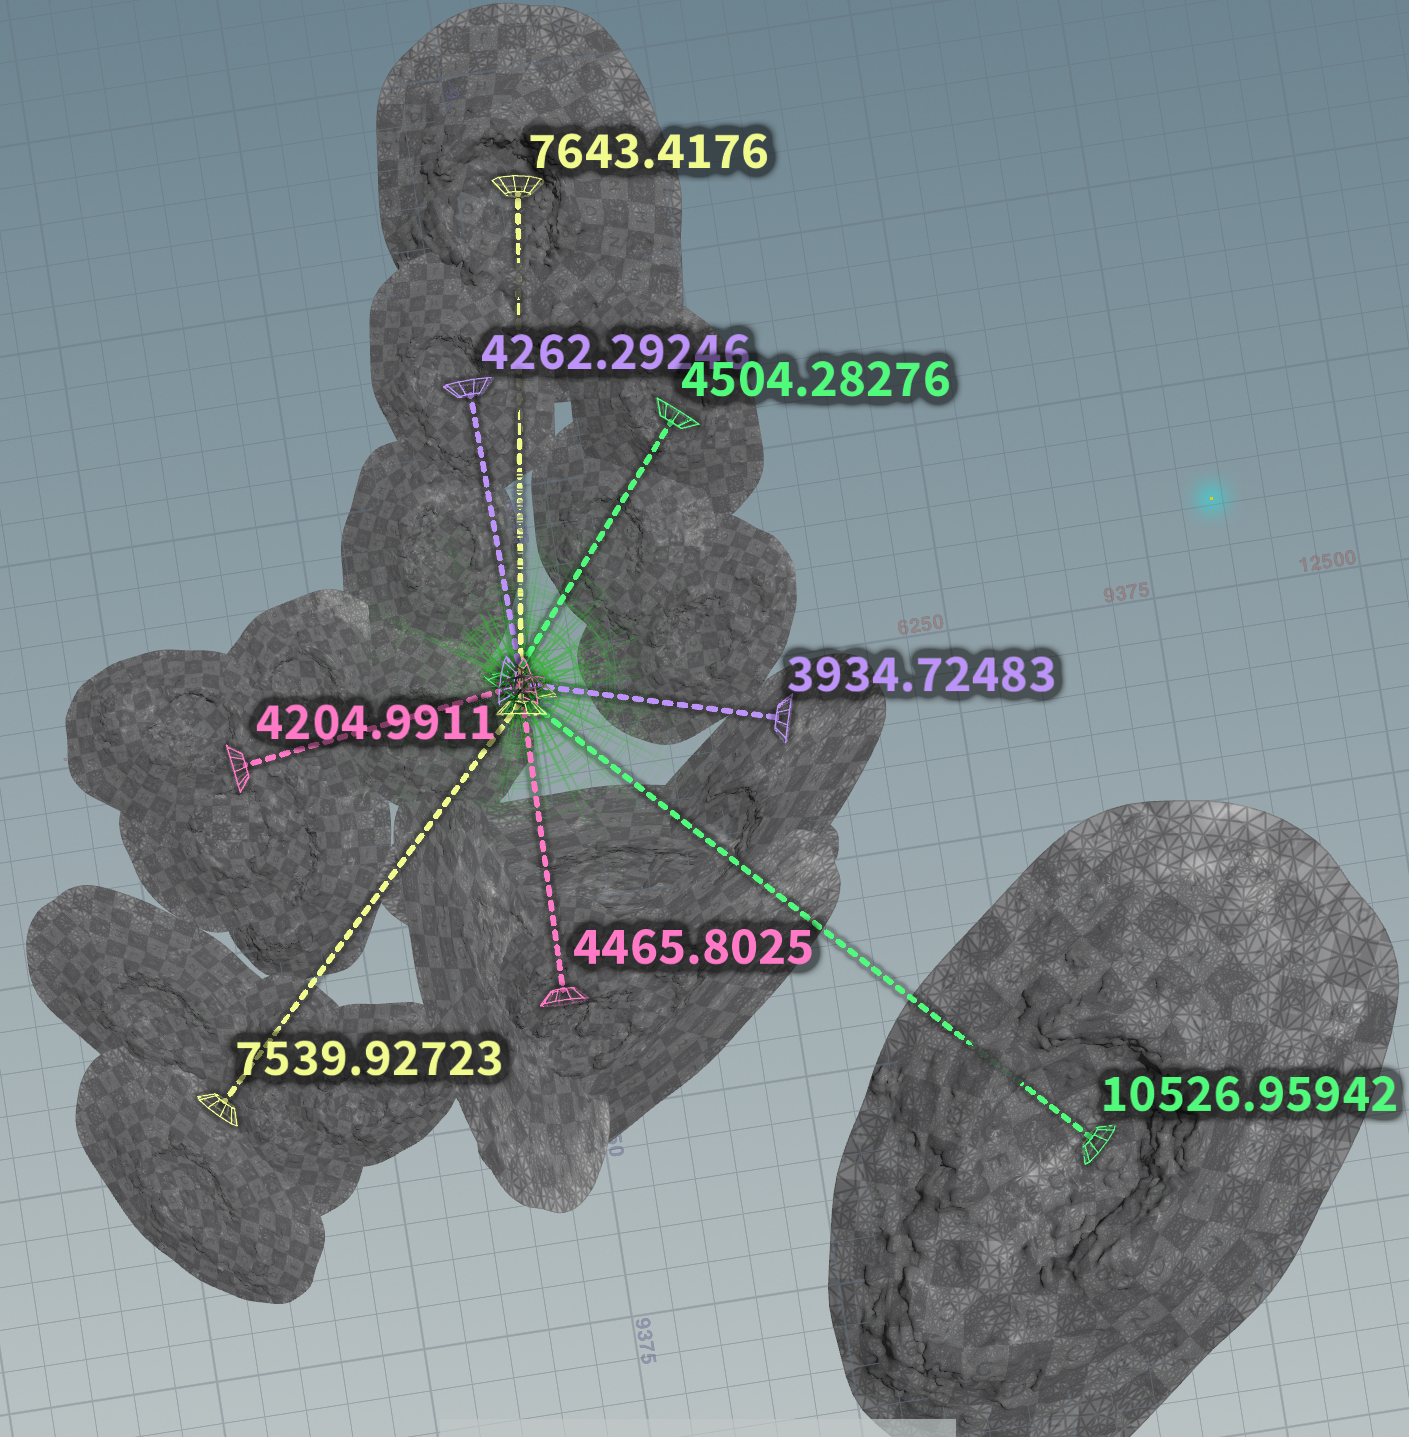
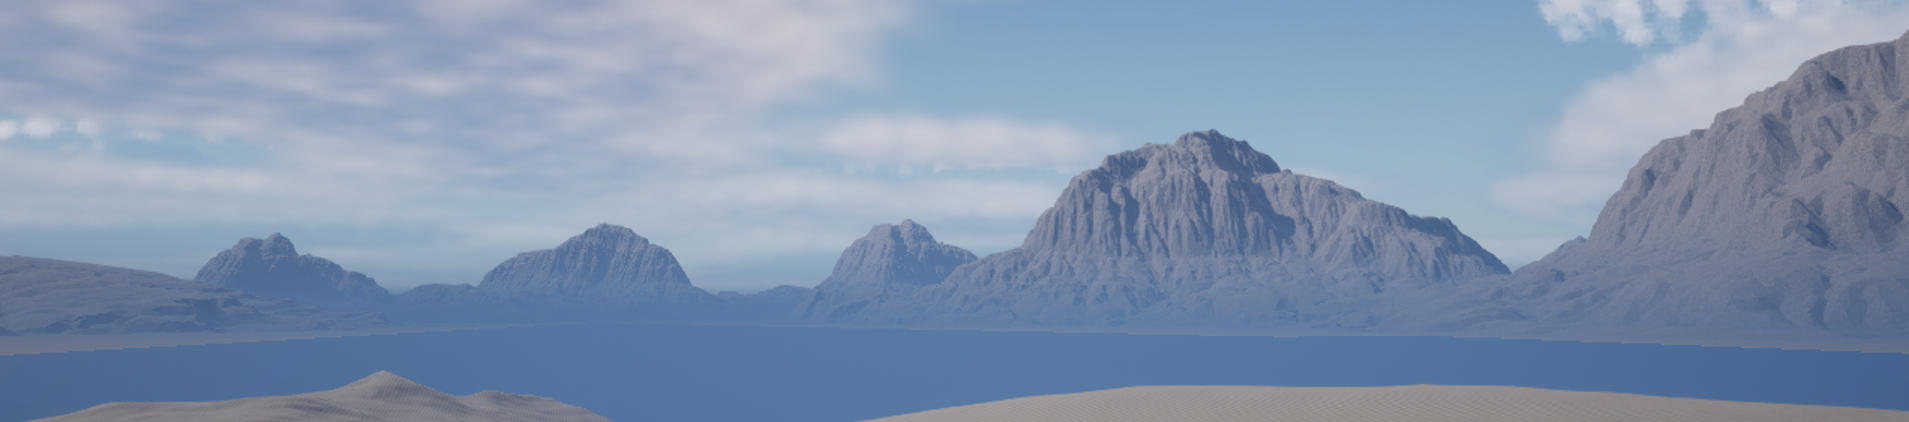
So I quickly temped in some of my own mountains to make my BG. The reference was a huge help.
I started experimenting with adding the Quixel trees to my scene and my performance would tank pretty hard (this was in Unreal 5.0) so I put that aside to focus on other parts of the environment.
Based on feedback at Scrums I started on the idea of having a small village connected by a skull bridge to the dark temple with the faces embedded in the cliffs that surround it.
Still, I wanted to give a procedural city one more crack. There’s a tutorial online about making a kaleidoscope layout in Houdini. After that was setup, it’s not hard to break those shapes out into smaller sections for roads and buildings.
The hard part is getting the buildings in from here. There are so many edge cases for small, odd shapes that it’s hard to make a system that accounts for all of them.
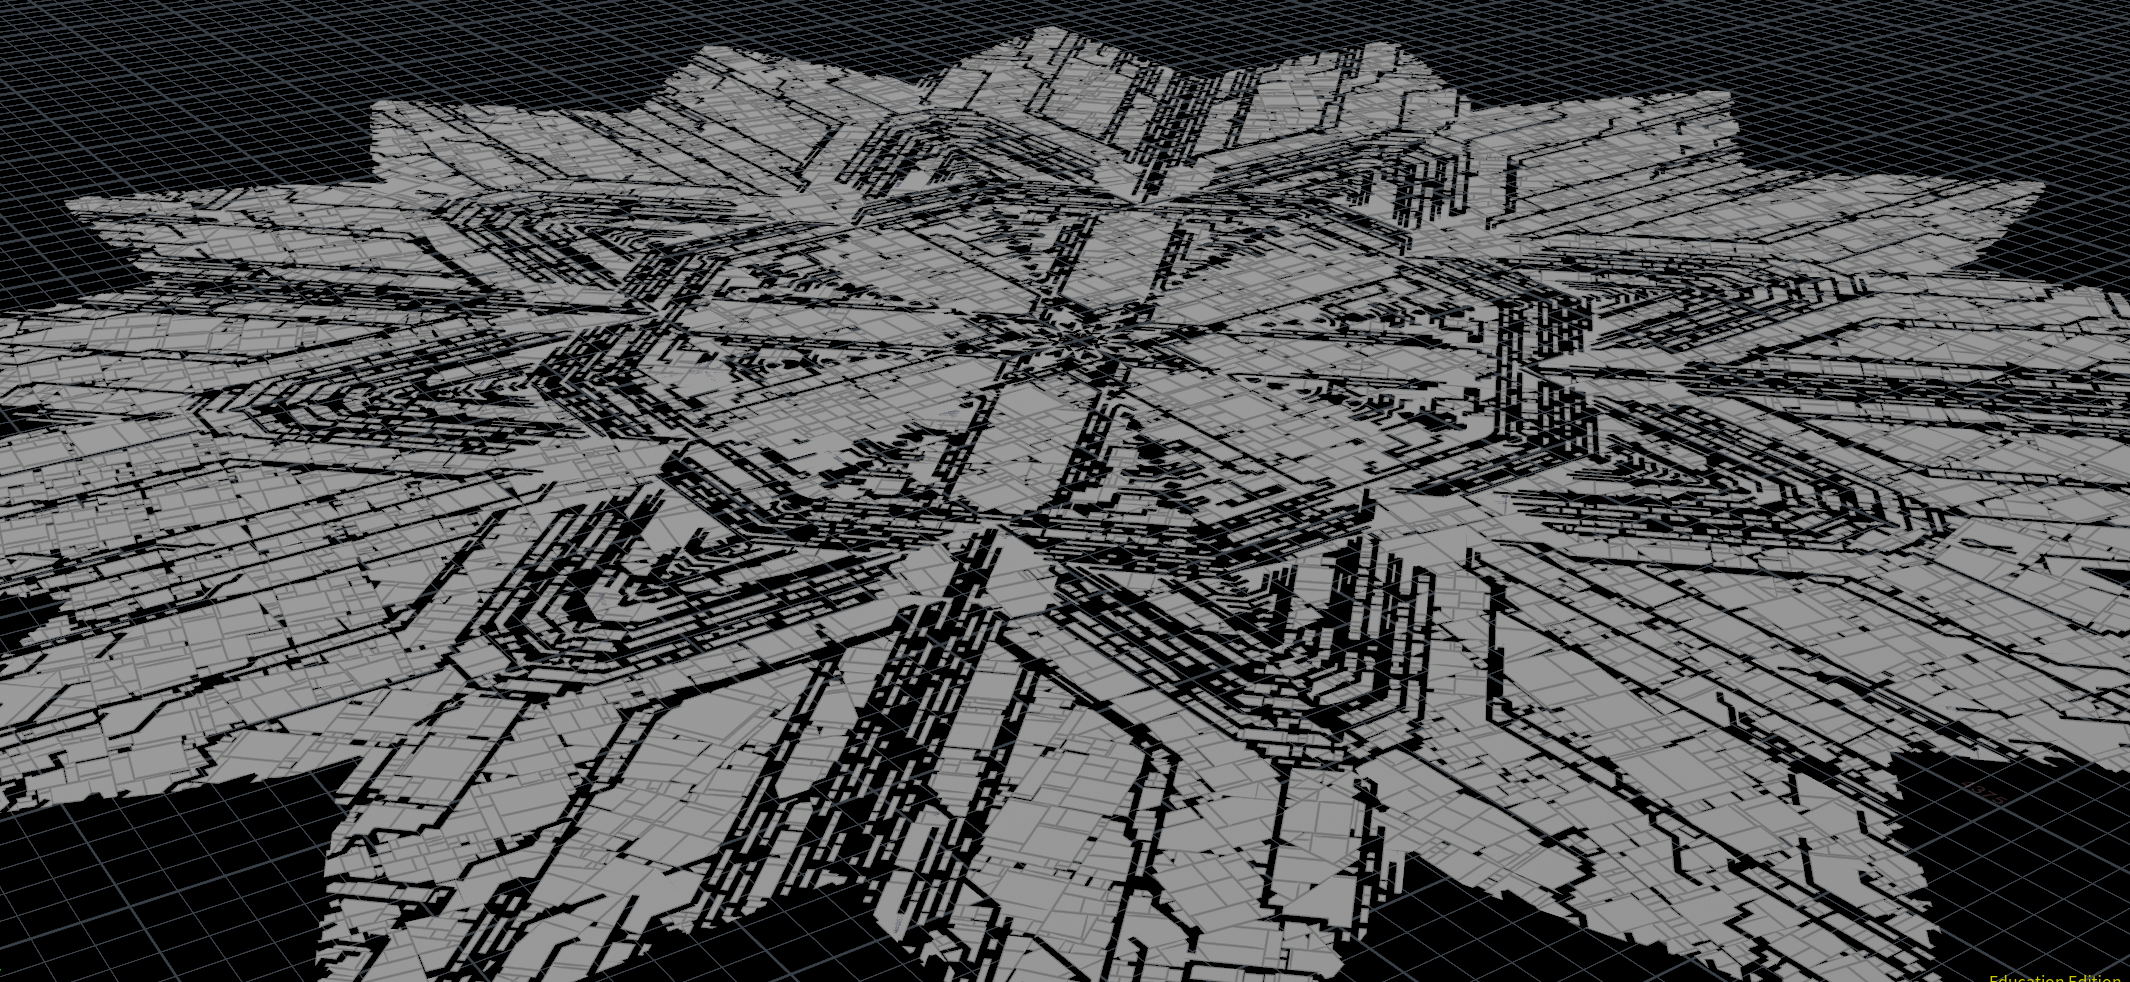
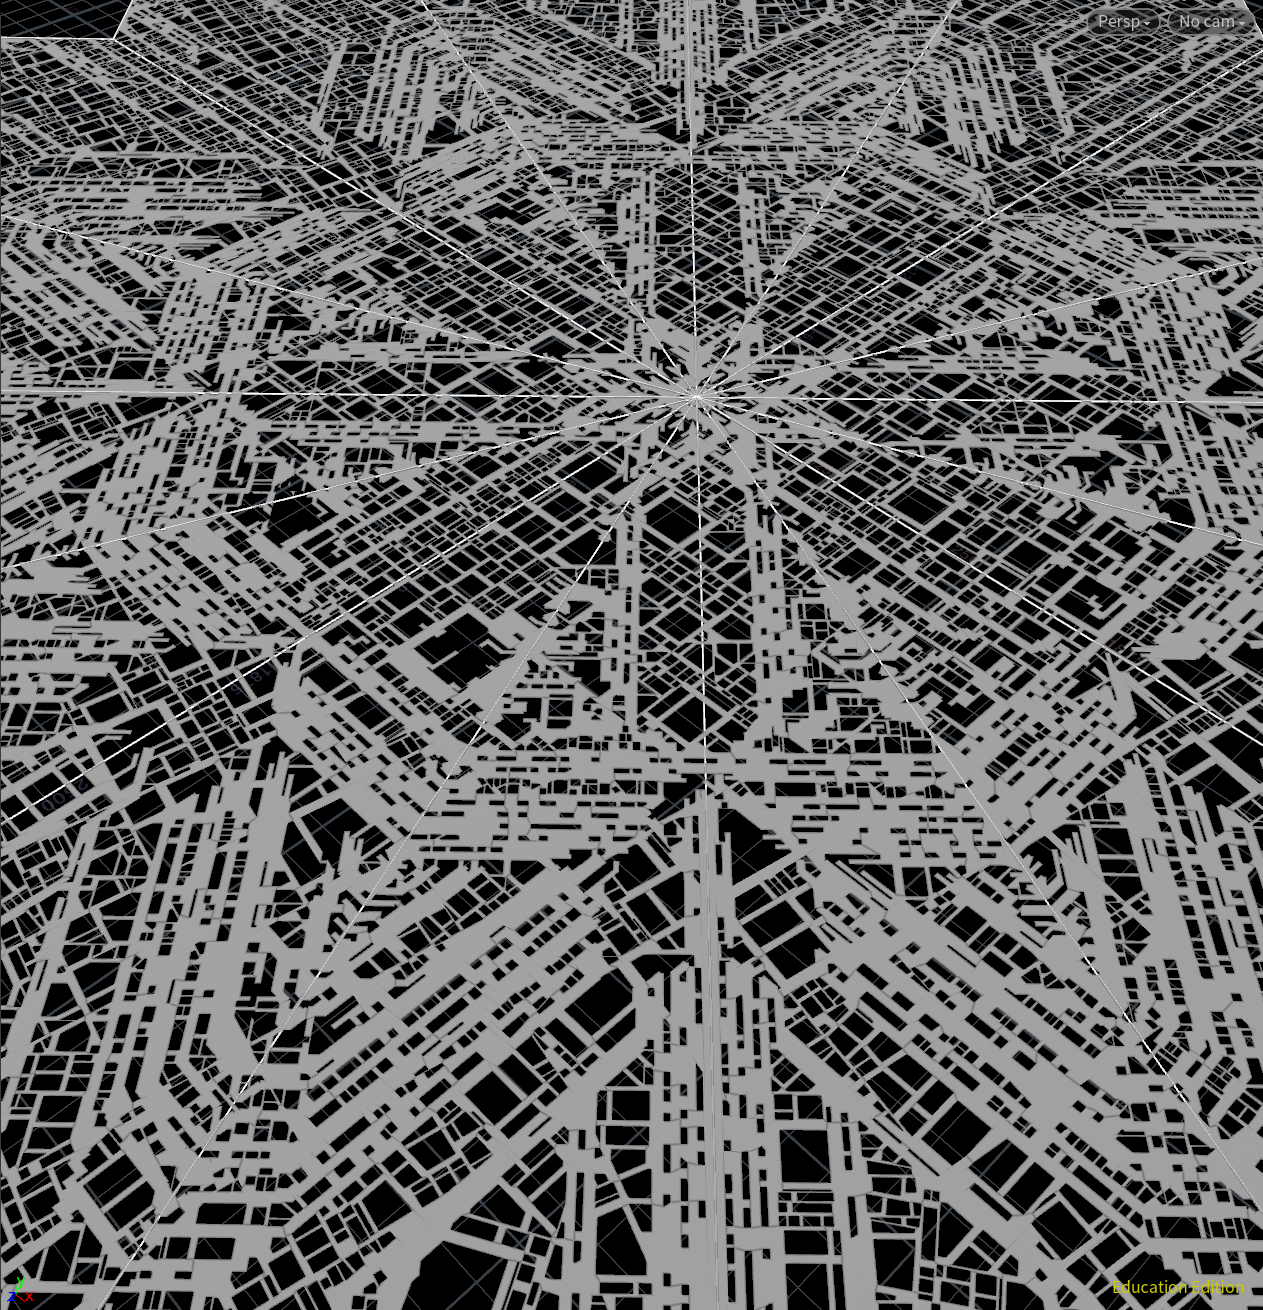
So I gave up on my procedural city and kept on the idea of my skull bridge and ‘face in the rocks’.

At this point, about a week in, I had a lot of half-baked ideas but nothing I thought was particularly good. Time was slipping by and I wasn’t really making a lot of progress. Part of it was me trying to figure out how to do things, what was practical, and what could I get done in the 3.5 weeks we had.
I was really feeling like I was in the Valley of the Suck where I hated everything I was coming up with. I trusted in the process and kept working through it.
This was also the week where I was chosen by my team to show my progress at Weekies. Even though it’s a very supportive group, I find presenting in front of peers to be super-stressful. I managed to get through it without a major Covid coughing fit, which was great. I was still teaching my classes and often had to mute my mic while I coughed like crazy.
I was working on this ‘floating cliff islands’ idea, but I abandoned it. It’s an idea that I thought was pretty played out and cliché. At least, I didn’t bring anything new to it.
It took me until the 6th day after to settle on the scene that eventually became my environment. I started looking at reference of interiors of temples from a few concept art books and started roughing out a layout.
I liked the idea of making a ton of Nanite rocks make up the walls, so I started scattering points in Houdini and mixing in some of the Paragon set models. The general idea was to have four large rooms (chambers) that go deeper and deeper into the temple.
I thought it would be cool if each room had a different theme and alternated between light and dark.
I liked how it looked with the dense Nanite rocks scattered around with parts of the Paragon set partially exposed. (click the images below to see them larger)
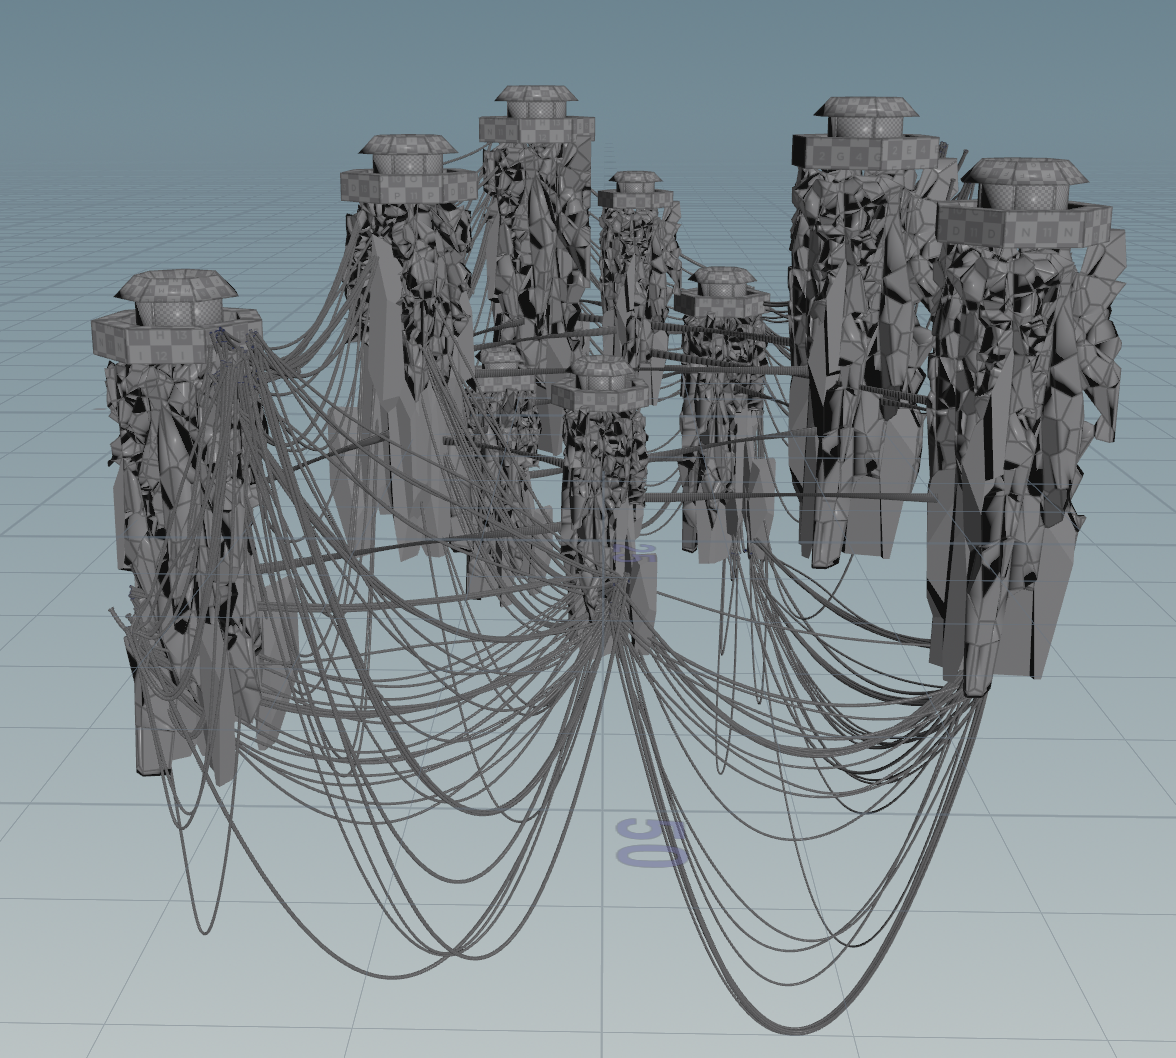
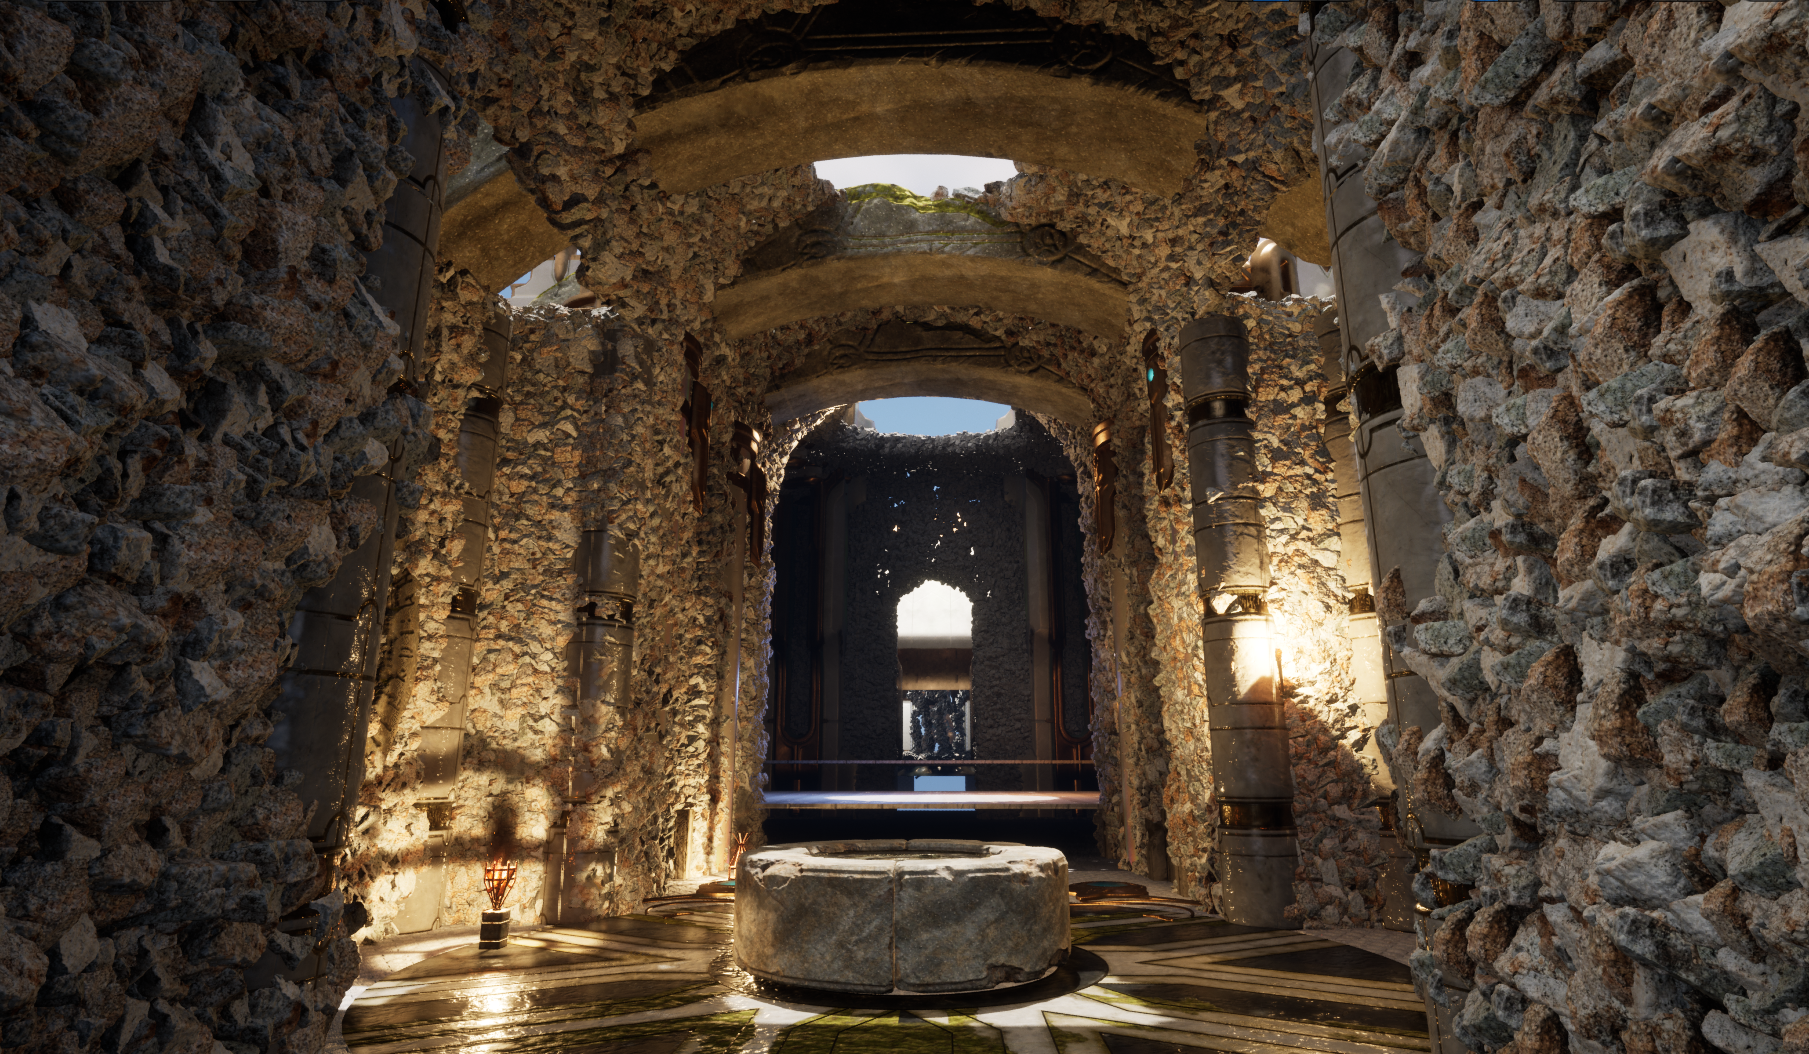
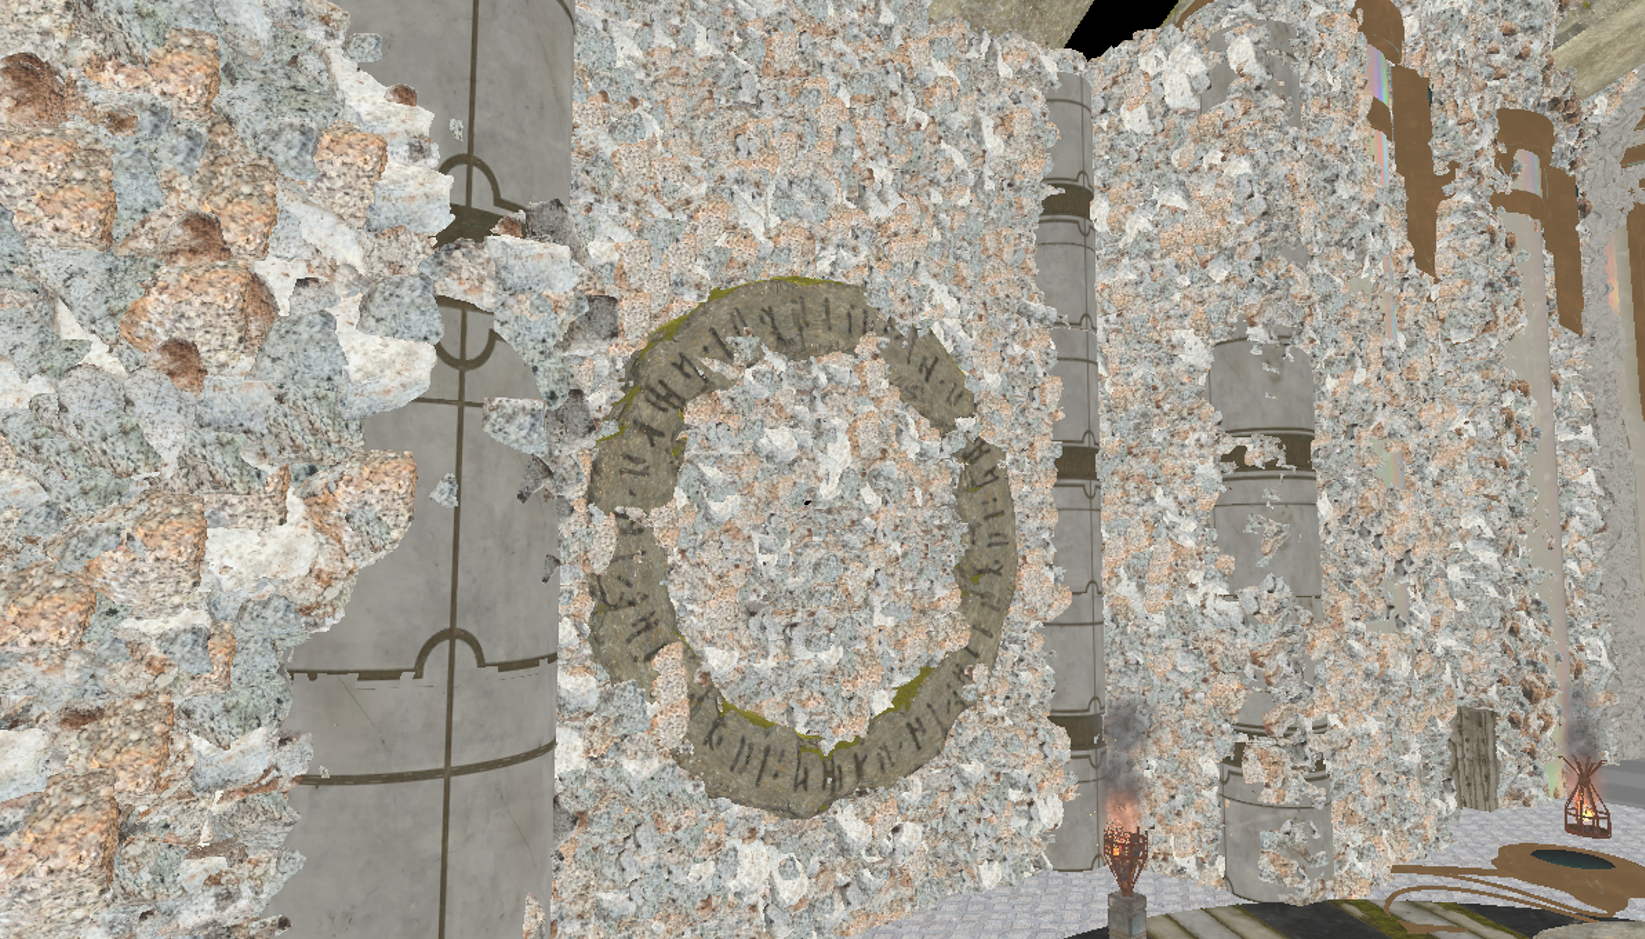
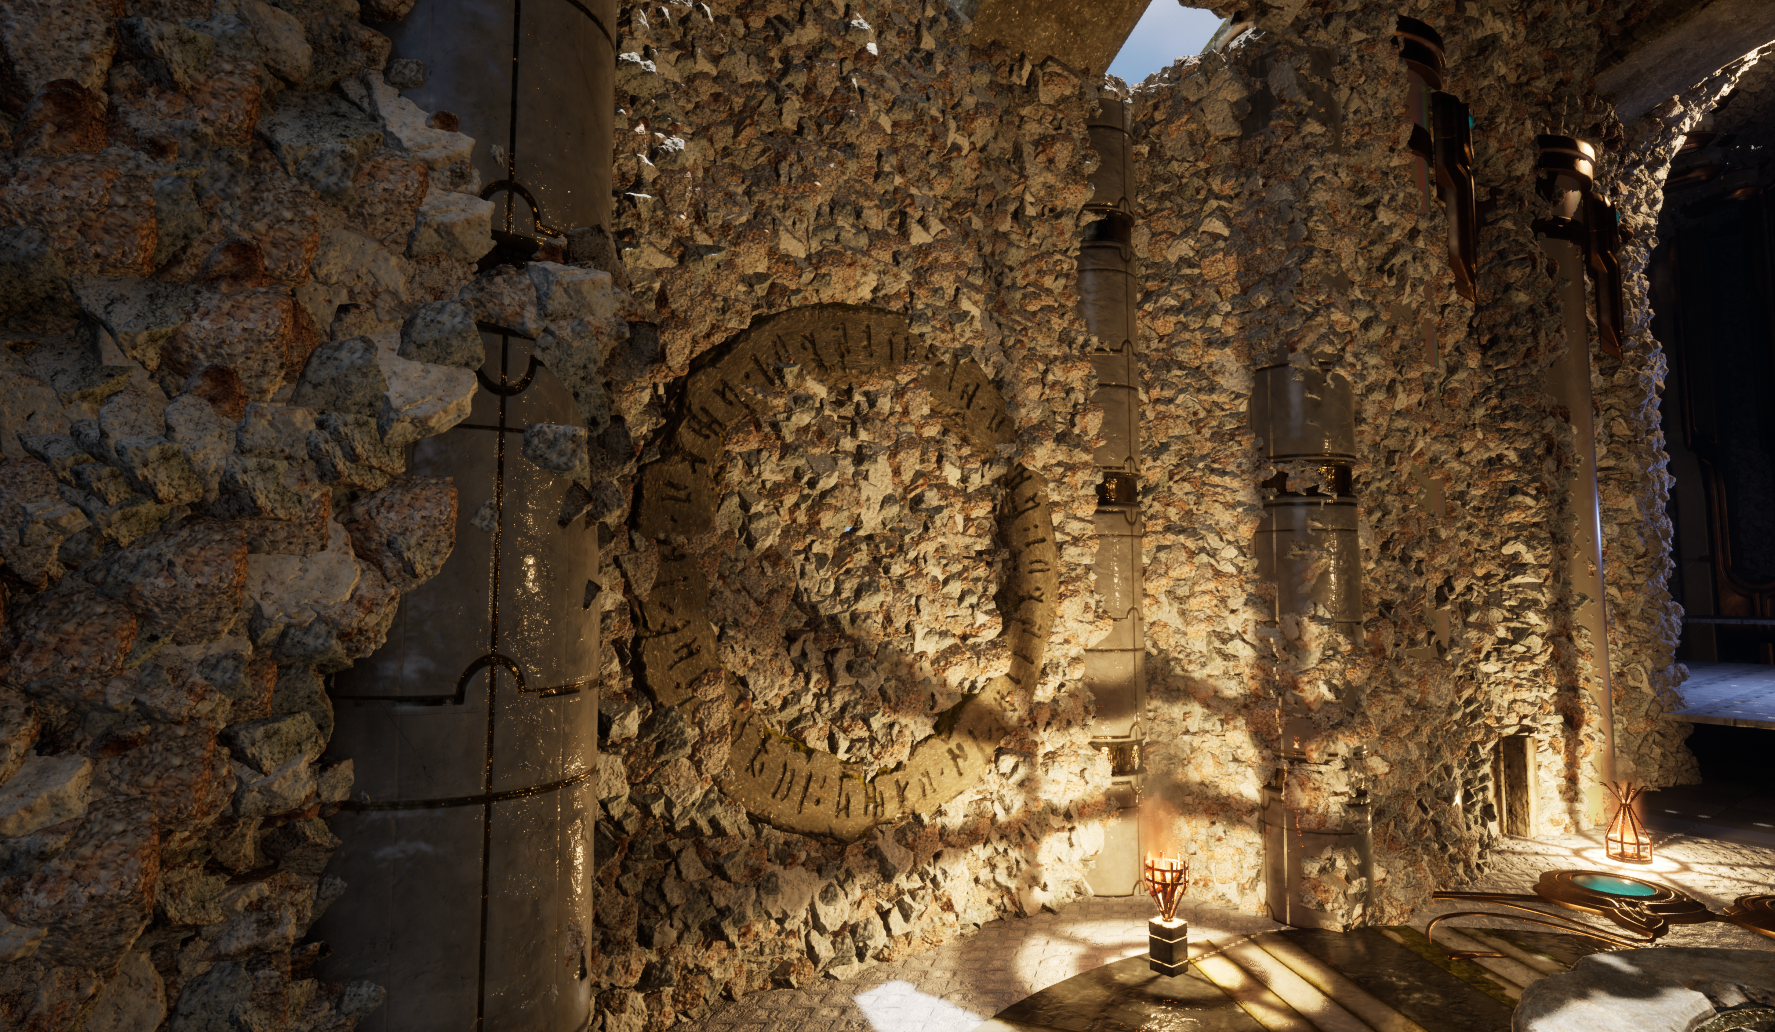
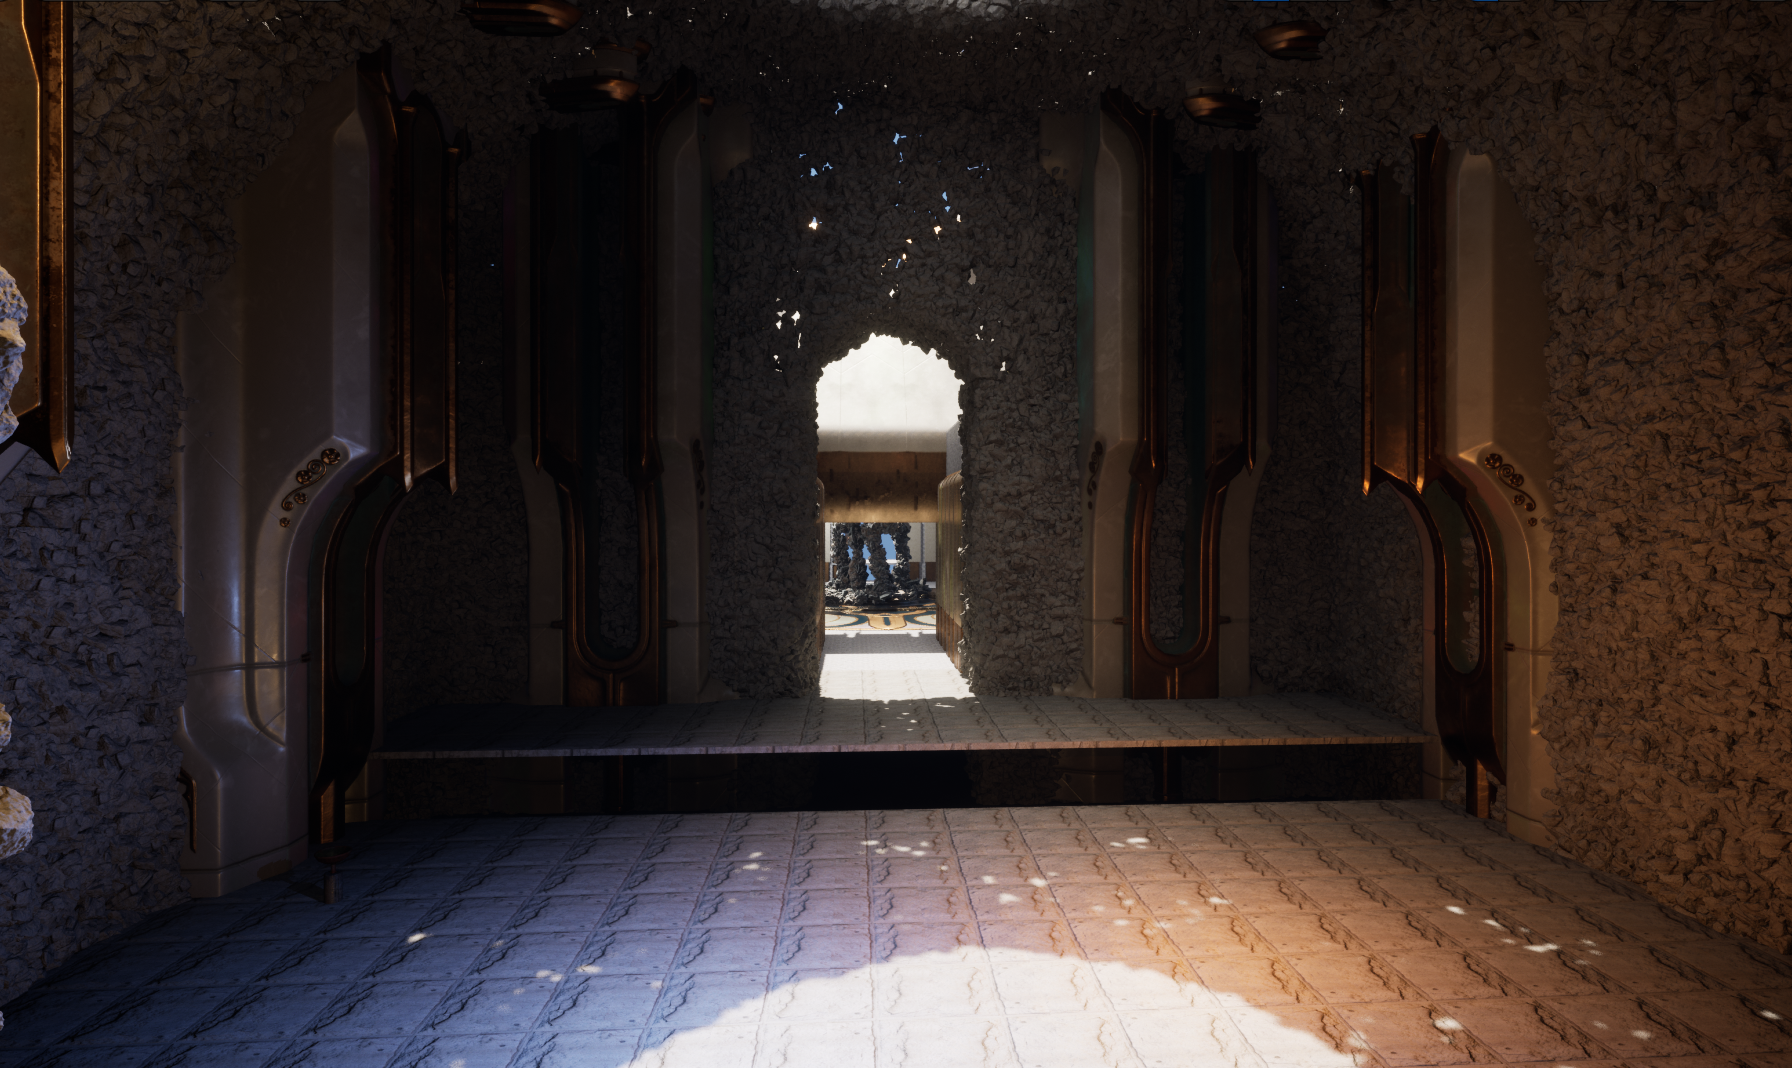
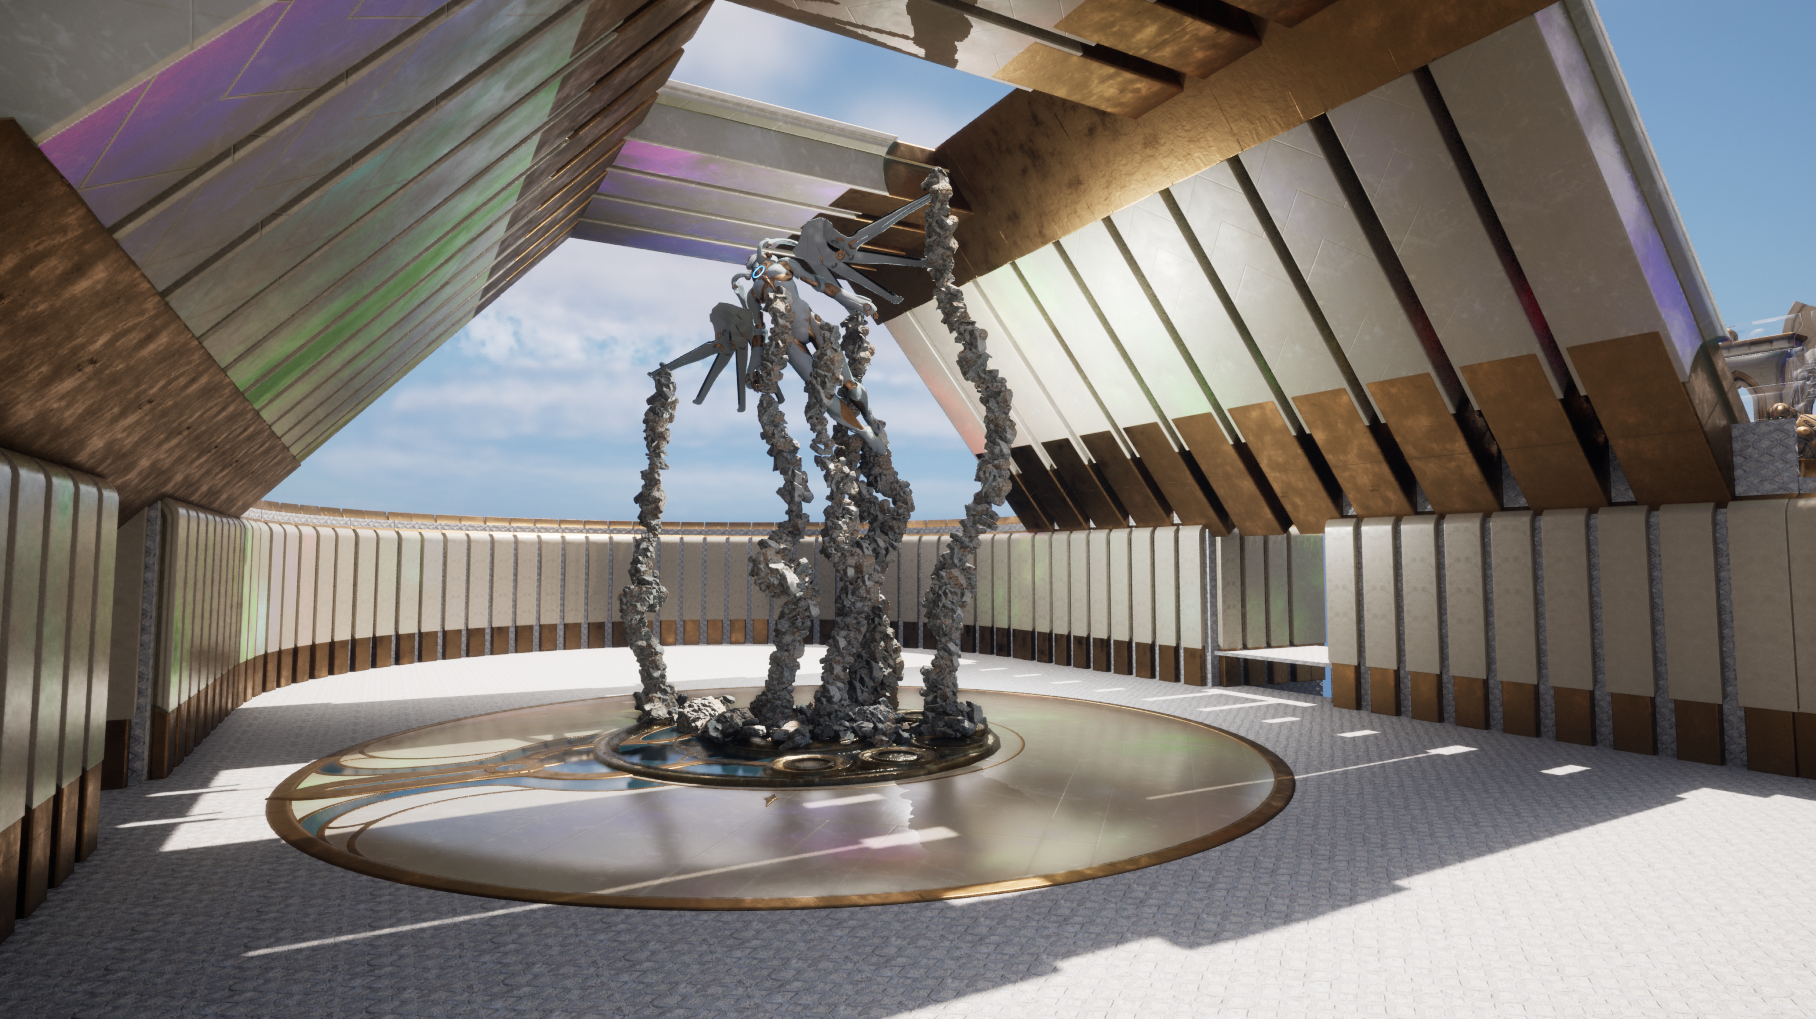
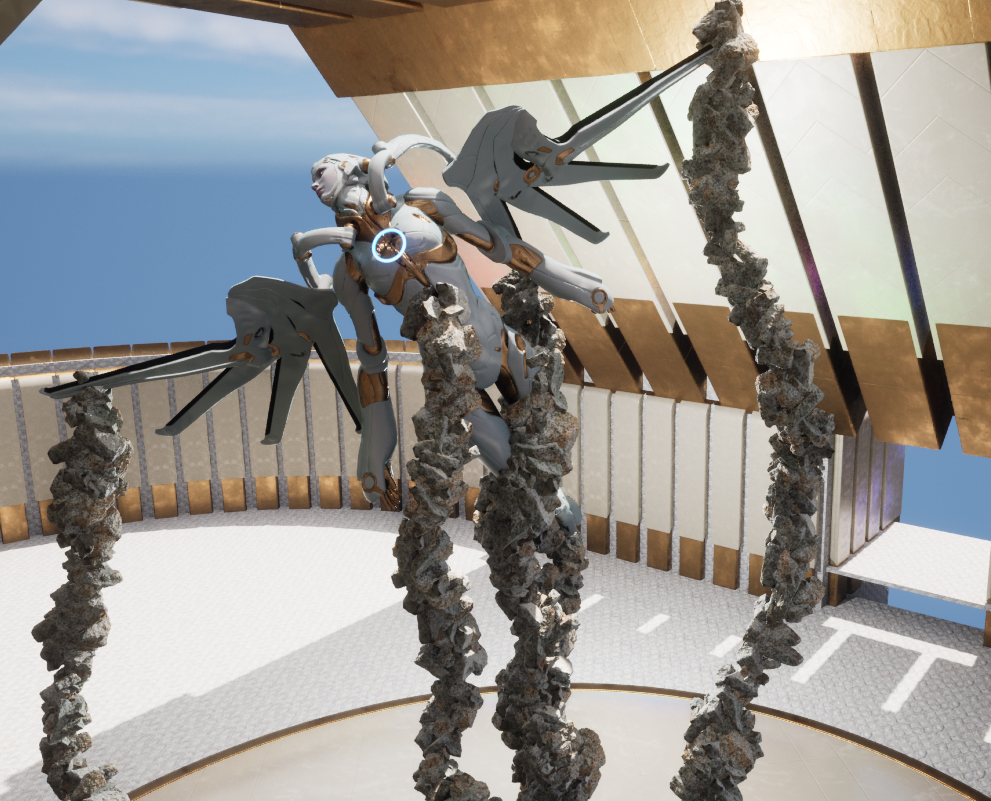
I liked the idea of the robot angel being grabbed or ensnared by the rock tentacles. The challenge was readability. I kept wanted to go back and refine it further but eventually ran out of time.
This idea came about by researching what ‘temple’ assets I had, and if I had to buy anything. I started researching and I found this Temple for sale. I didn’t buy it but I looked at how that temple was setup and took pieces of the layout as inspiration.

3rd room work in progress video
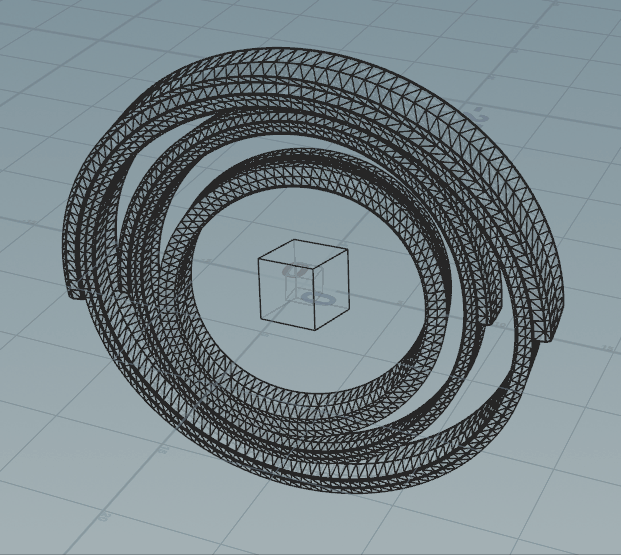
At the beginning of the Paragon trailer, they had a very cool animation of rings spinning around. I’ve seen something like this in movies before. I looked into it and found that they’re called Leonardo Rings.
It took a little bit of time to figure out how to set it up, but once I figured out I should use KineFX in Houdini, it came together pretty quick. It was actually pretty easy, you just have to look at it carefully to see which parts are parented to which parts.
Below are some work in progress shots, once I really decided to go in this direction (click for larger images). I was trying to create interesting shapes where I could have dramatic lighting. Lighting has always been a bit of a weak point for me.
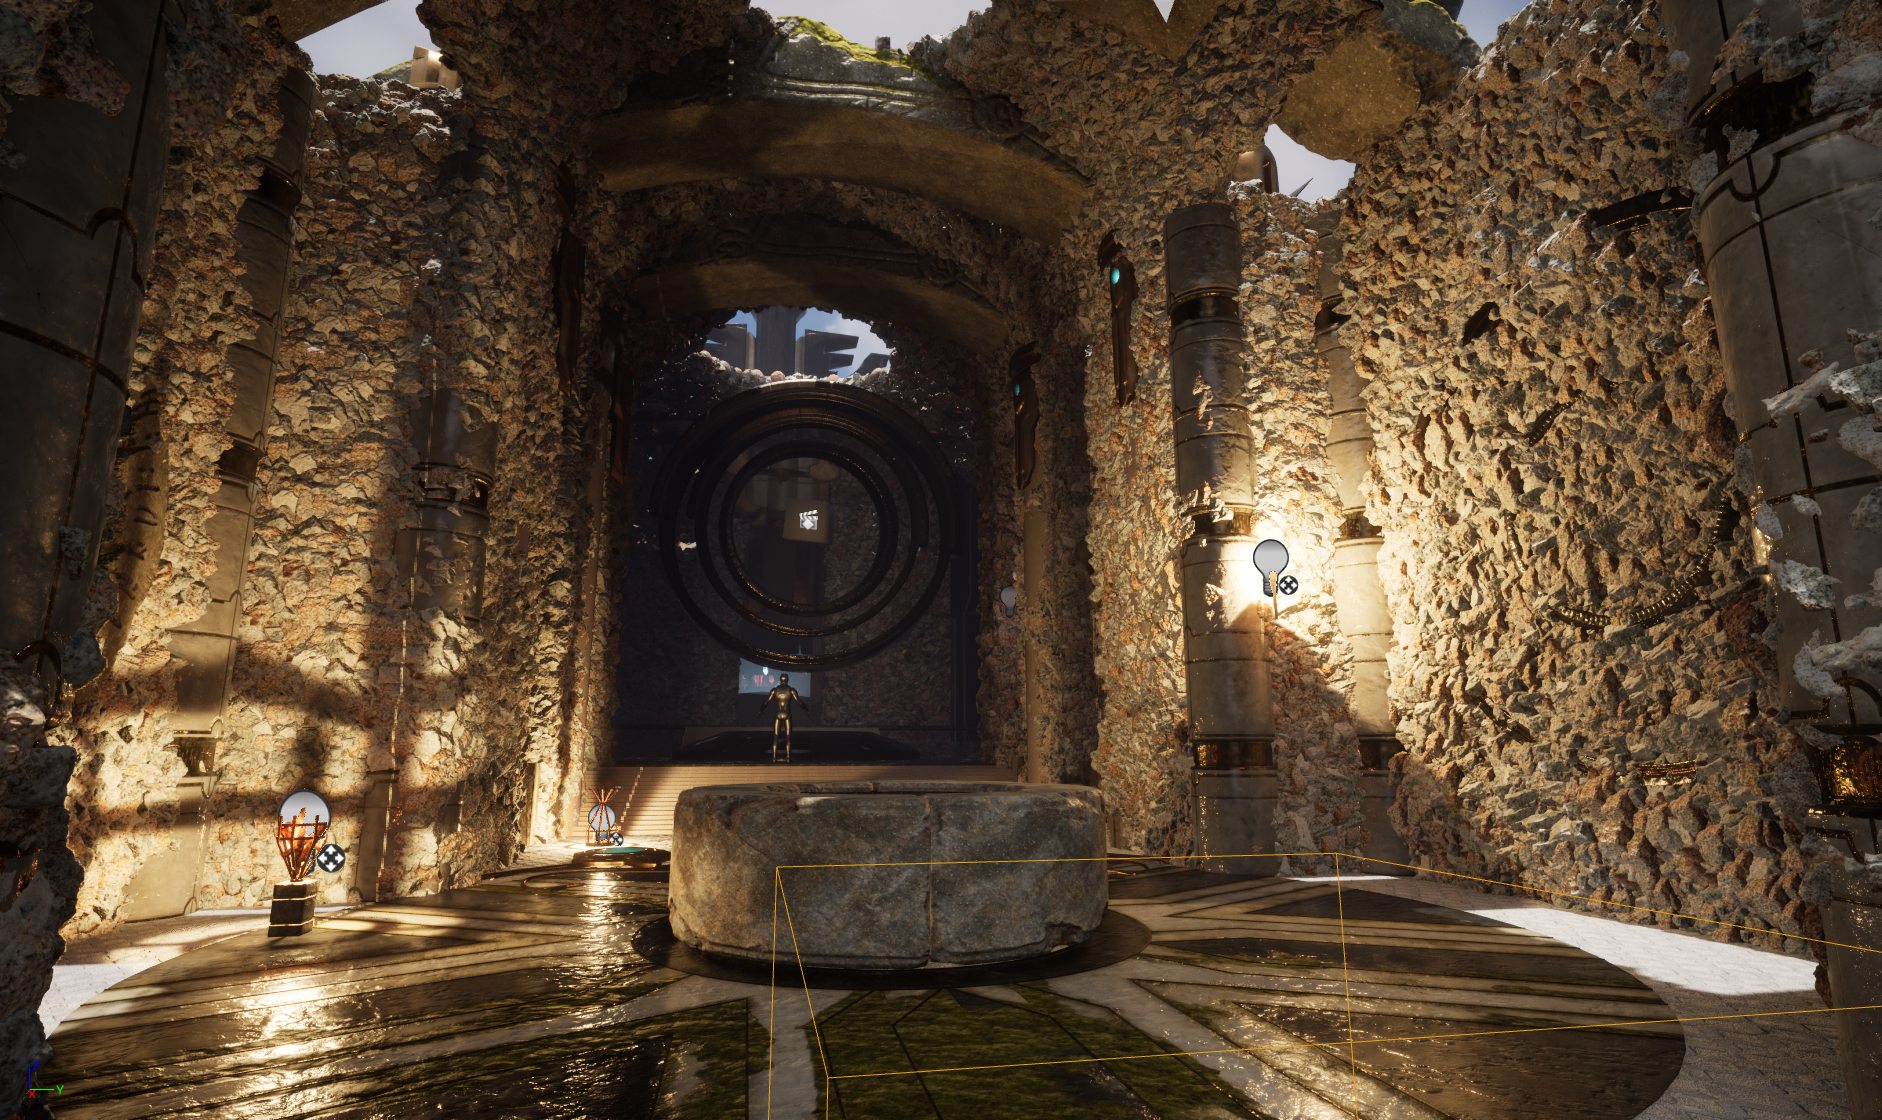
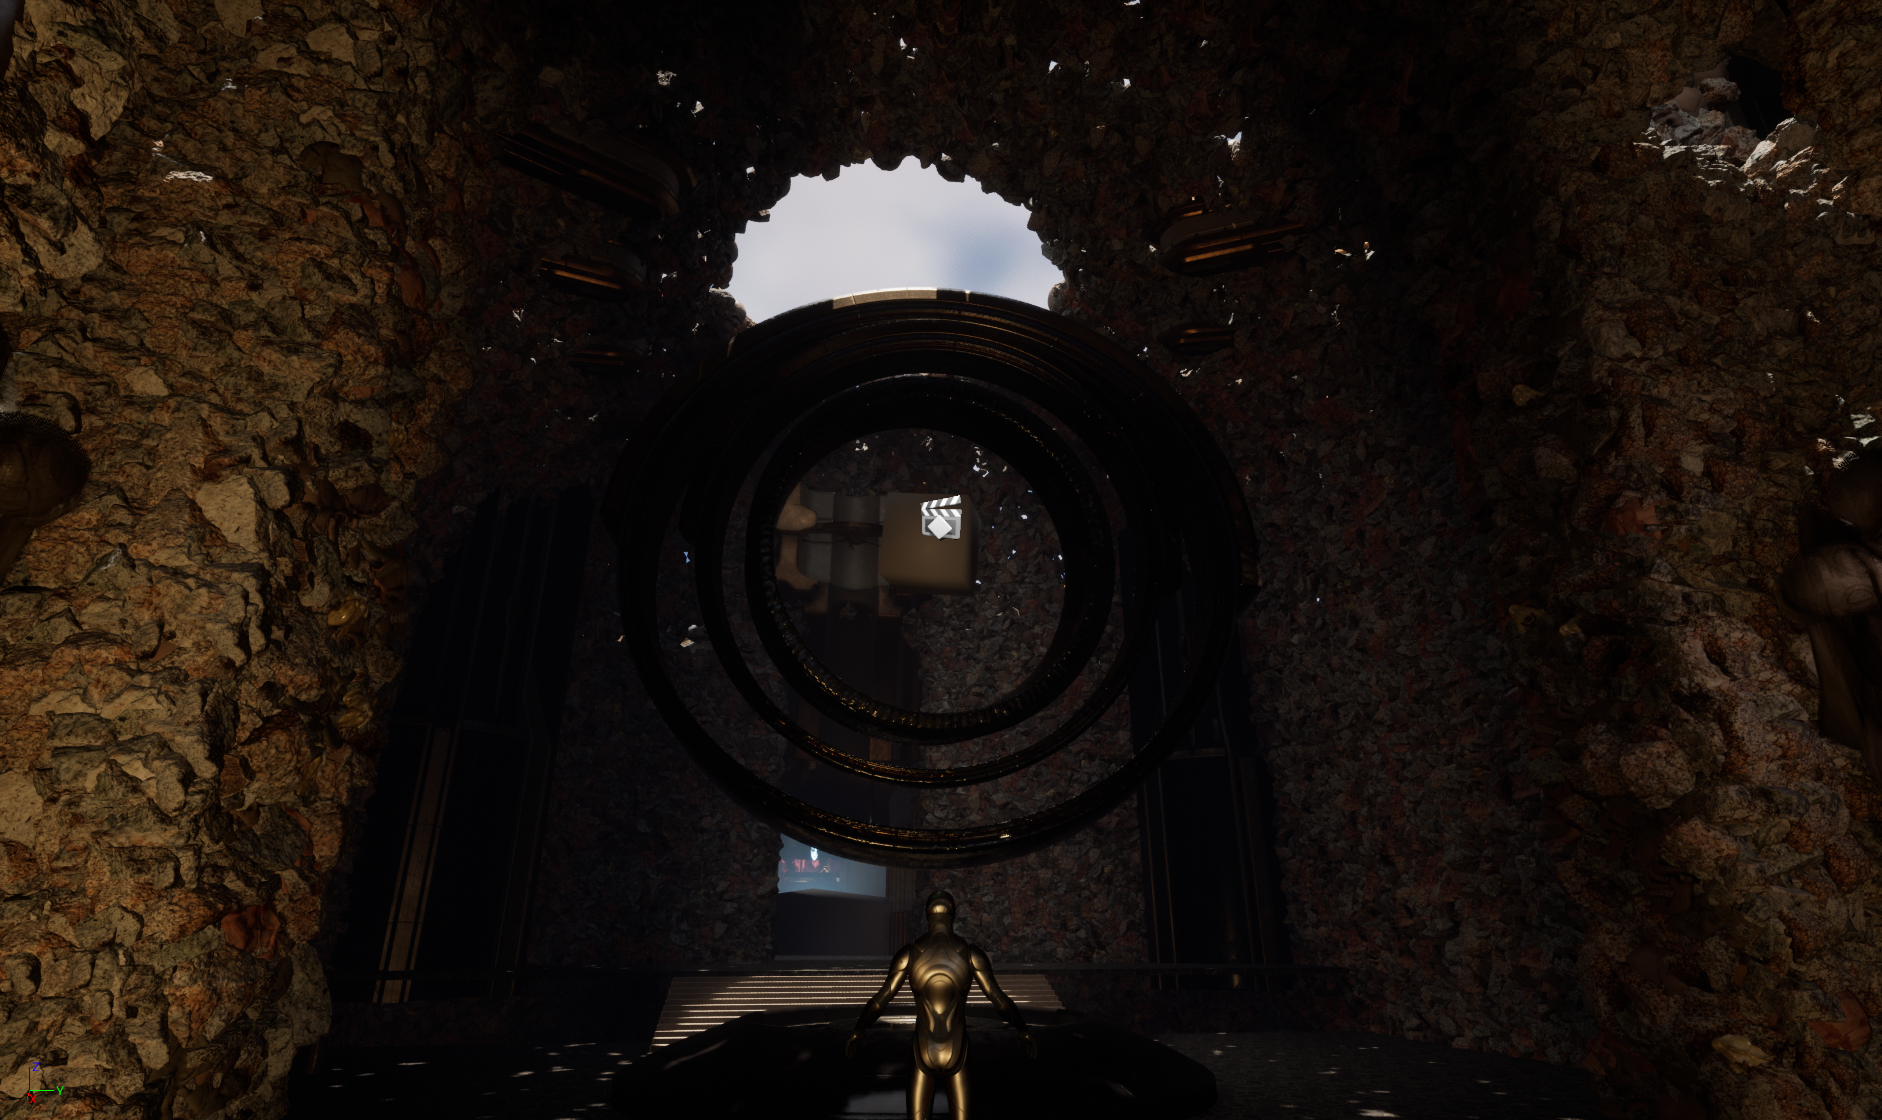
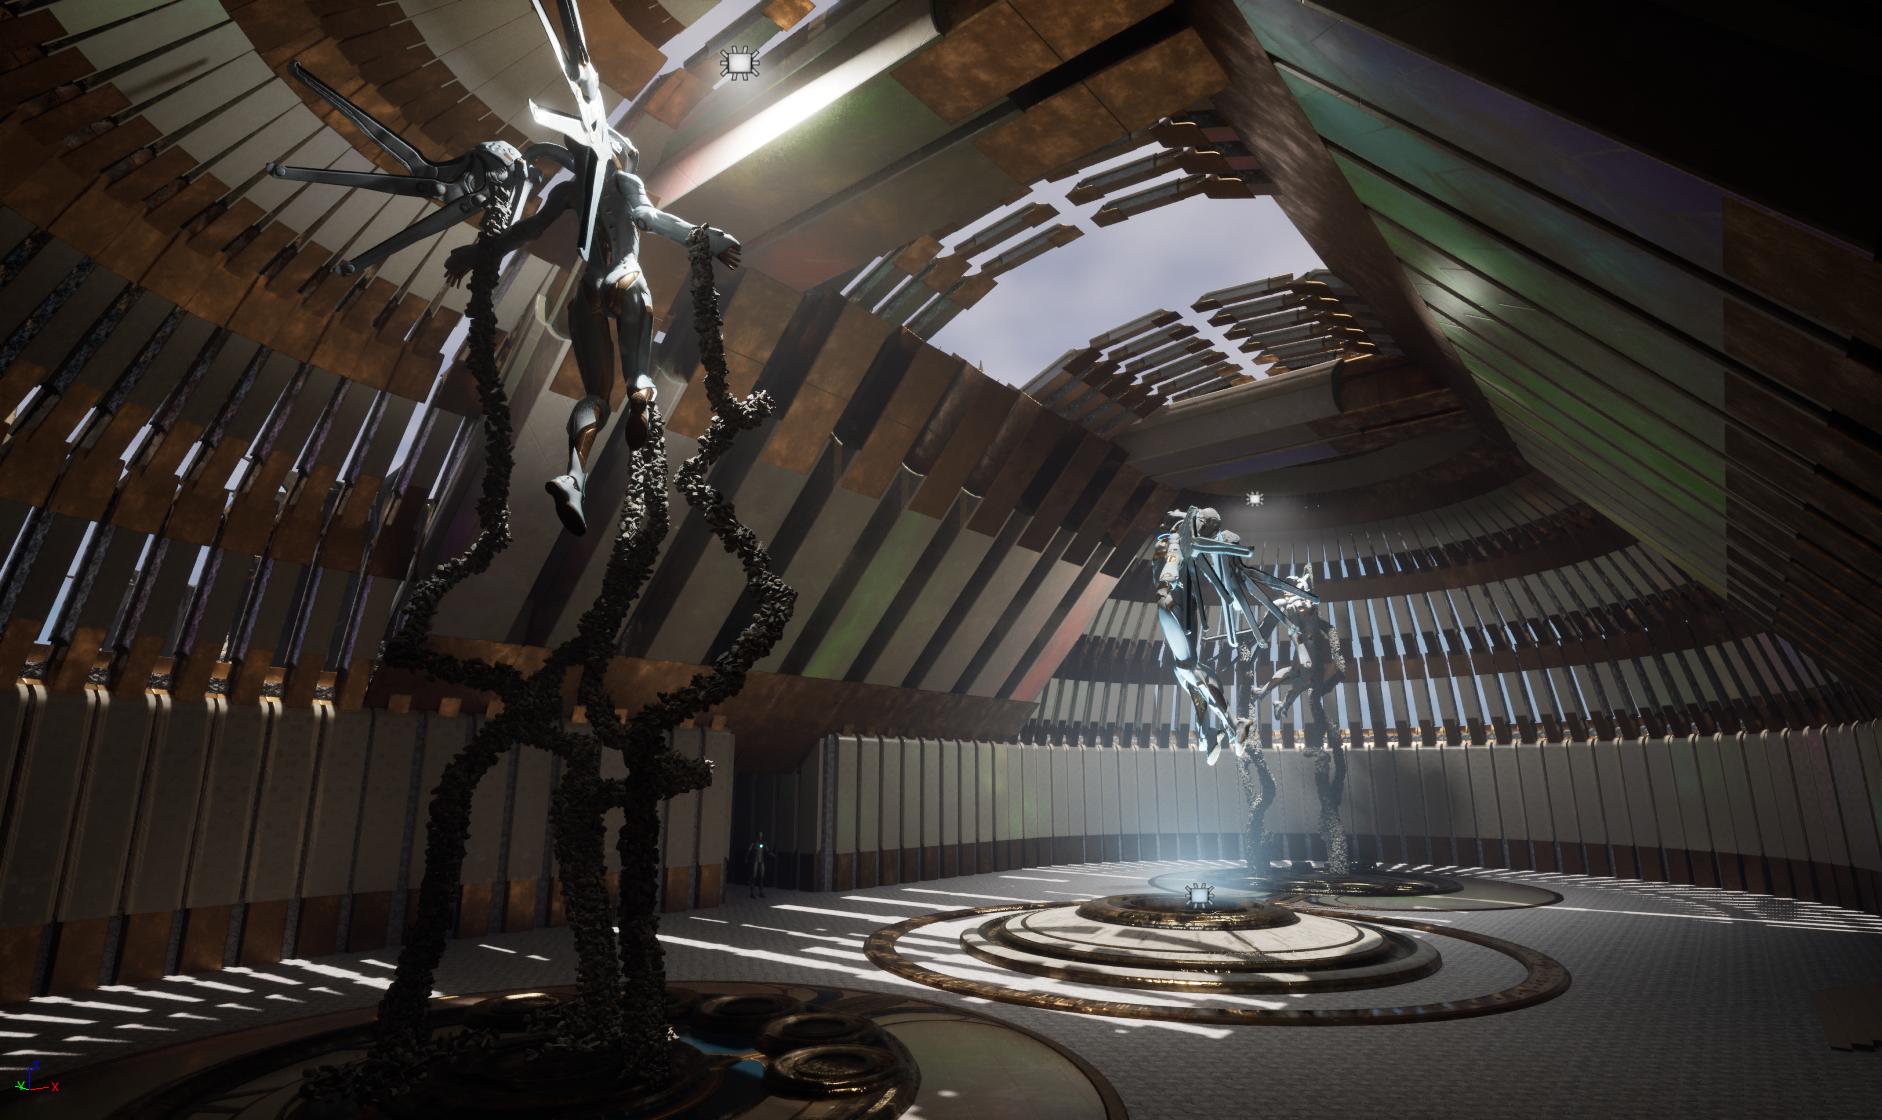
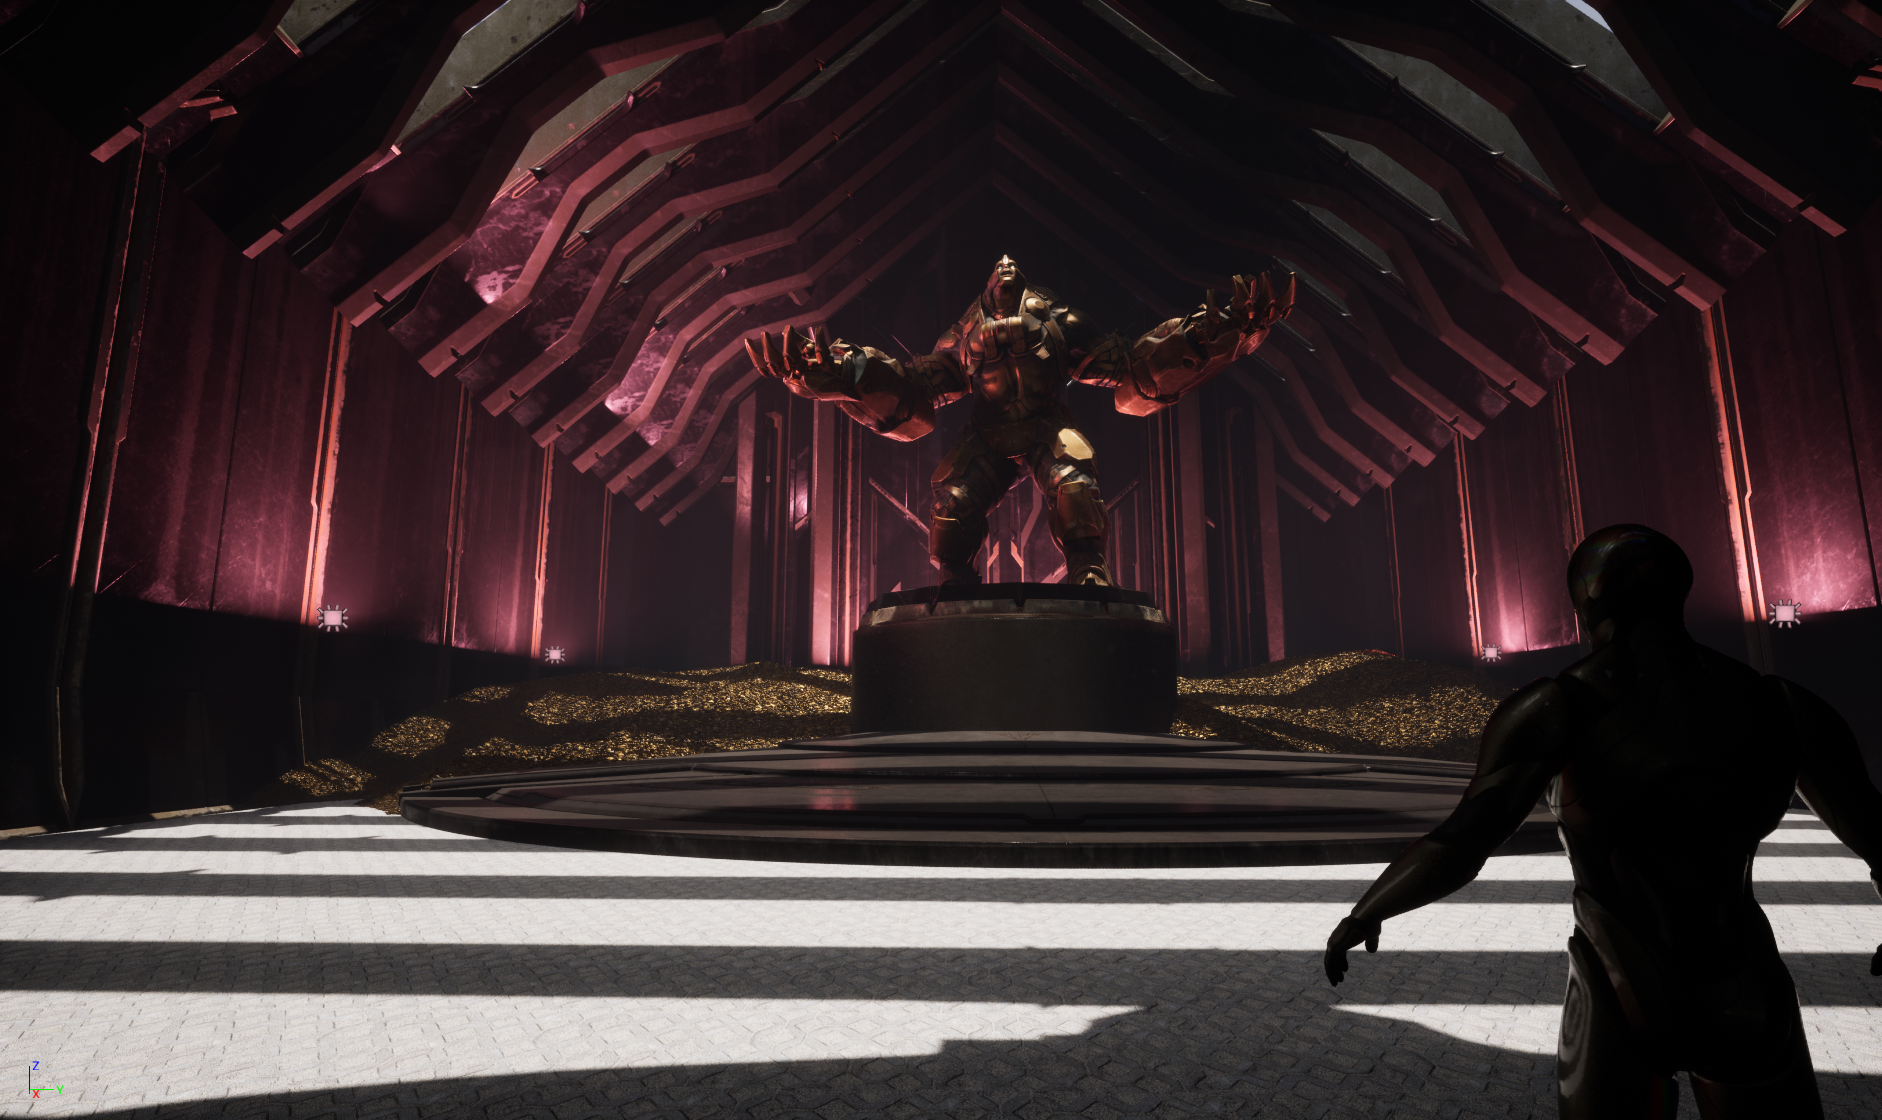
Sometimes you have frustrating days though. I remember I had one day where we had a great class on rendering but then tech issues kept me from working for large chunks of the day. During Scrums I showed my progress but mentioned I was a bit stuck with what I should do with my 2nd room. I had it as a 'dark' room, but it felt very similar to some of the others and I wasn't sure what to do.
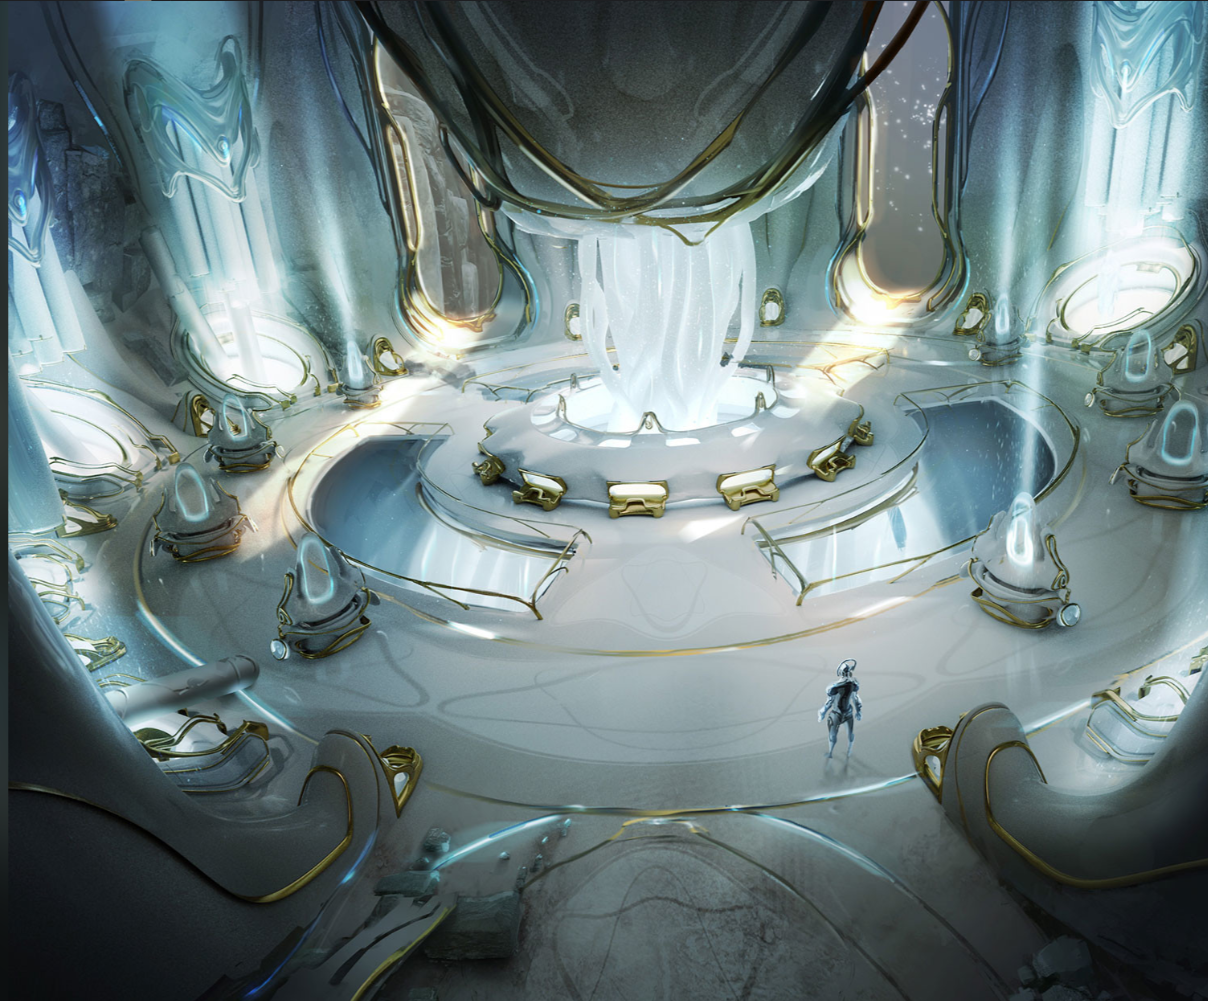
I was stumped, but Jana (one of the TAs) thought that some of the elements I used reminded her of the game Warframe. She shared some concept art and this one really looked cool.
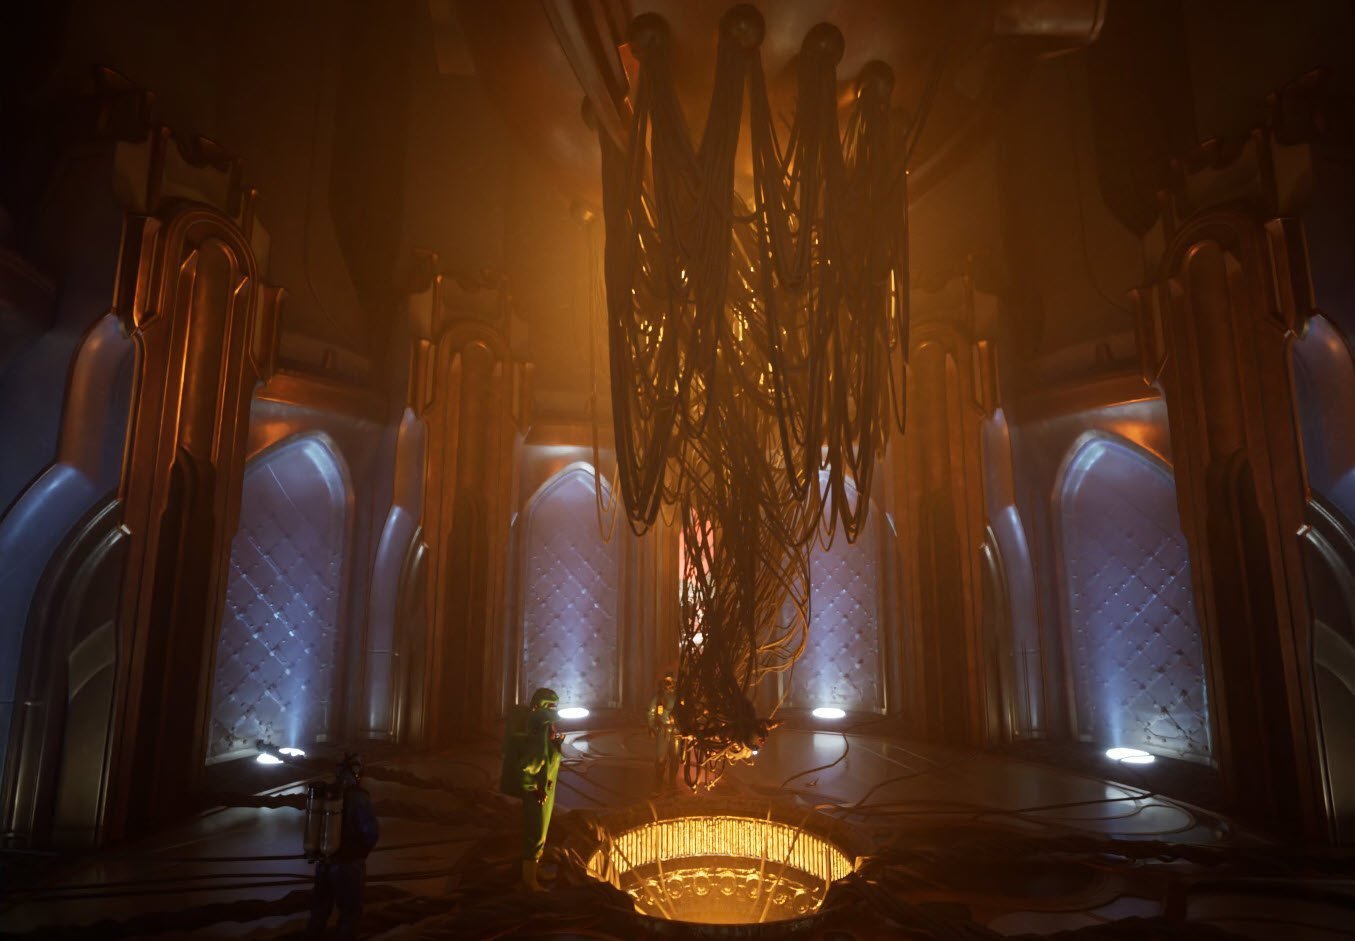
I started breaking down what I had and begin redoing the 2nd room. I liked the idea of all the wires in the center. I thought maybe I'd have a character hooked into the wires, like they're held captive by them.
Near the end of the day I was happy with my 1st chamber so I installed the Movie Render Queue to do a higher quality render. Something happened and my level was corrupted and wouldn't open. Not a huge deal, I had most of it backed up, but MAN, if I didn't it would have been really disheartening, I potentially could have lost a lot of work.
My backup plan was really simple. I bought a big-ass portable hard drive before the Fellowship started. Every night I copied EVERYTHING over to it. It's not sophisticated and it's a waste of space, but it was only another week and a half and it was very easy to do.
I was able to go back to where I was, and tweaked the lighting a bit. I was shocked at how much atmospherics added to the look of the scene.
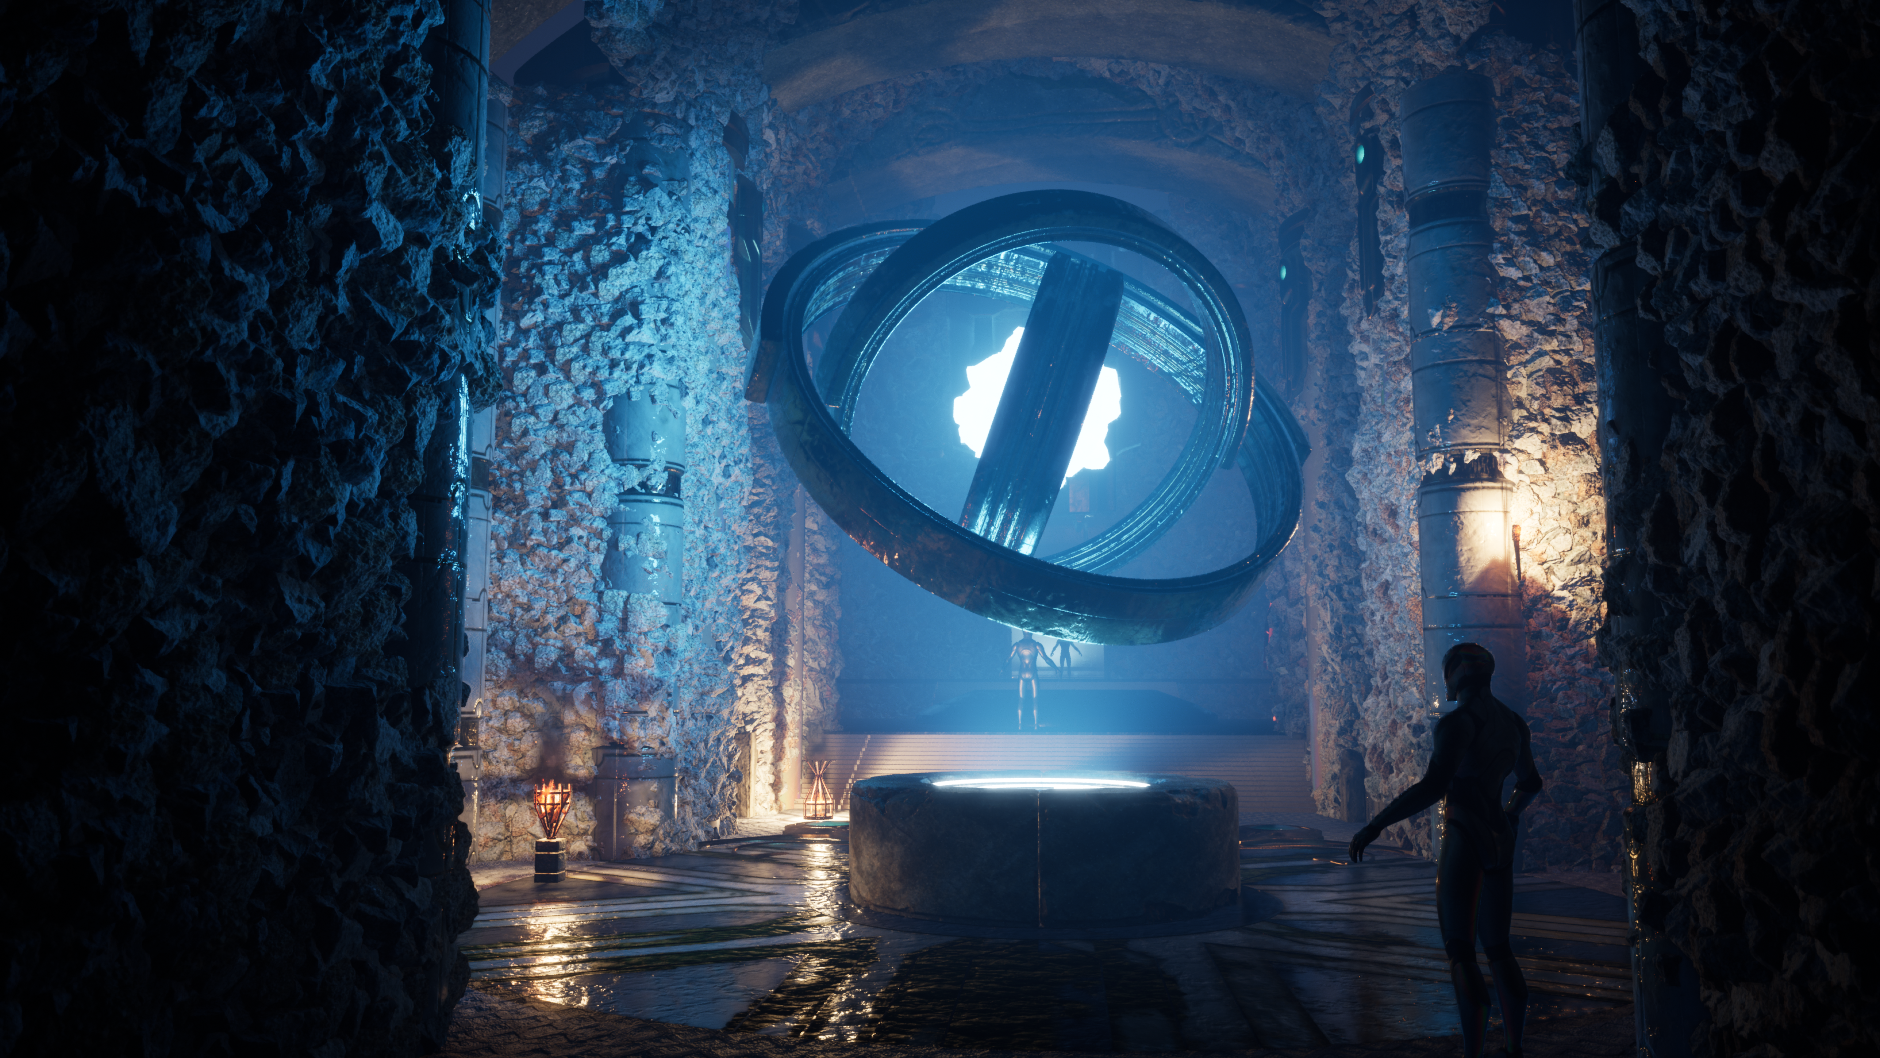
I really liked the look of the warm side lights with the blue centerpiece.

We had a break over the American Thanksgiving, so I tried to get some work in over that weekend (as well as teach a few make-up classes). I tried to make my version of the reference that Jana showed me from Warframe. I was happy with how it was turned out, but really wasn’t sure how to light it. (click the thumbnail for larger images)
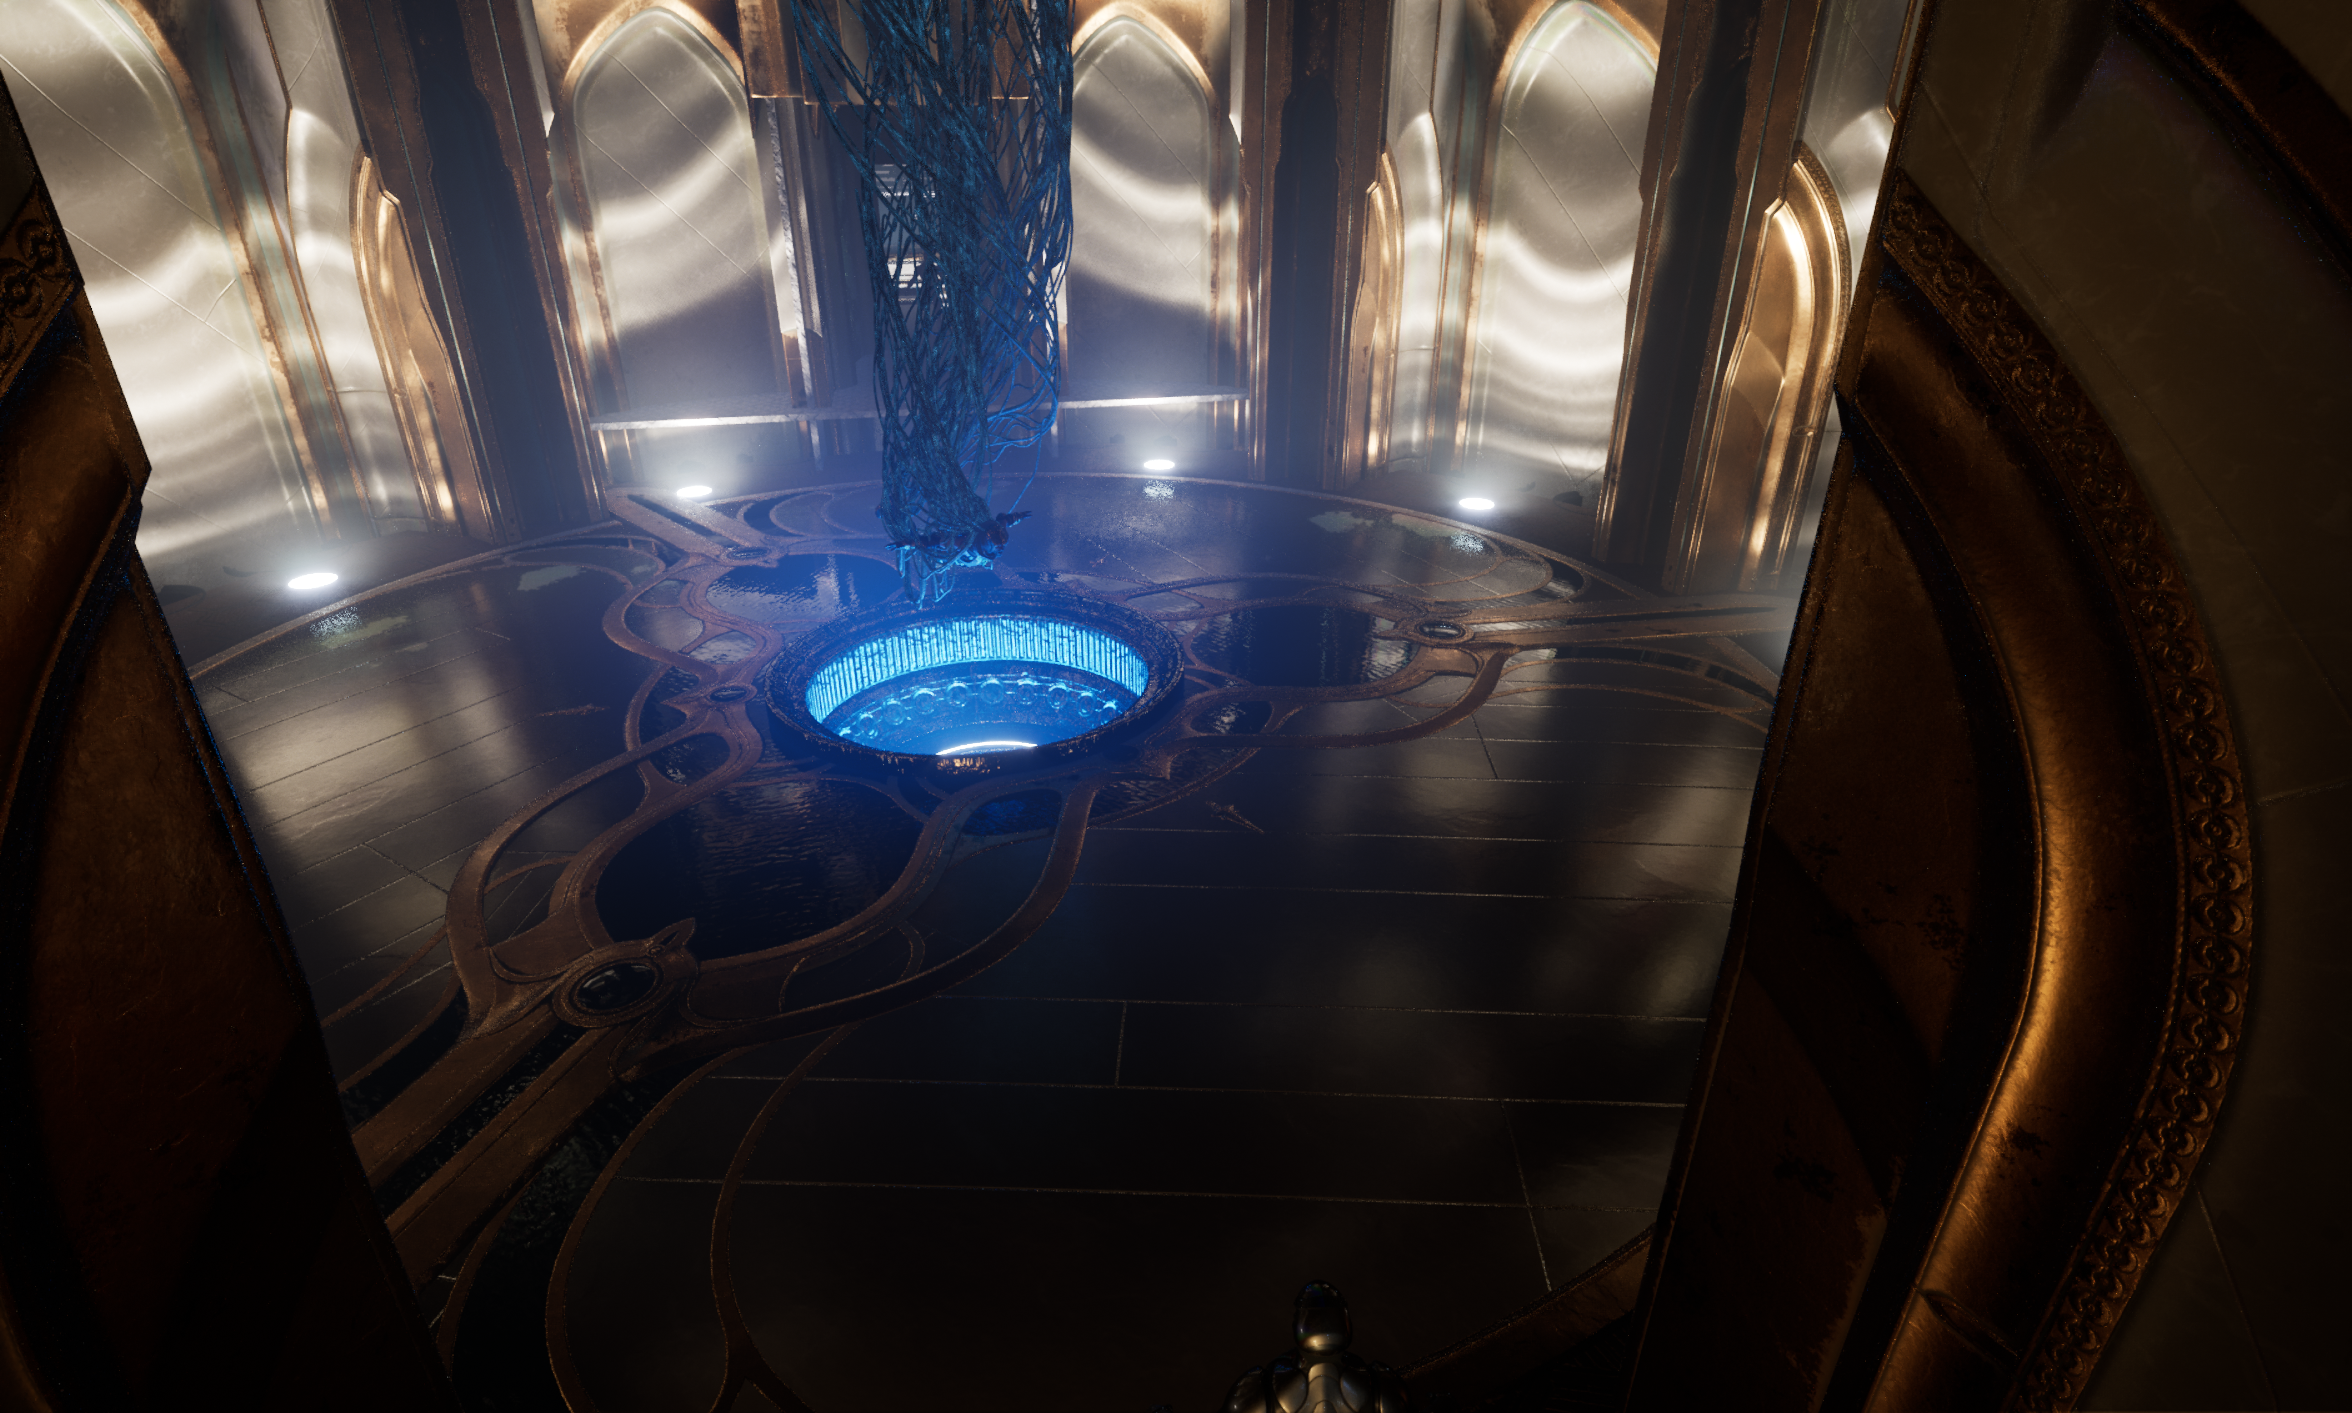
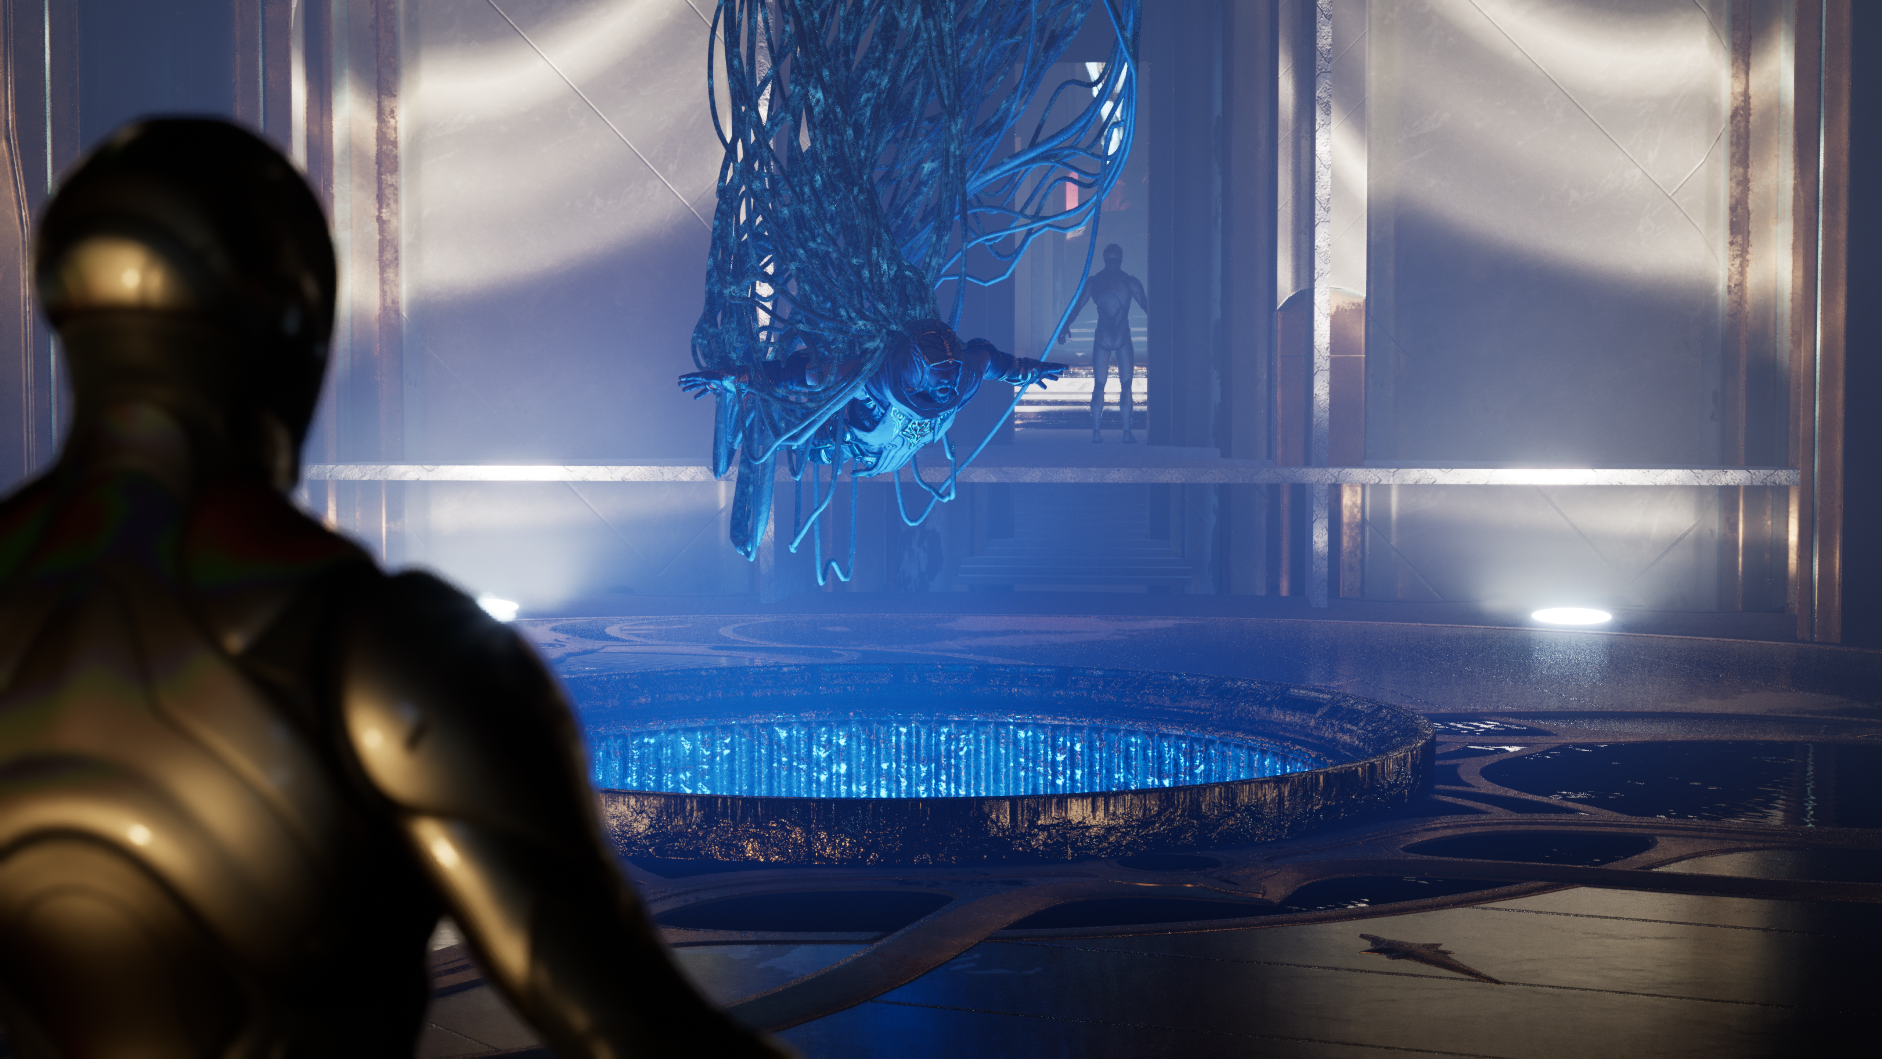
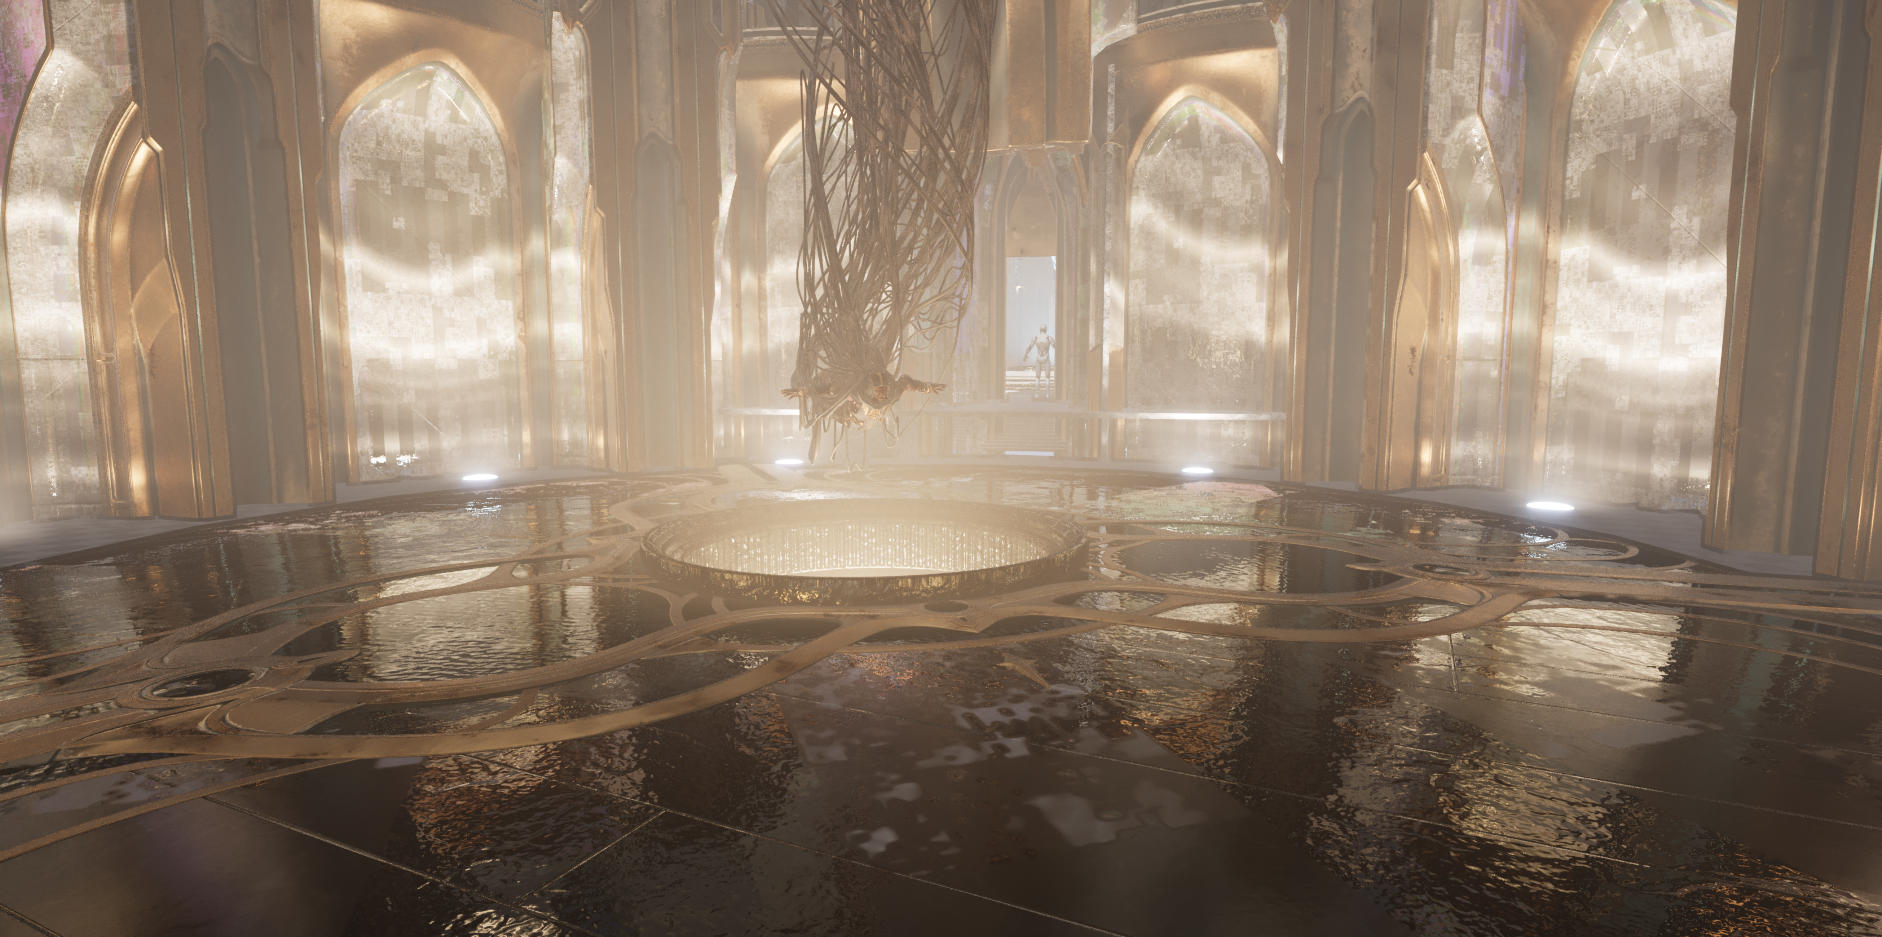
Maybe a bit heavy with the atmospherics.
I did a Pathtracing test. I brought the scene into 5.1 since the Pathtracer was updated to support atmospherics and decals. It didn’t work for me at first, but I eventually just had to turn up the atmospheric settings.


These were with 512 samples and took about 2 hours each. I was happy with how the reflections looked in the 2nd room.
At this point, I was absolutely exhausted. Over that weekend I had to teach several classes, I tried to clean up the condo a little (just some usual life stuff) and put in some work on the environment. I have notes here from that weekend that say “I'm very, very tired.”
At this point I was hoping that I would be able to render things out with Pathtracing, but I needed to do a lot of tests to see if I’d be able to pull it off. It takes so much longer but it's much more accurate with shadows and reflections. I think if I was doing an exterior I probably wouldn’t bother, but since I was doing an interior with a lot of reflective surfaces and indirect lighting, I think it was worth it.
Topaz Video is an AI denoiser that works really well. What I ended up doing was rendering it with noise (about 512 samples, slow but not impossible) but minimal fireflies, then run it through the Topaz Video. The Unreal denoiser is fine for still images but has a lot of flickering for sequences. Since the Fellowship took place near Black Friday I was able to pick it up 40% off. It helped to quiet down a lot of the sampling noise.
This was my denoised test from that weekend. I was happy with the results and it was going to shave off hours from my render times.

I have more notes from that time that say
“I'm just really tired. I started making a magical, glowing material tonight that I want to place around the scene and I started on a forest environment for the temple to sit in, but I'm going on fumes. Covid, Fellowship and teaching are really tough to balance out.”
I tried rendering out just the atmospherics by slapping a huge black decal over everything. I thought it looked cool!
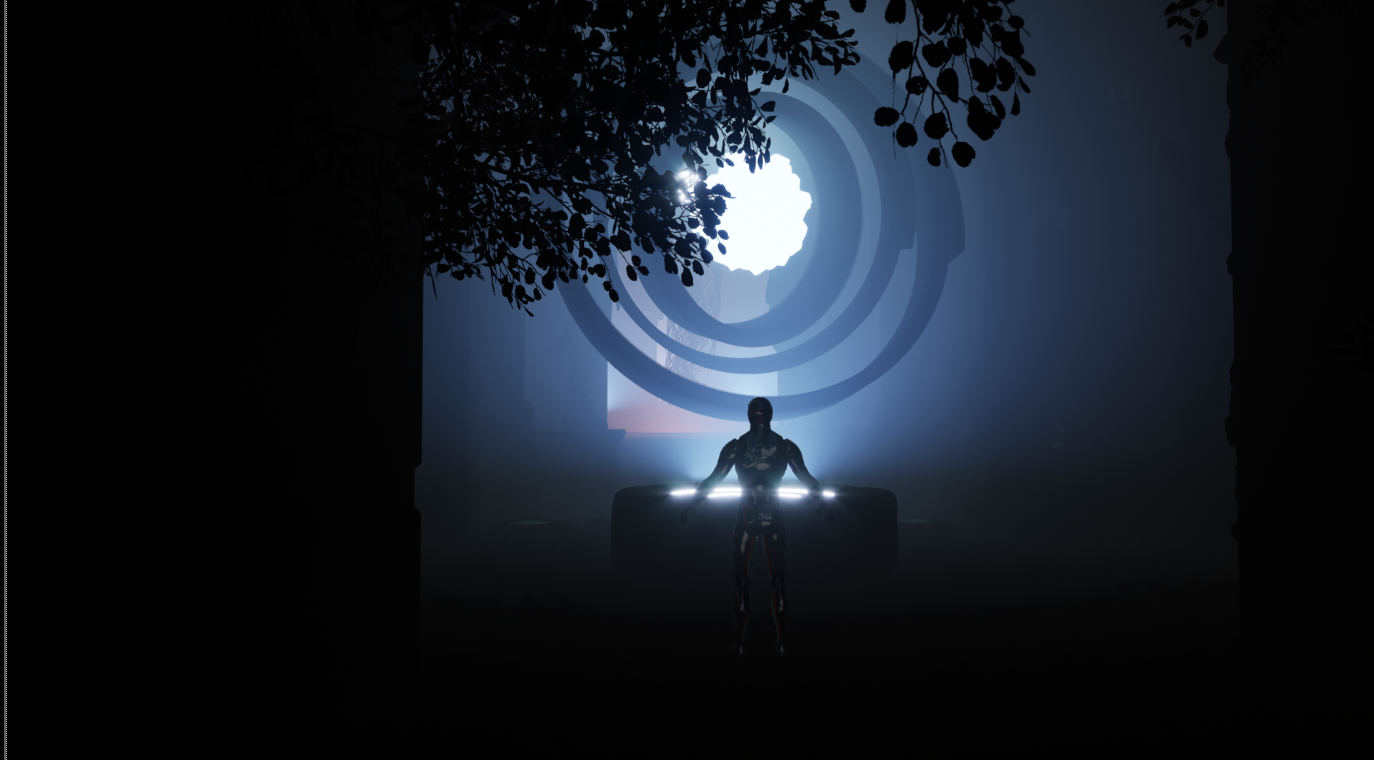
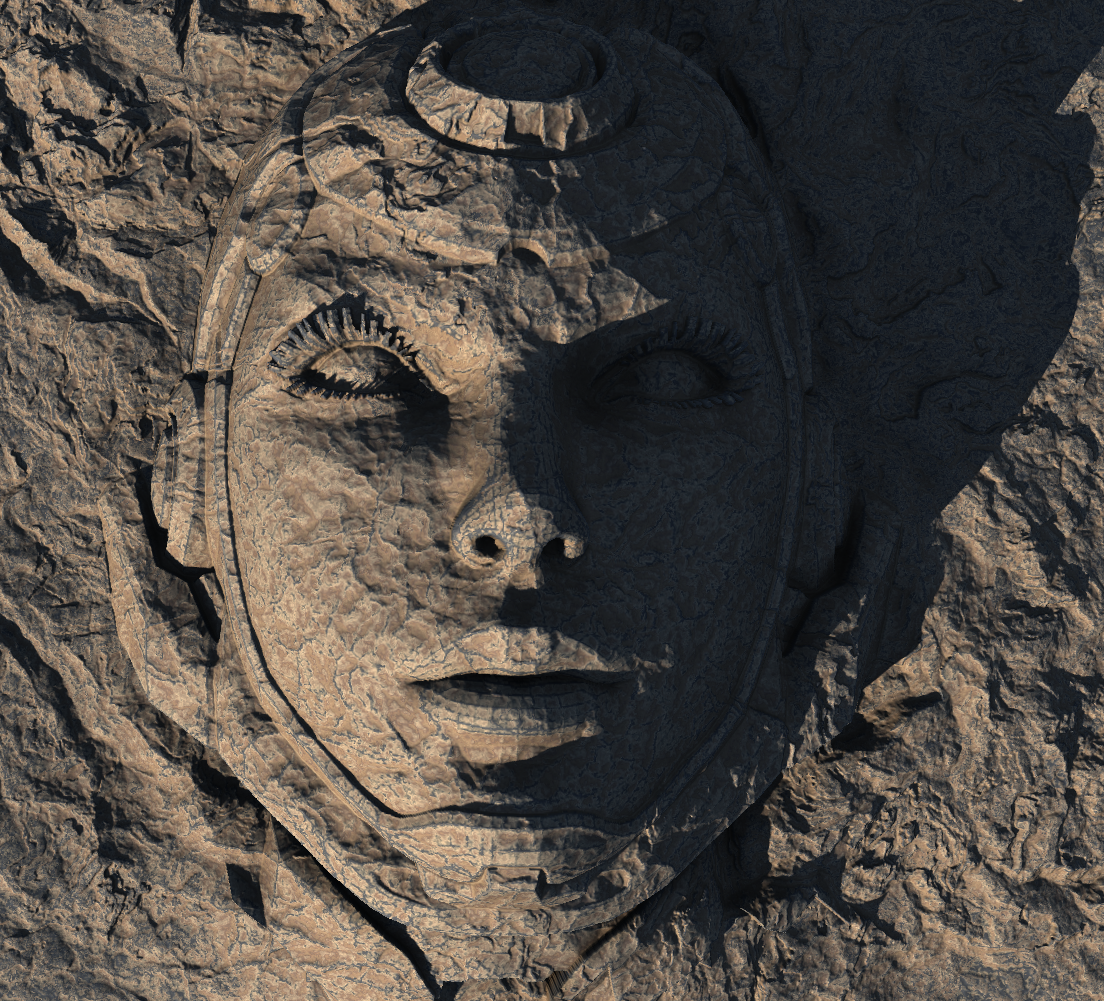
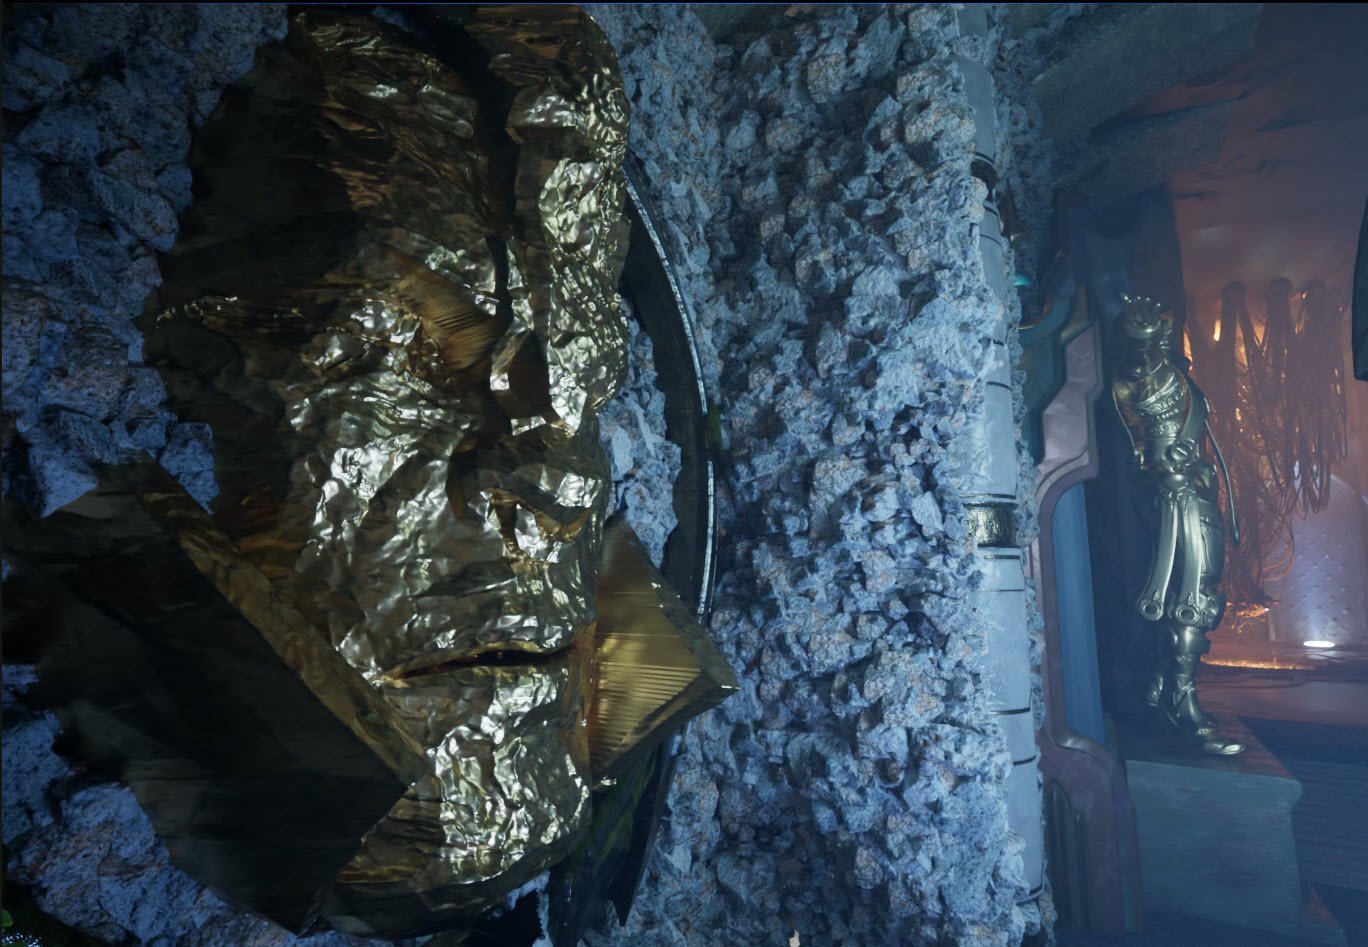
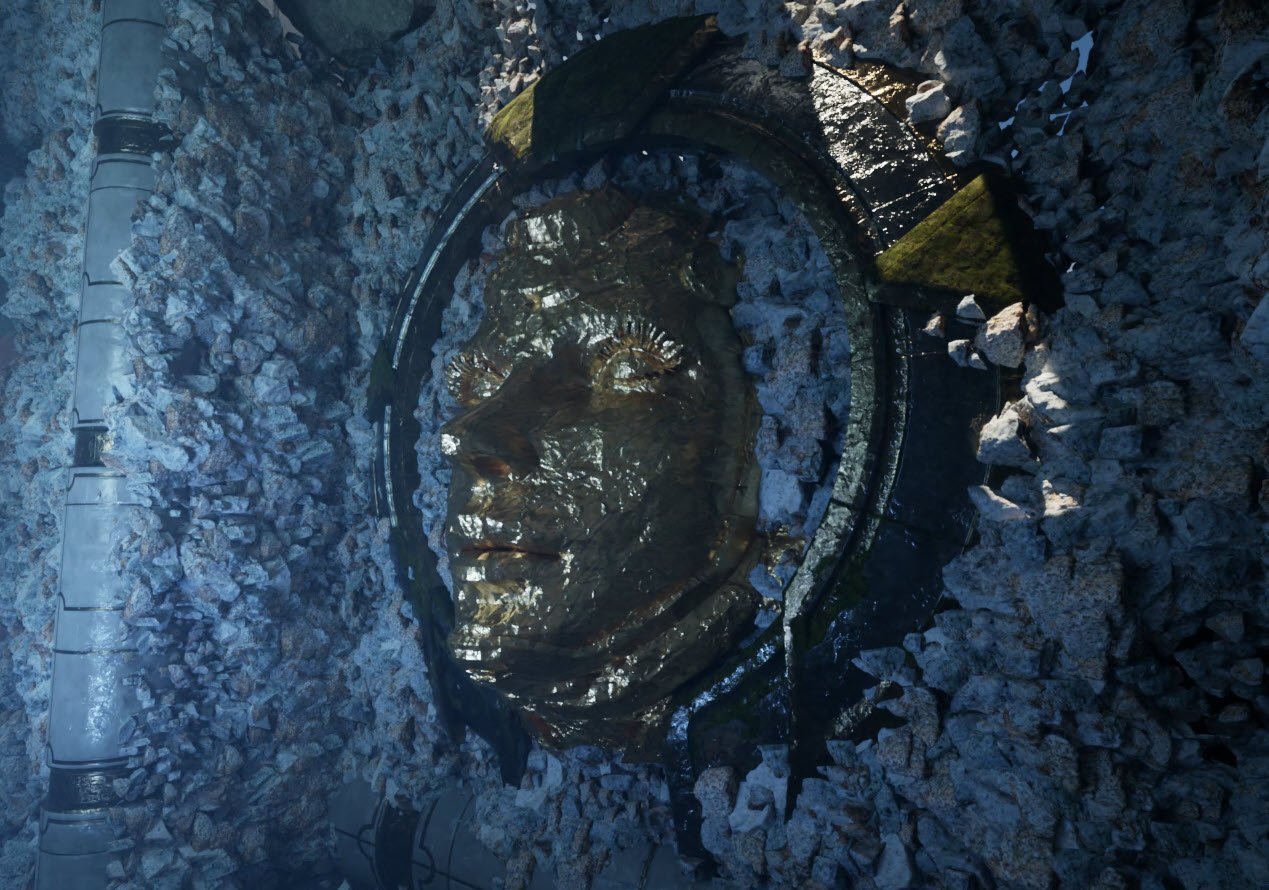
I showed my work in progress to the Head of the Virtual Art Department at PXO and she had a bunch of awesome notes. One thing she pointed out was that my 1st room was very monochromatic because of the strong blue light. I thought it might be cool to add large heads in that room, like they were statues or monuments. I’d make them look like gold to break up all the blue in the room.
I projected some faces on to a height field in Houdini, then imported that height field into Gaea where I ran several operations on it to make it look rocky. Then I exported that height map out of Gaea and back into Houdini where I made it into geometry. Then I brought that 4,000,000 poly geometry into Unreal, which handled it like nothing (after the initial conversion to Nanite. Nanite is really amazing).
I know that technically I could have done that entire step in Gaea, but I think Houdini handled the geometry bits a little nicer.
At this point, I was just trying to add finishing touches to things. I added in some frozen geometry of people to help with the sense of scale and to imply parts of a story.
We were suppose to submit a 1 minute flythrough of the scene. I’m not an expert when it comes to camerawork. I thought at first I could 3D track some nice camera moves from movie trailers or shots from films and use that as the camera work in for my flythrough.
That was going to be a lot of work. I did a traditional flythrough and I kind of hated it. It felt very mechanical and CG. Then I remembered that Epic had updated the LiveLink VCam app for the iPhone. I had tried using it last year and I had horrible luck with it. It never seemed able to establish a reliable connection. But I thought, what the hell, might as well give it a shot.

My flythrough WIP, which I hated. It felt very CG to me.
The update worked really well. The connection was rock-solid. It was really cool to walk around and looking through my phone it was like I was actually walking around the scene. I thought, this might actually give it the feeling of scale that I wanted.
This was my final submission for the Flythrough.
Some stills showing a wider view. Click for larger images.
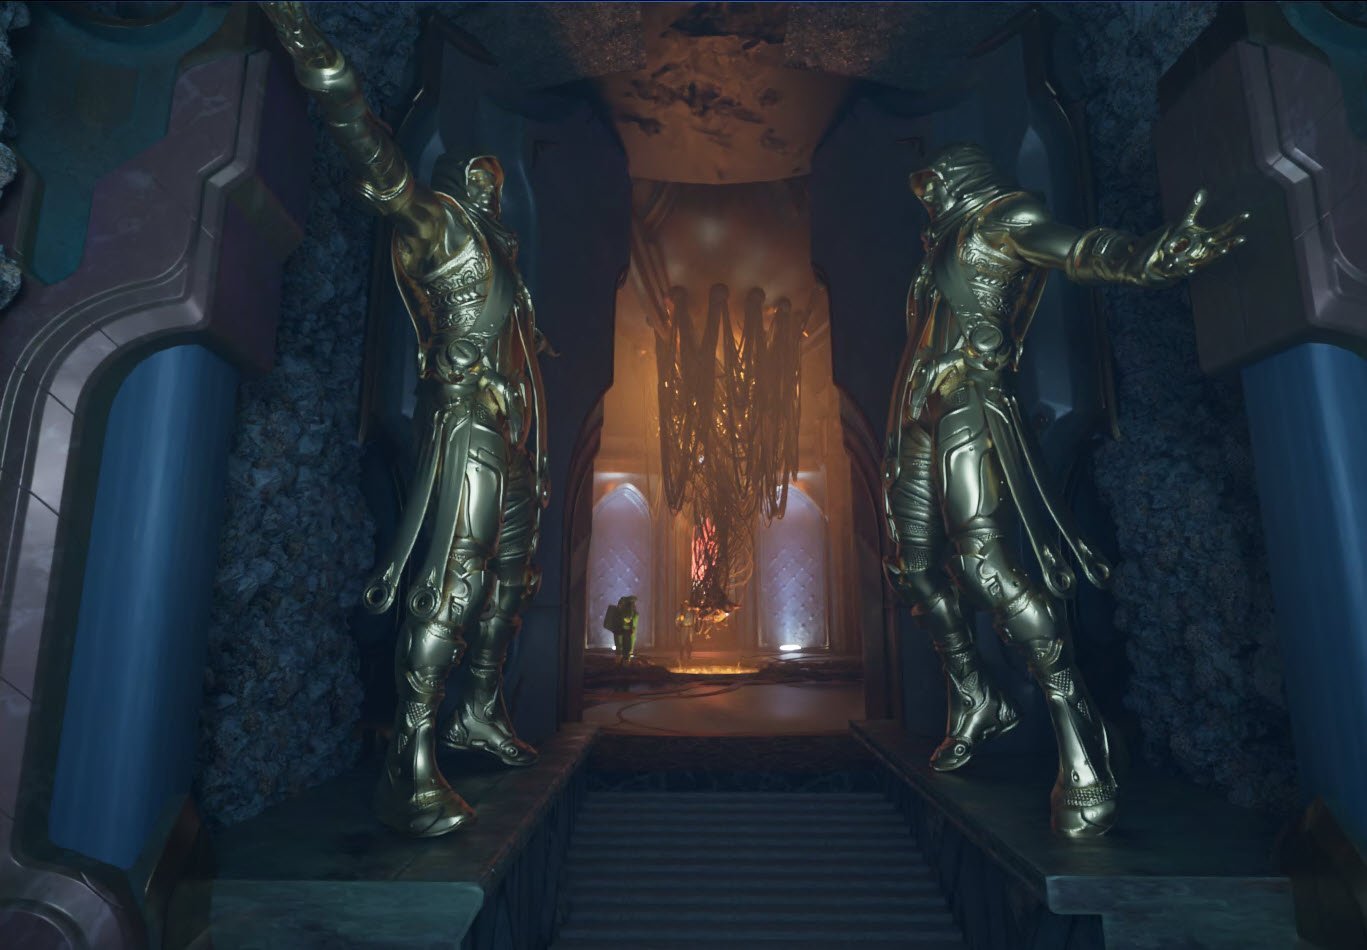
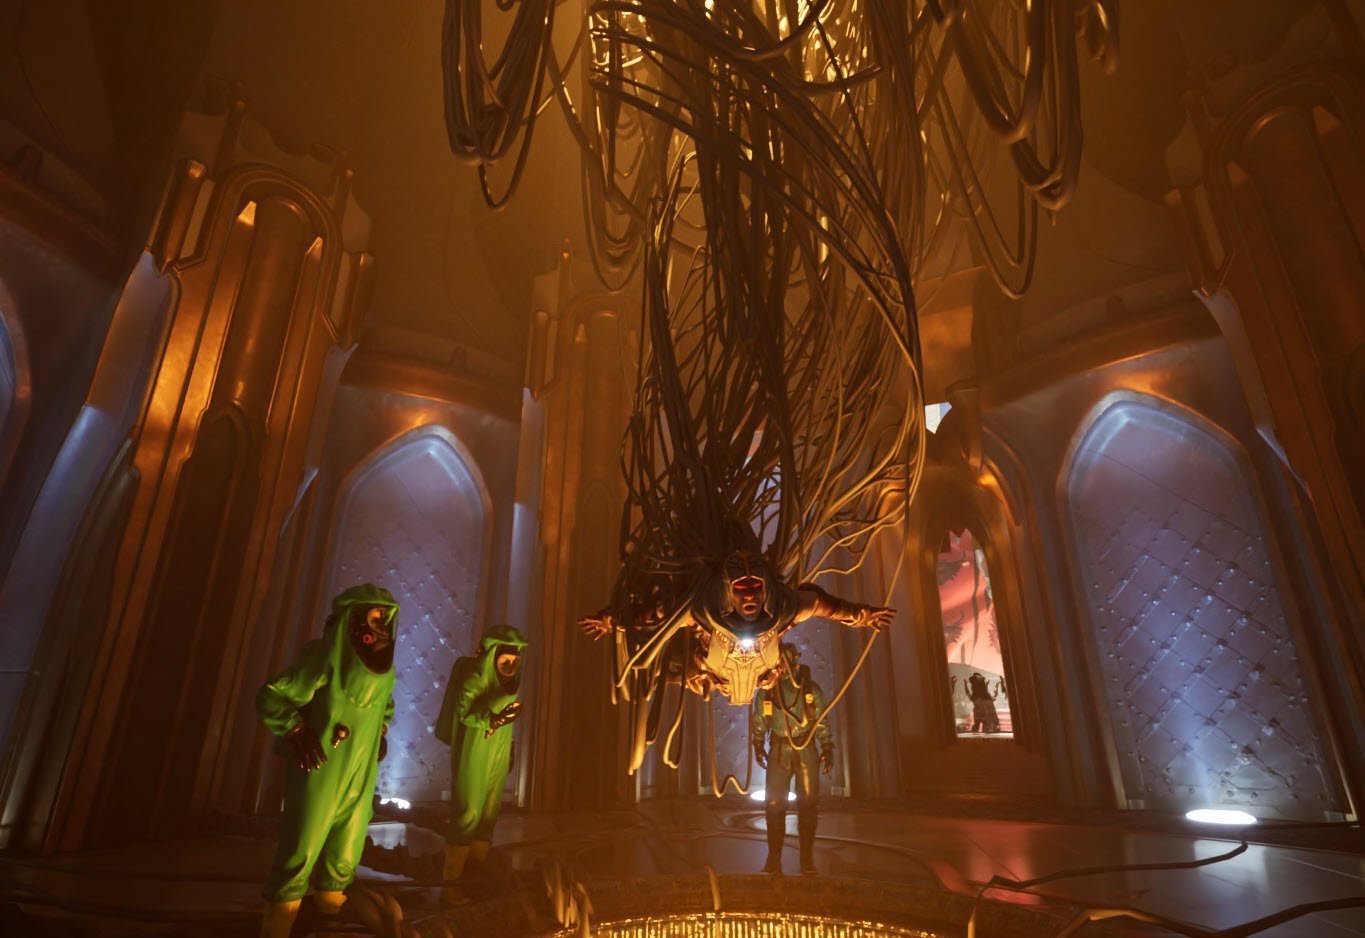
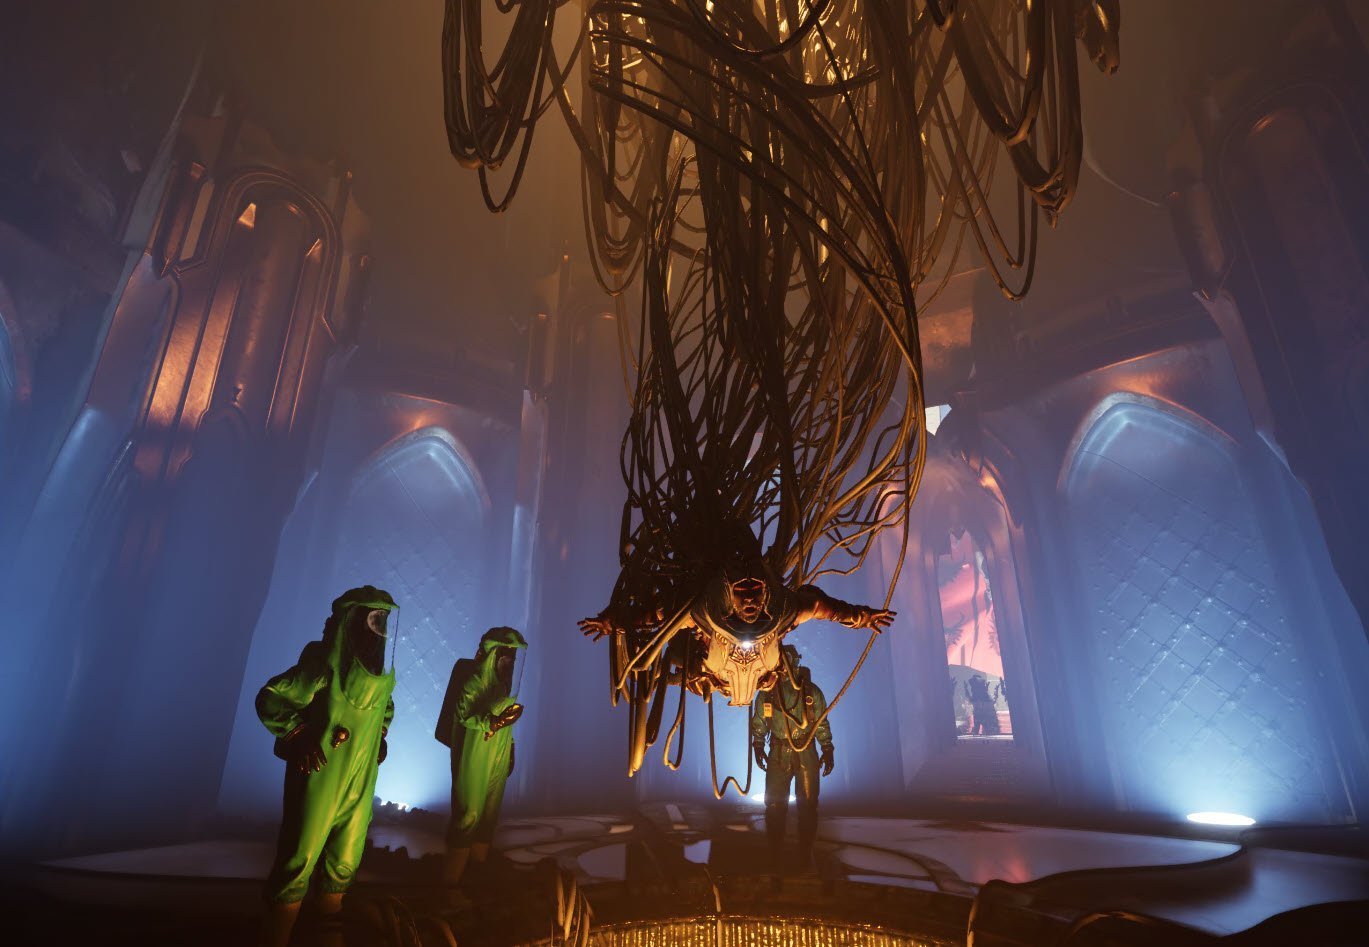
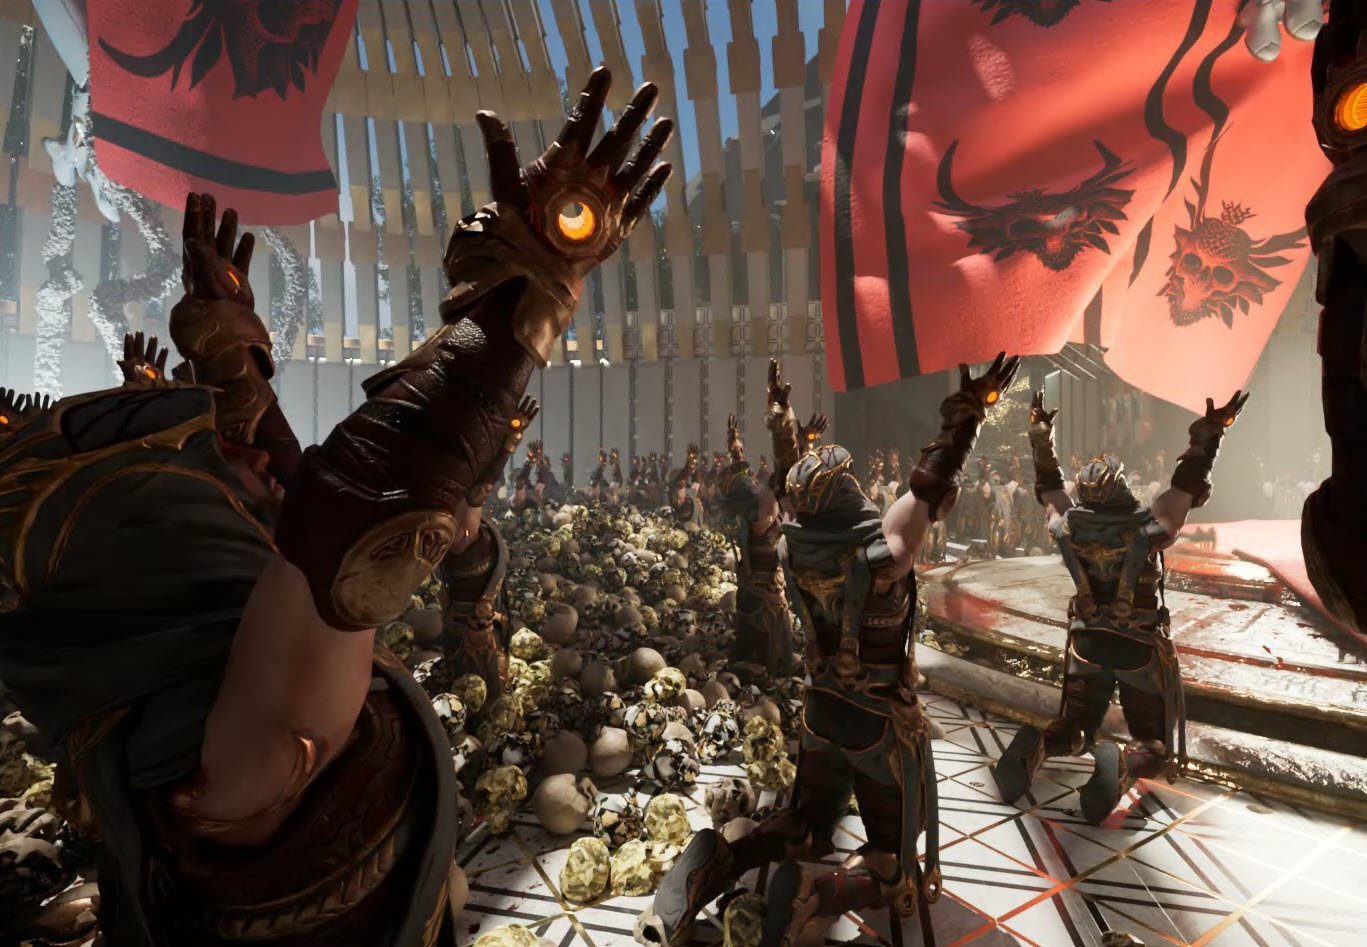
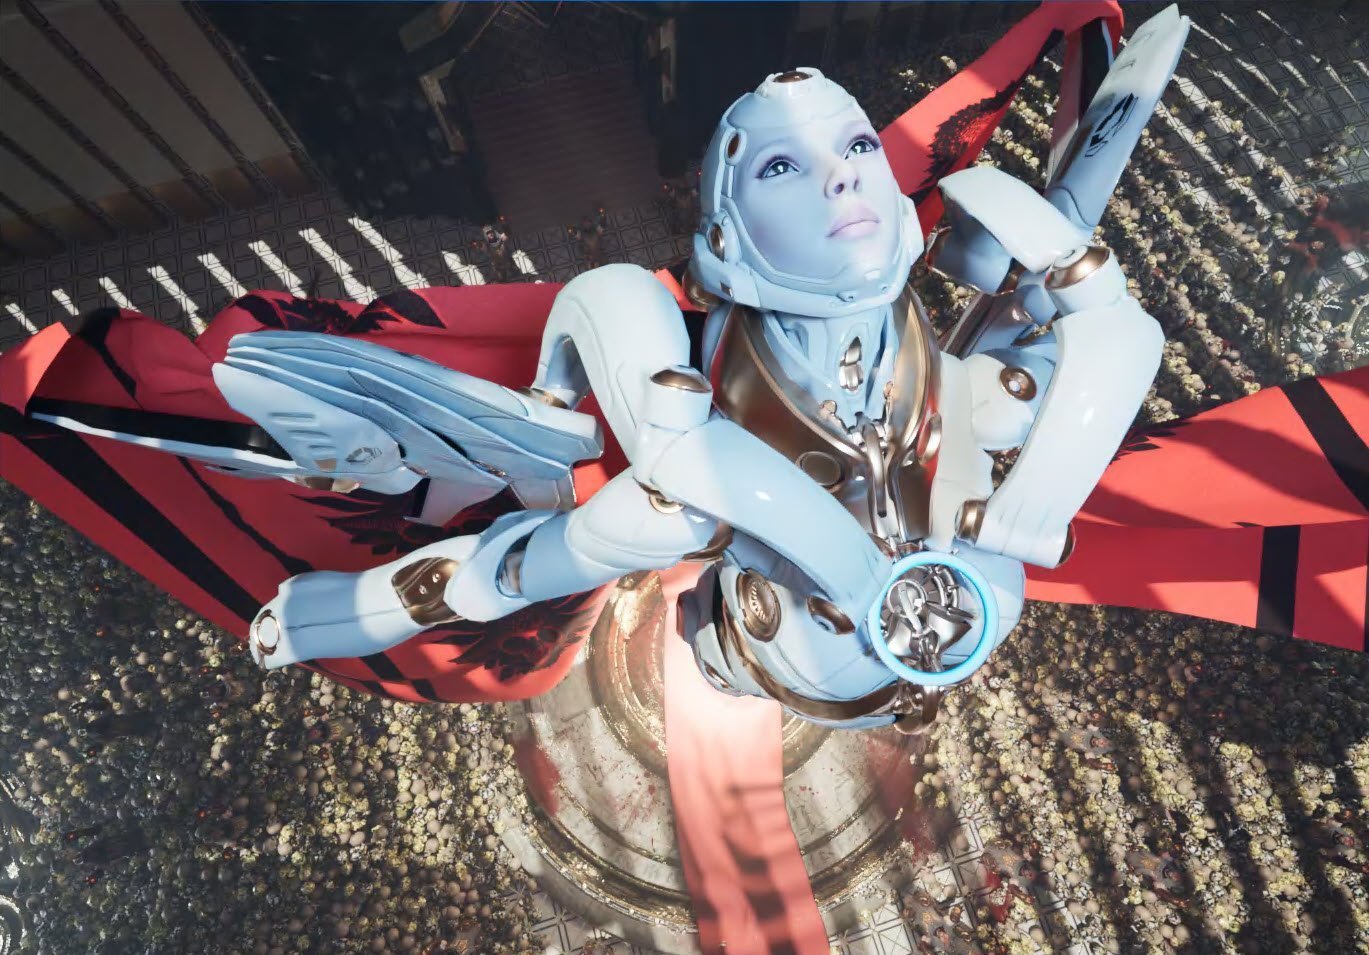
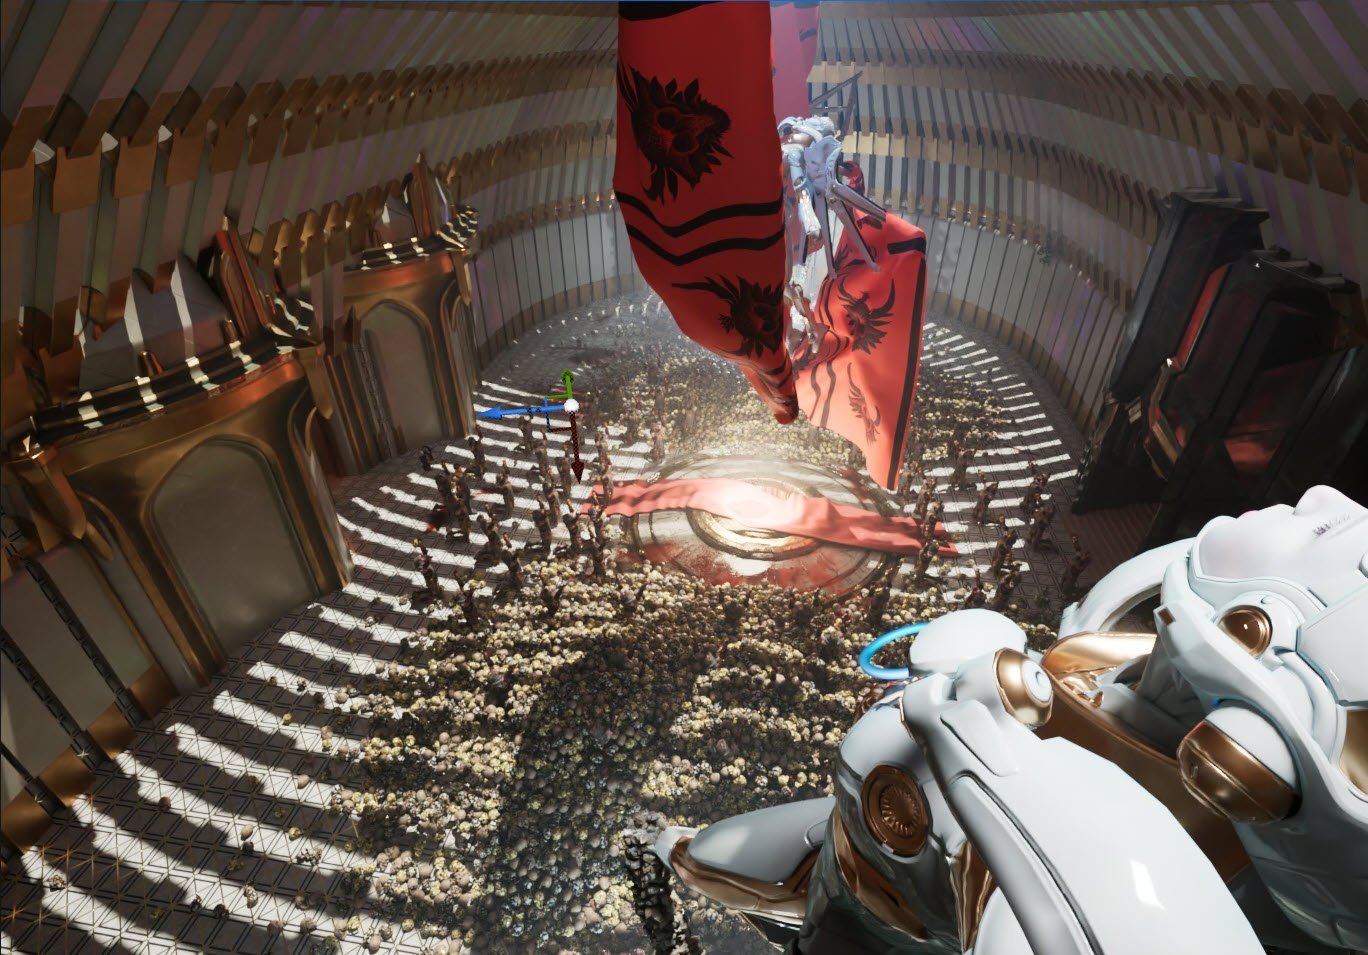
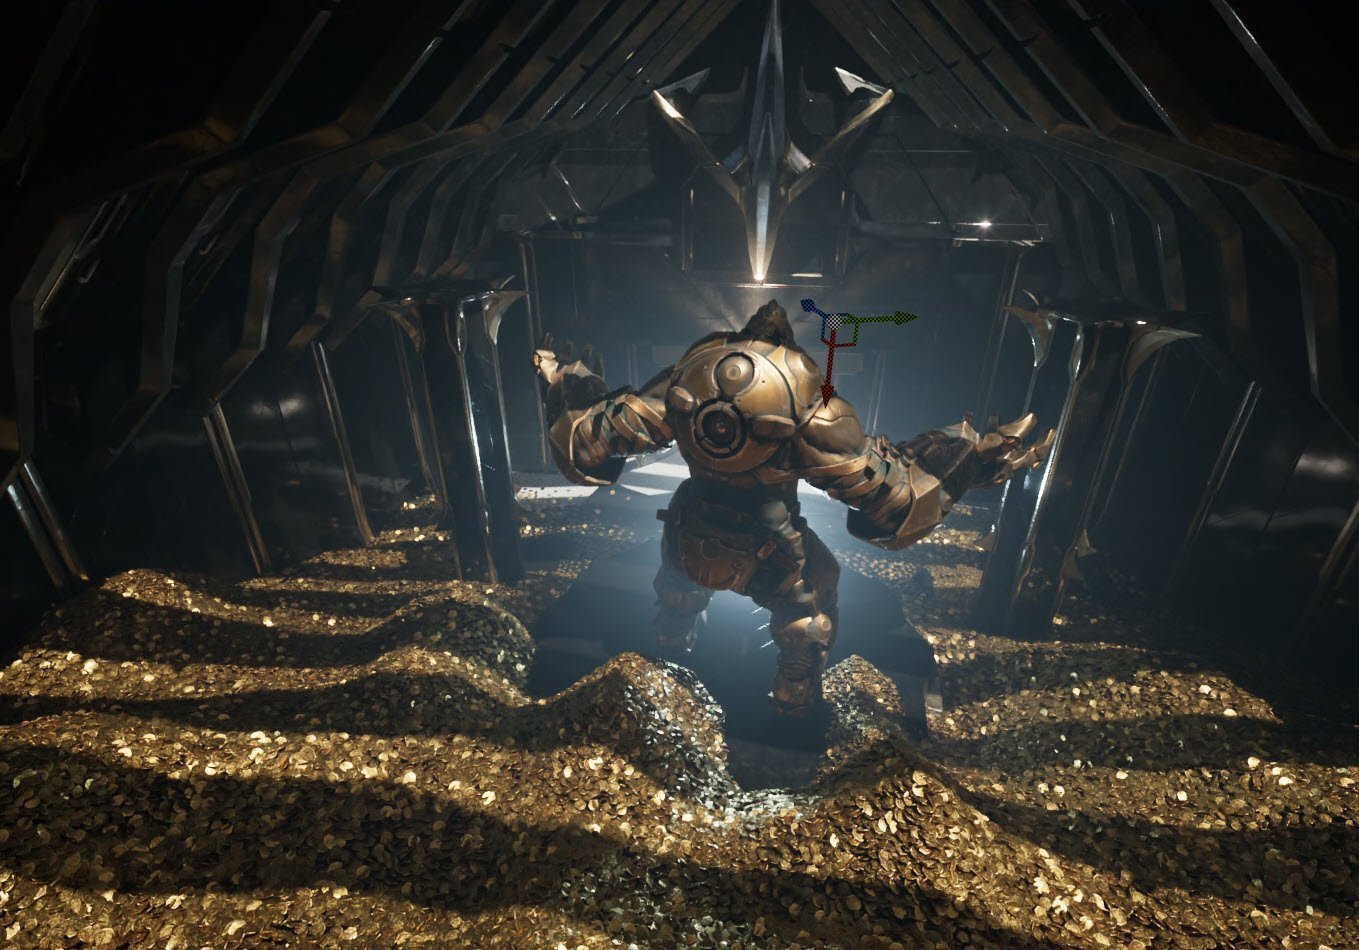
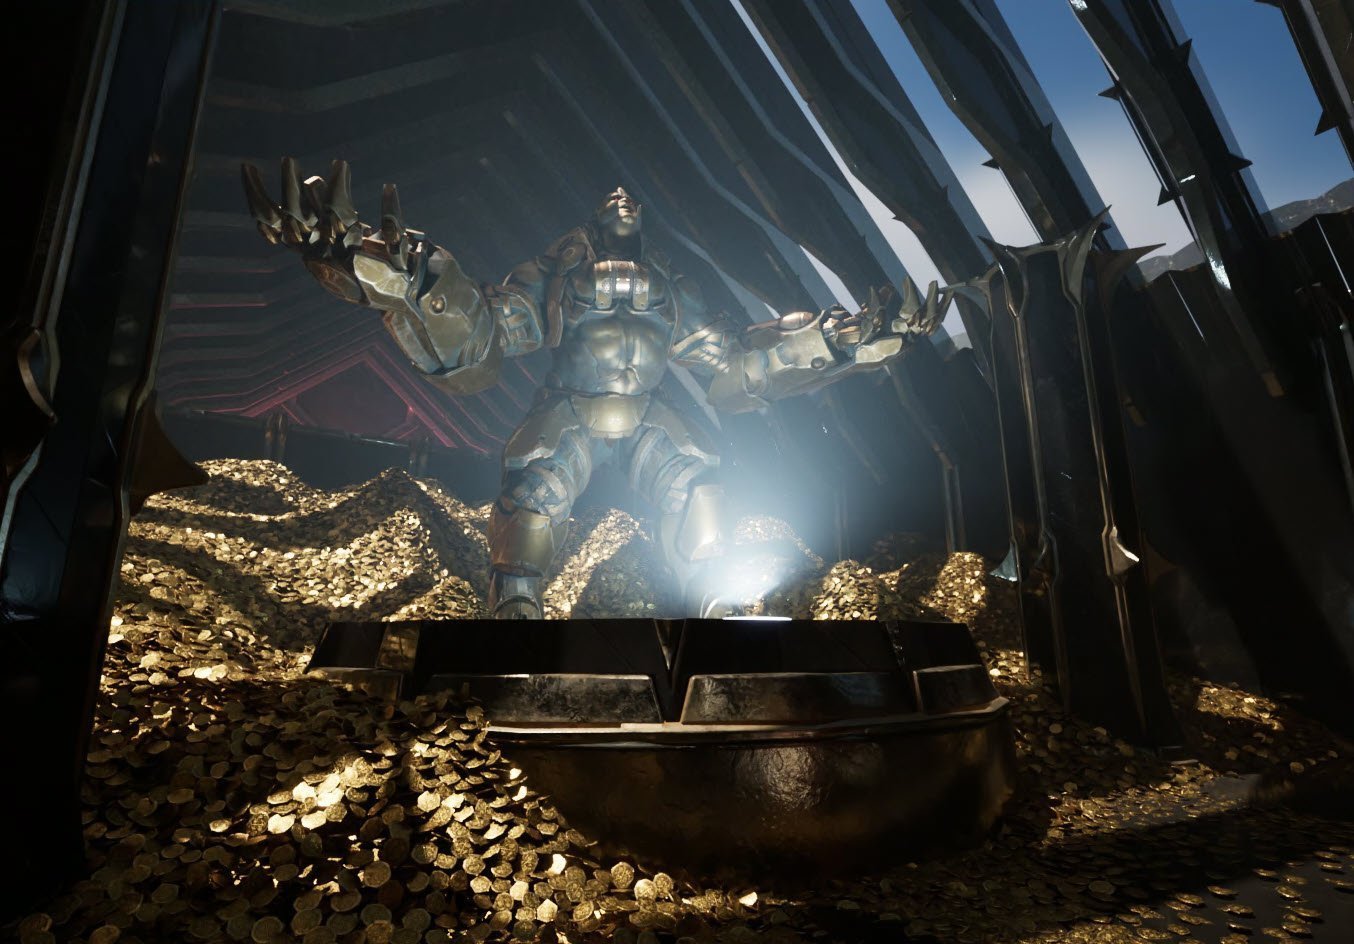
We also had to make a turntable of our environment. I didn’t bother pathtracing this one, and I wasn’t sure which room should be turntabled, so I did all 4 and the exterior. I think this was all rendered with Lumen so this went quite fast. I did my best to make the exterior look cool, but it wasn’t a major focus.

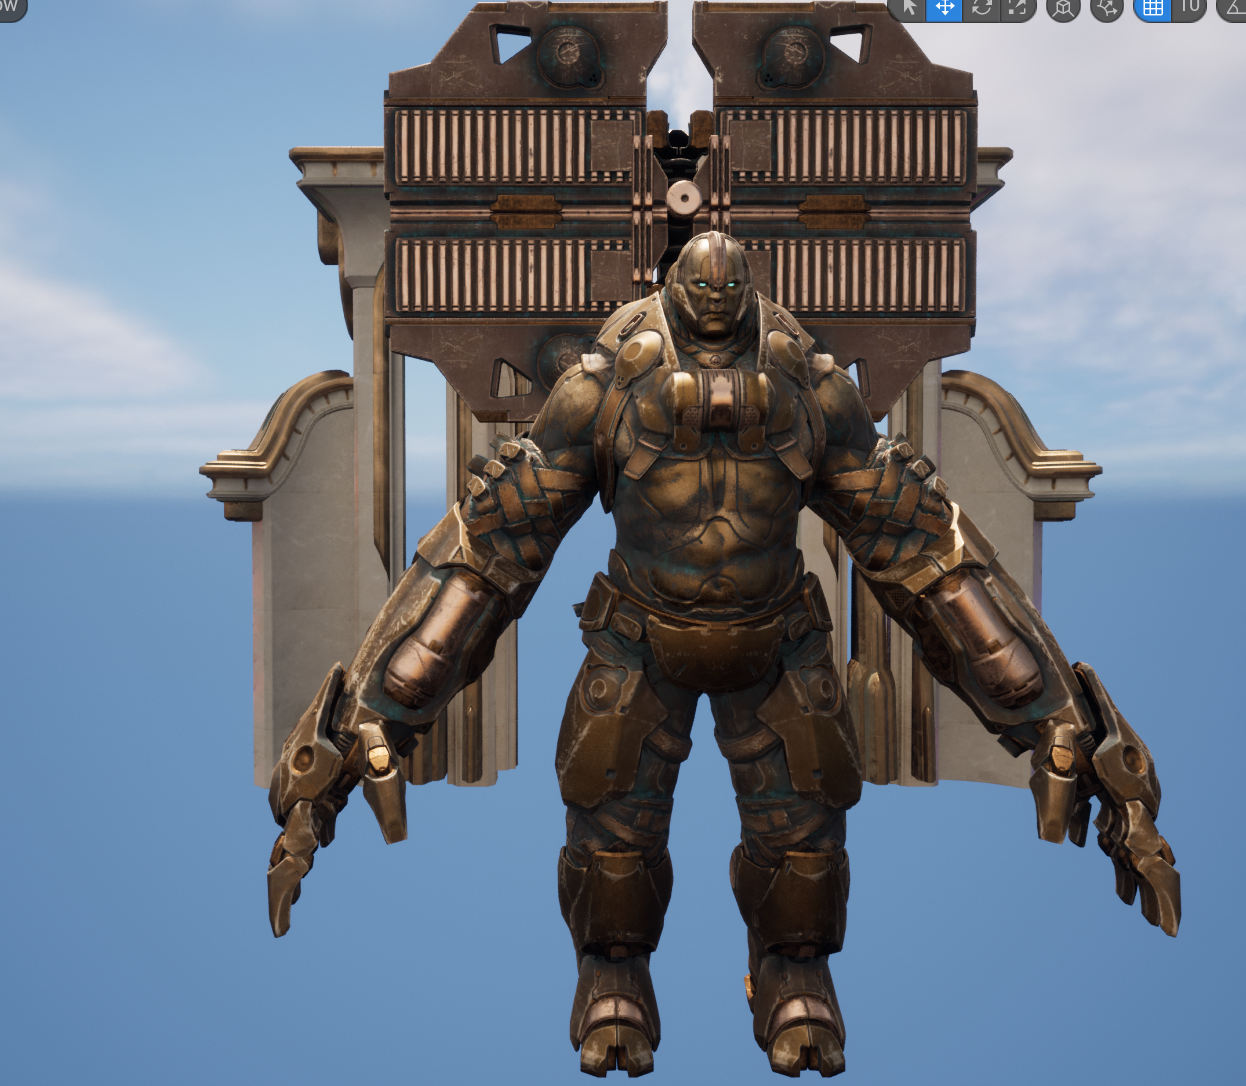
Once I submitted everything, I really wanted to do a few scenes with some characters. I had used the Paragon characters of Twinblast, Boris and Steel in my Fellowship short film, and I wanted to sprinkle them around. But I was worn out and tired. This didn’t make the final deadline but it was a lot of fun. I might do a few other scenes and add them to this article later on.

This was SO MUCH FUN. I learned a lot about Unreal and how it’s an awesome fit for environment work. I learned so much about how it procedurally scatters foliage, how it handles grass, new features like Data Layers and Packed Level Instances. But honestly, the best part was being given a creative task and just digging into it. For a few weeks it was like I was back in college where I’d do all-nighters to get assignments done. Even though I honestly can’t do all-nighters anymore (at least, not without paying a price I’d rather skip) the Fellowship has that flavor.
You’re surrounded by all these creative people which is so inspiring. Brian Pohl and the team create a very, very supportive atmosphere where you can take chances, do your best work, and come out a better artist at the end of it.
The overwhelming emotion I have is gratitude.
I’m grateful to Julie Lottering and other Epic executives I’ll never meet who continue to approve the budget for the Fellowship.
I’m grateful to Brian Pohl, Cathy Cheo-Isaacs and all the people behind the scenes who work hard to make sure it runs smoothly.
I’m grateful to all the instructors and TAs who were so patient and giving of their knowledge.
I’m grateful to all my Fellows who helped and answered questions in the Slack.
I’m grateful to the college and my students for accommodating my crazy schedule for almost a month.
I’m grateful to Pixomondo for letting me take the time to do this.
I’m grateful for my wife for putting up with me checking out for a month and being on the computer every day and night.
I am very grateful for my opportunity to be in several Fellowships over the past year and a half. It really rekindled and renewed a lot of creative fire and passion for art that had faded over the past little while.