Tutorial
Grooming Bear
Grooming Bear
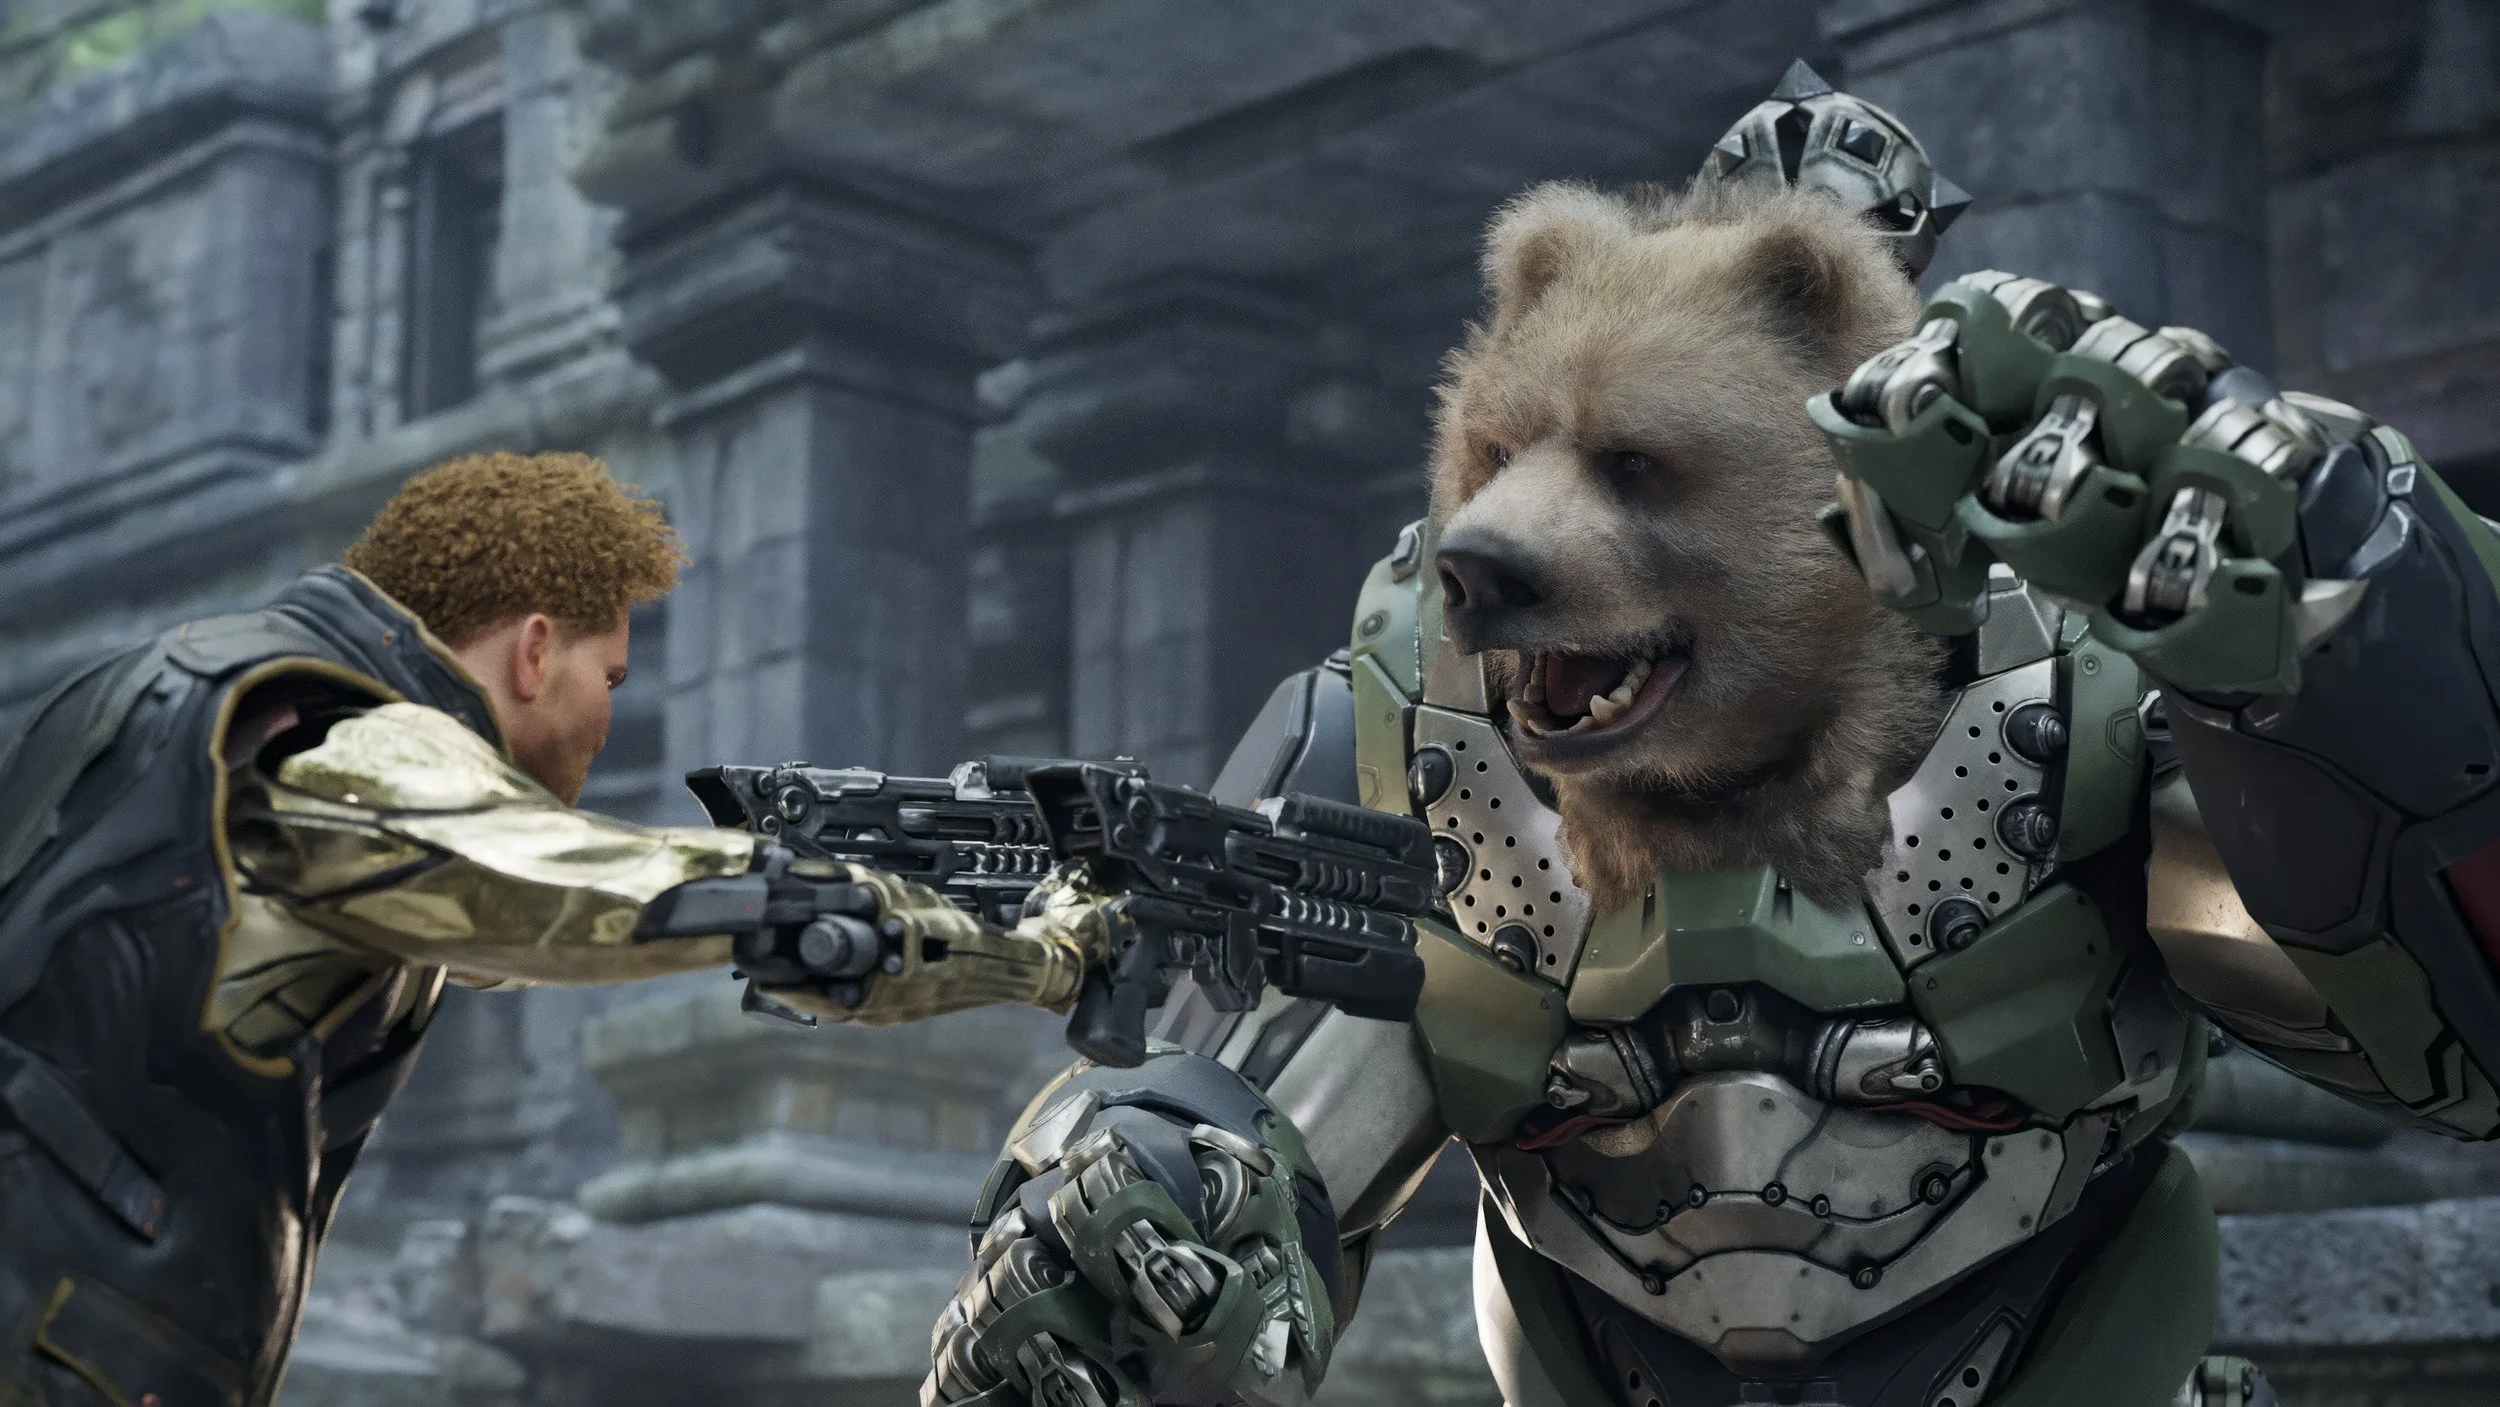
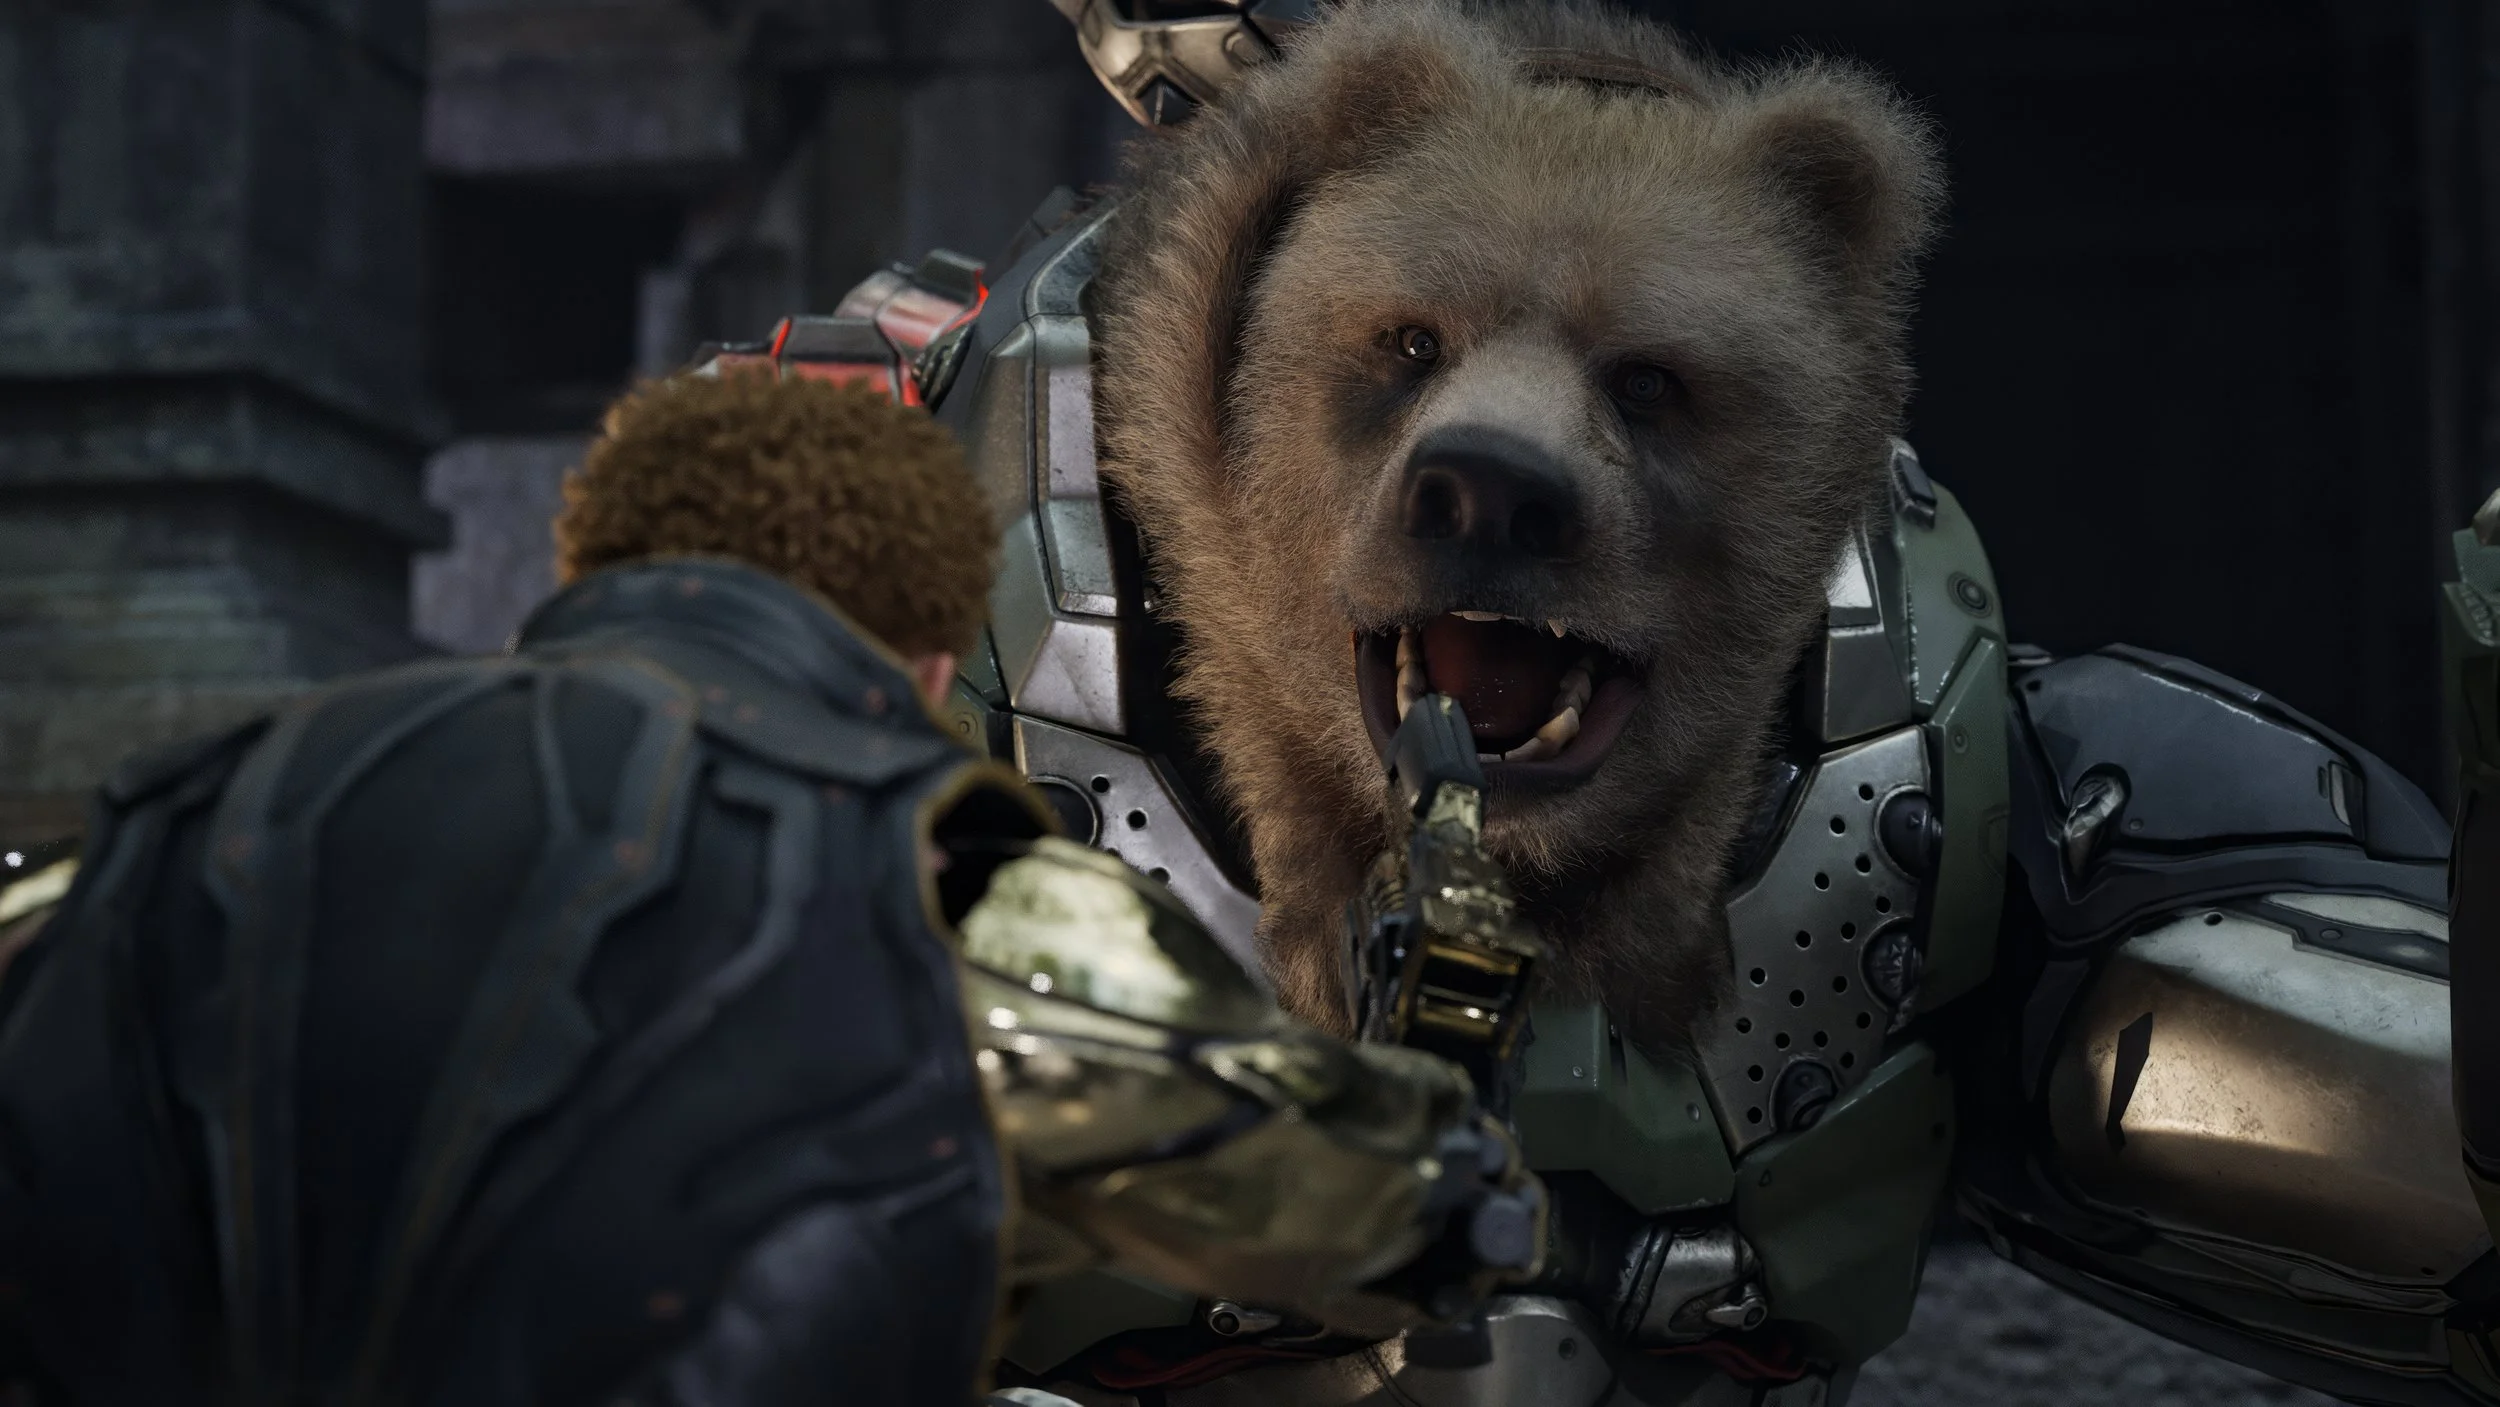
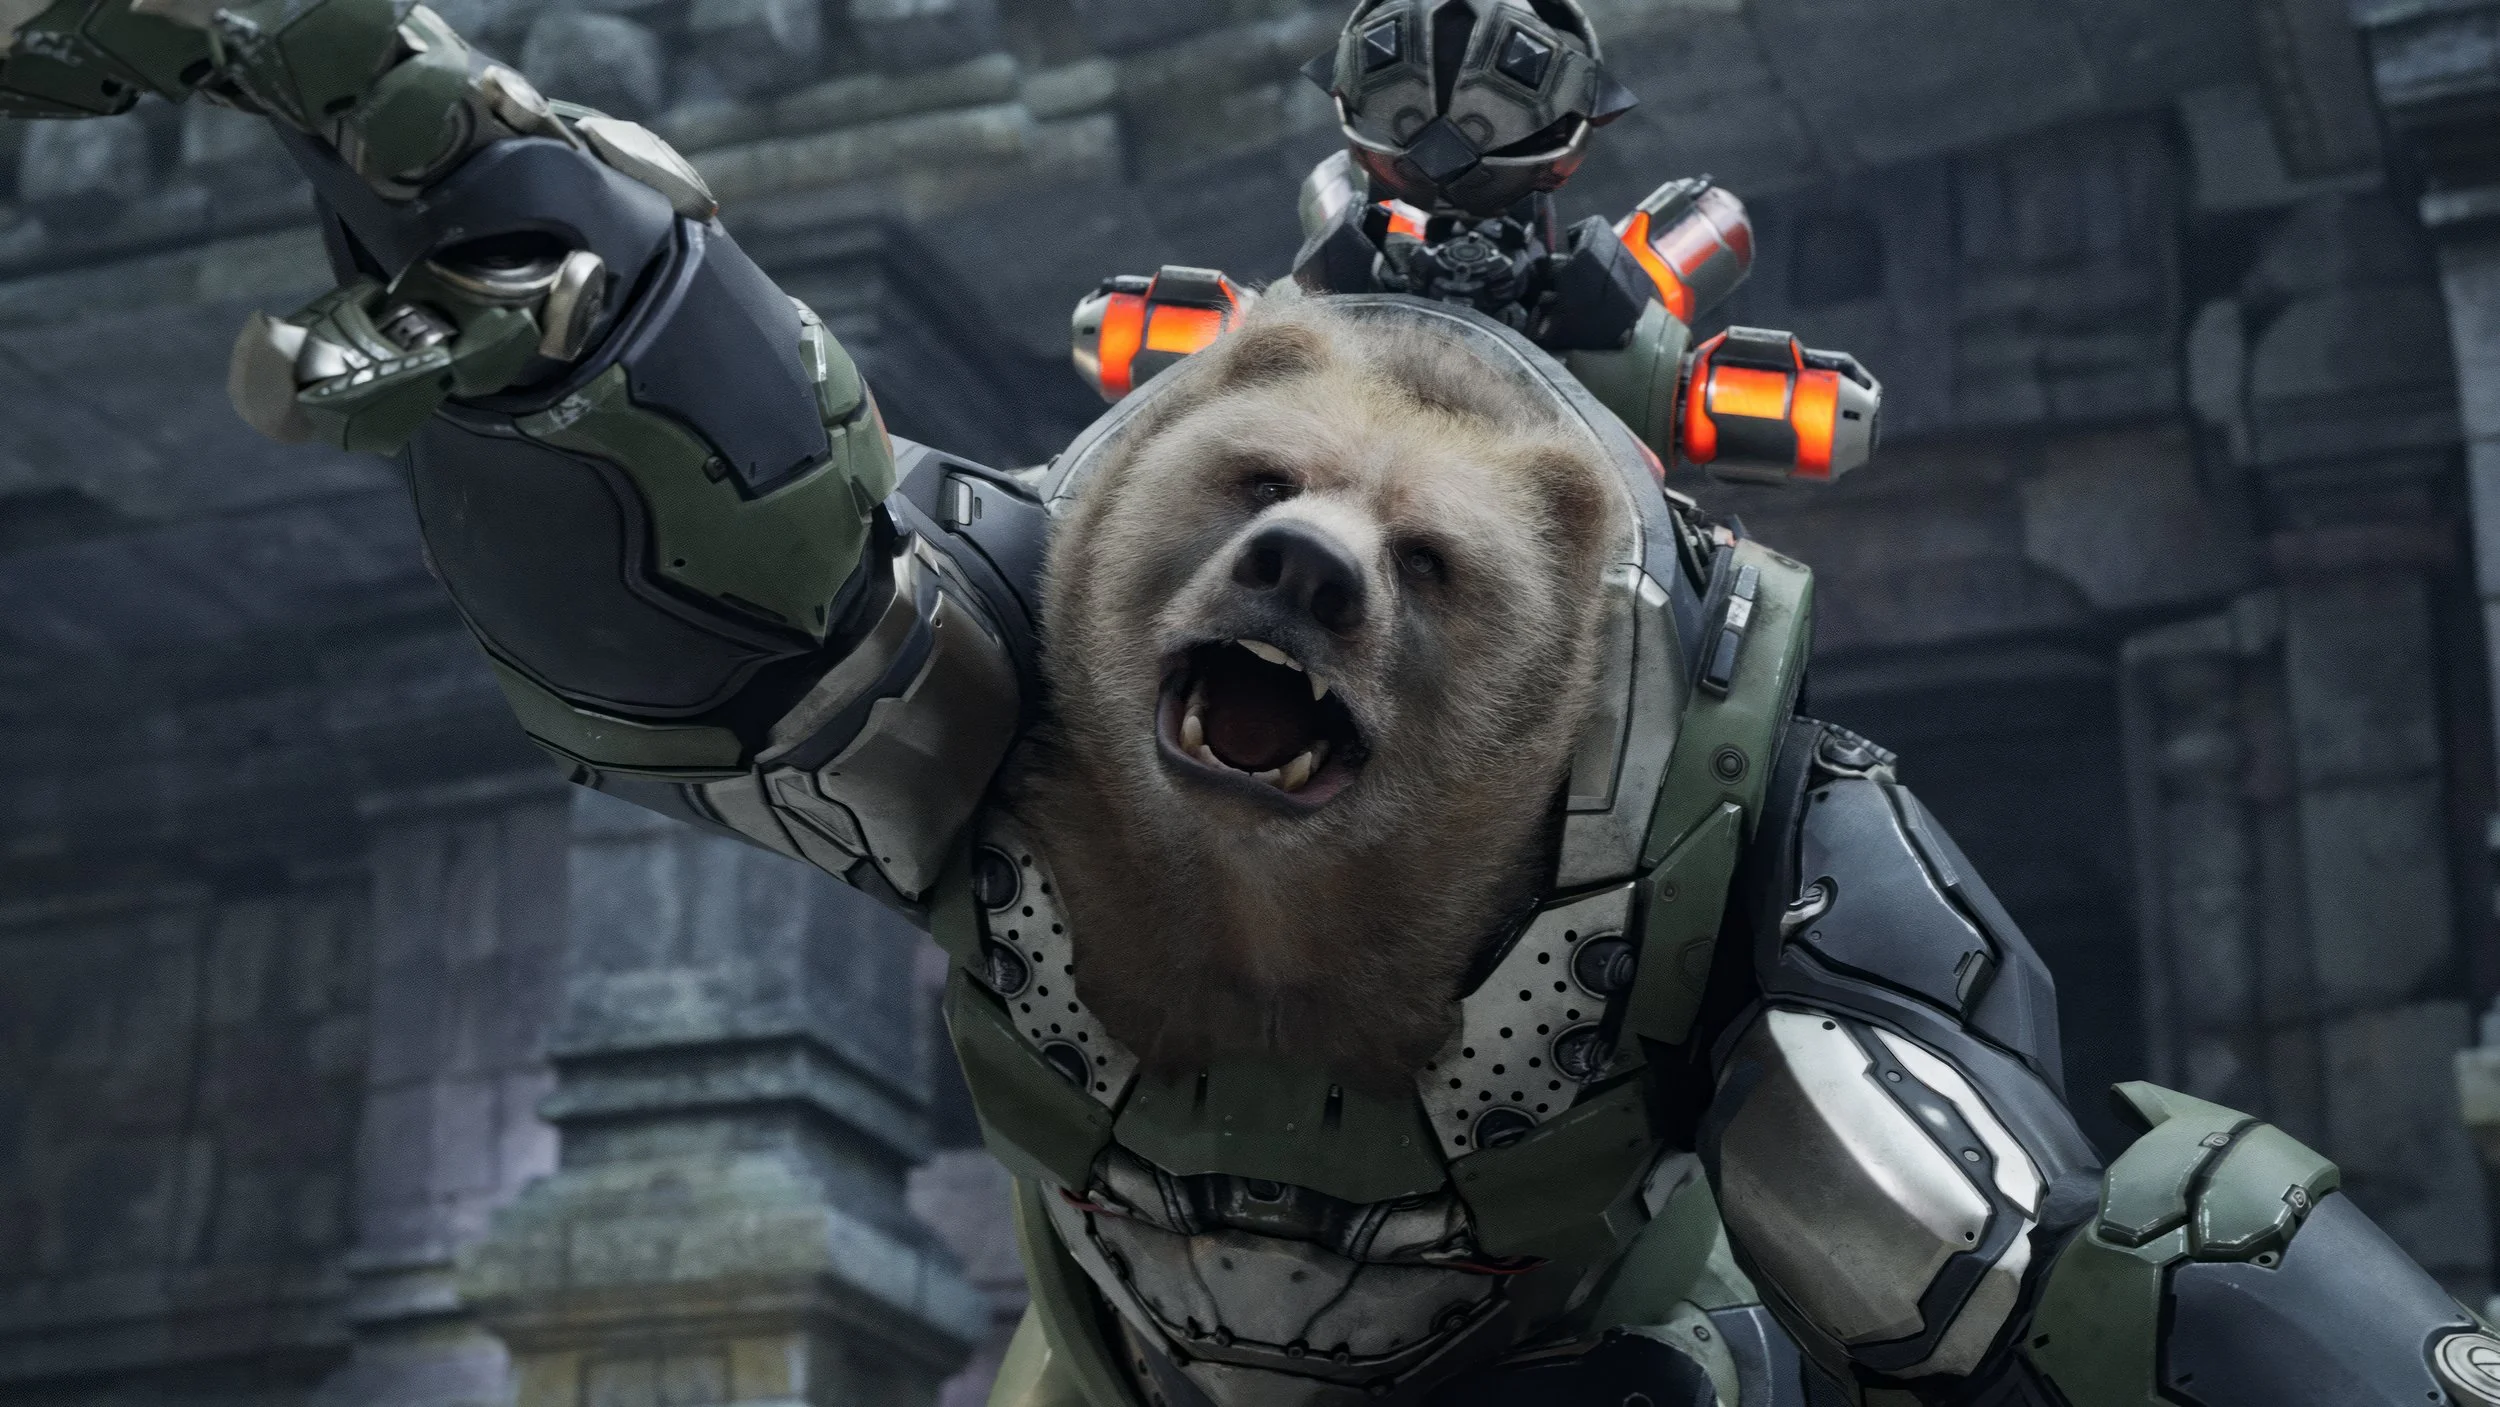
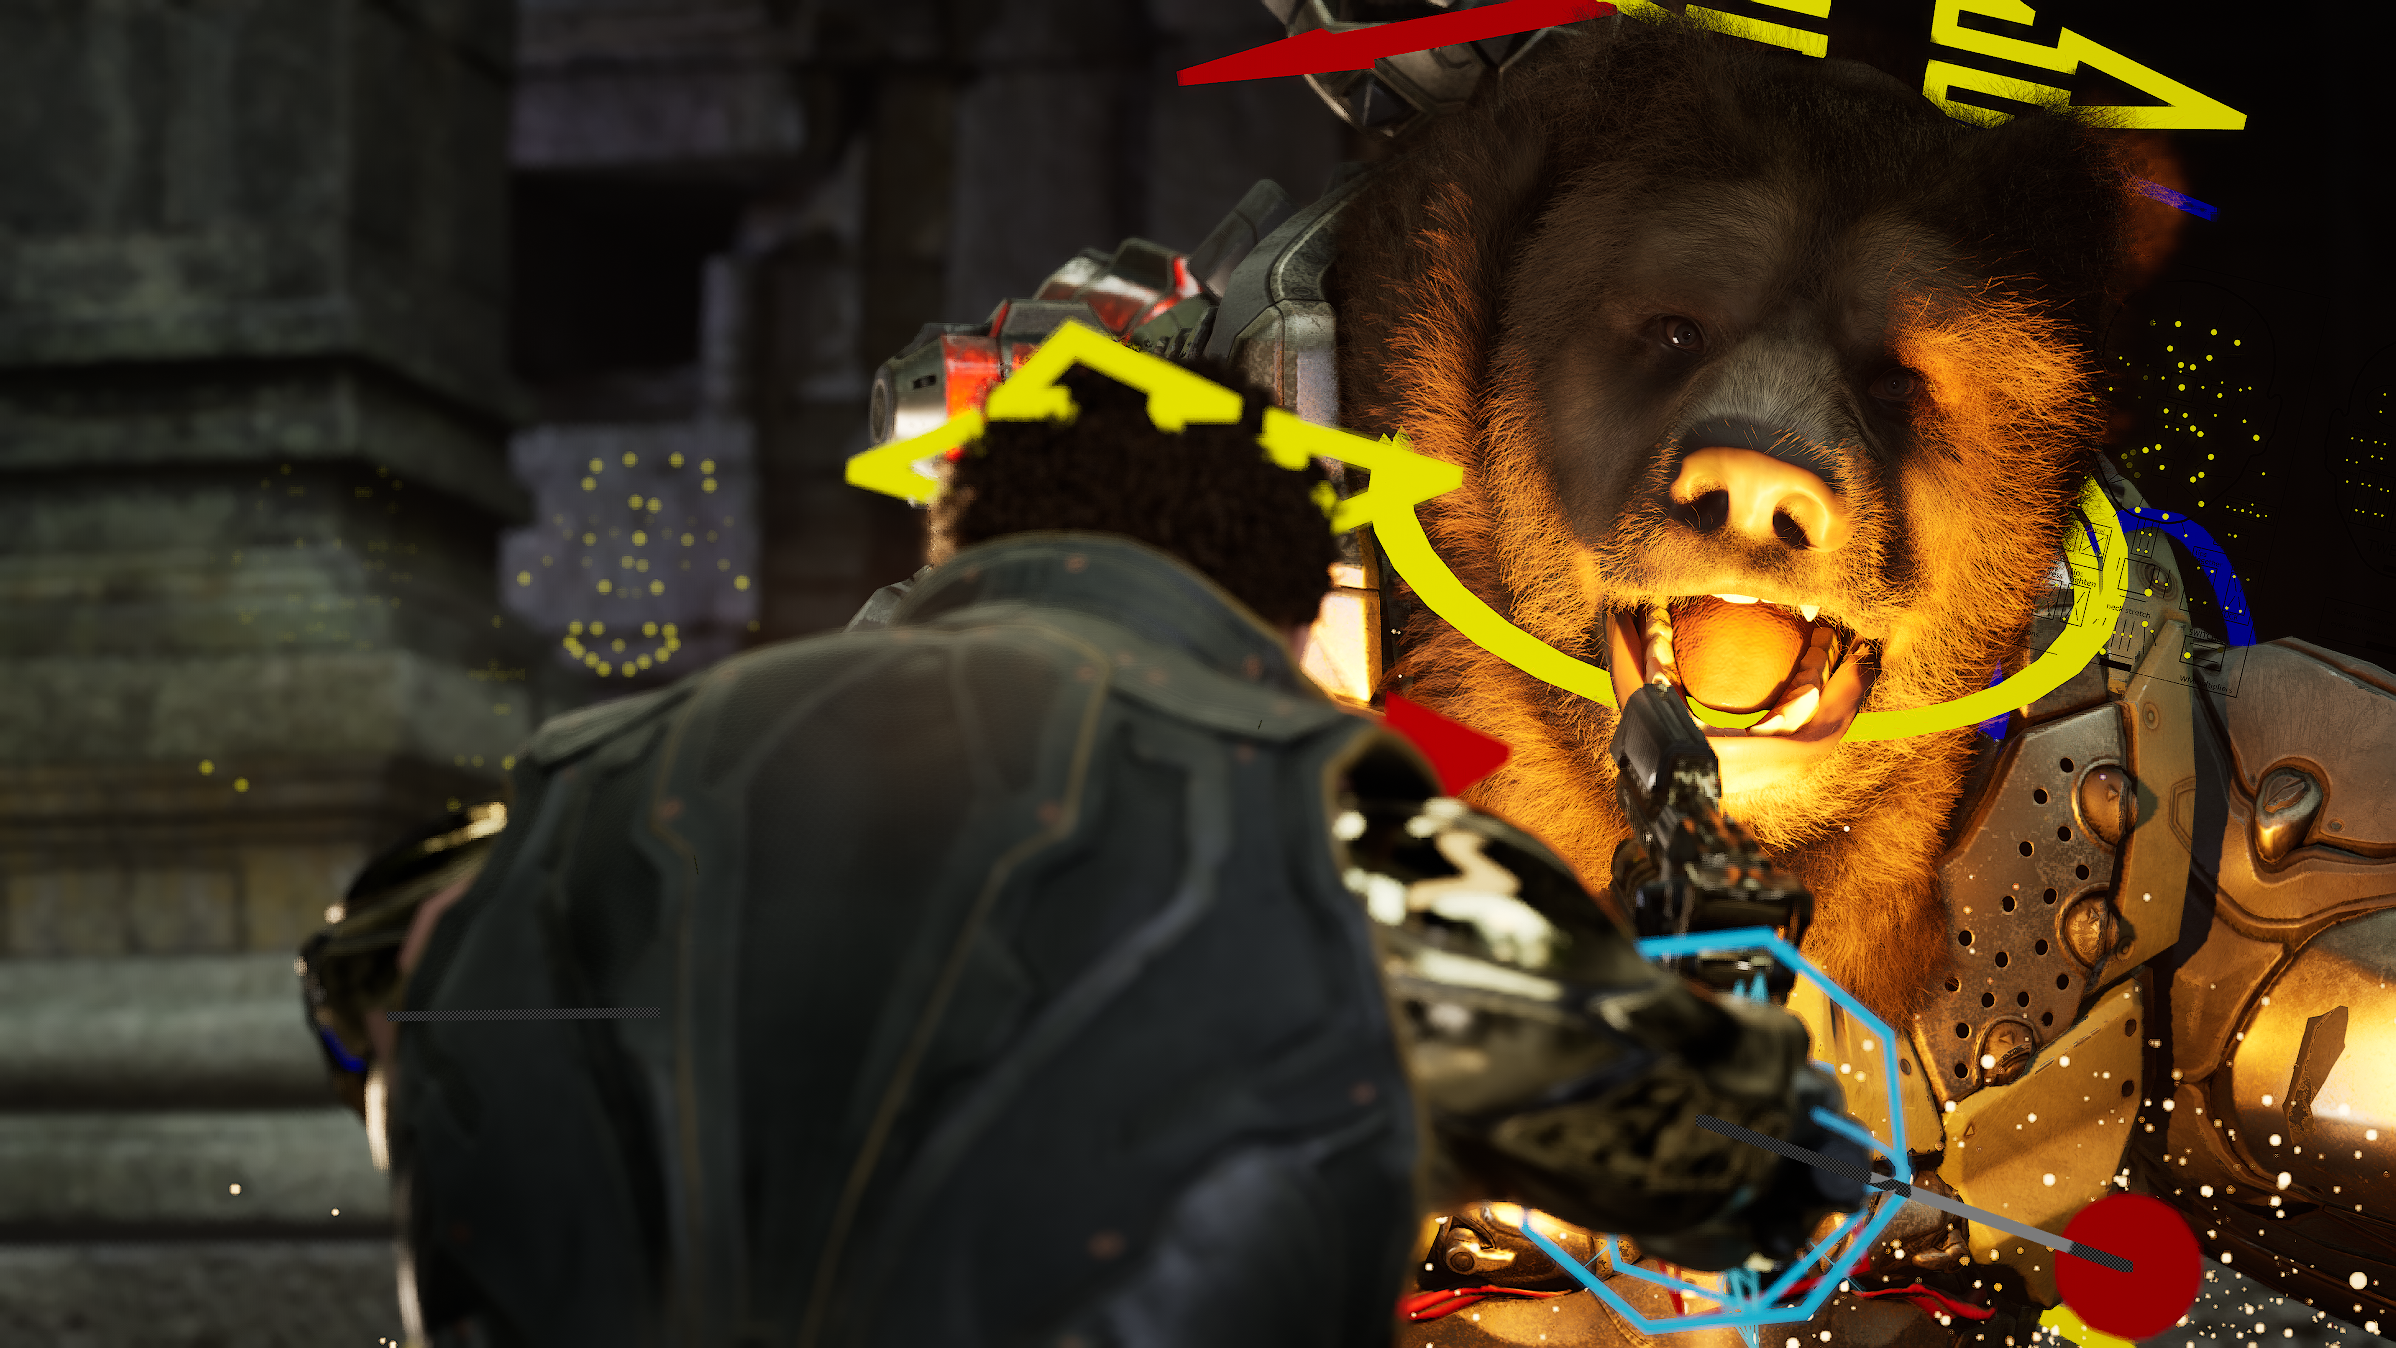
This is a tutorial covers the process of grooming the bear from my project from the Unreal Fellowship: Animation course. The groom was created in Houdini.
While it’s possible to sculpt the hair completely in Houdini, I tried my best to keep the workflow as procedural as possible, only transitioning to sculpting in the grooms final stages. This approach provides a great deal of flexibility, allowing for changes to be made up until the last minute without having to go through the time consuming process of sculpting hair.
The first step was to isolate the head geometry.
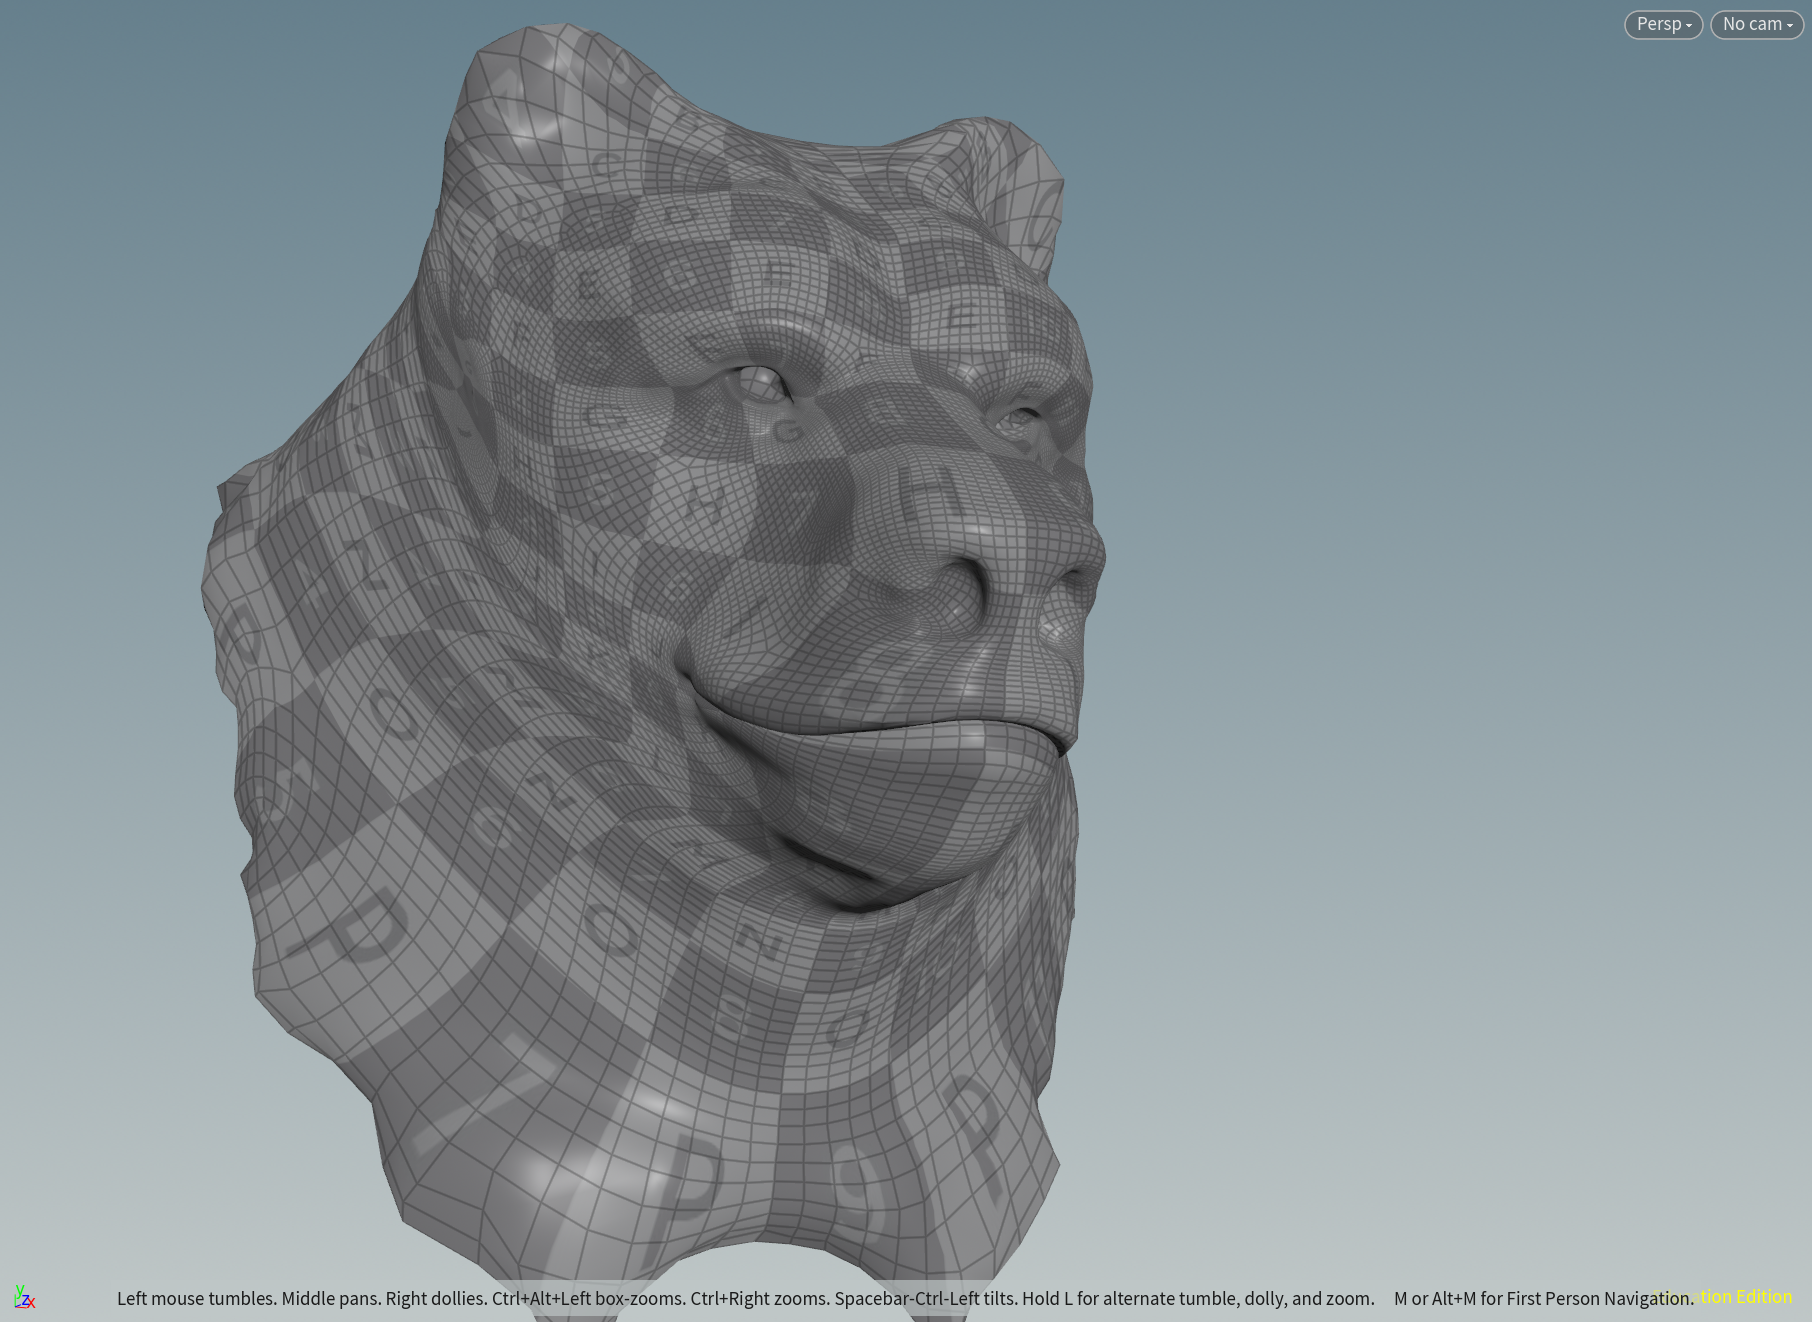
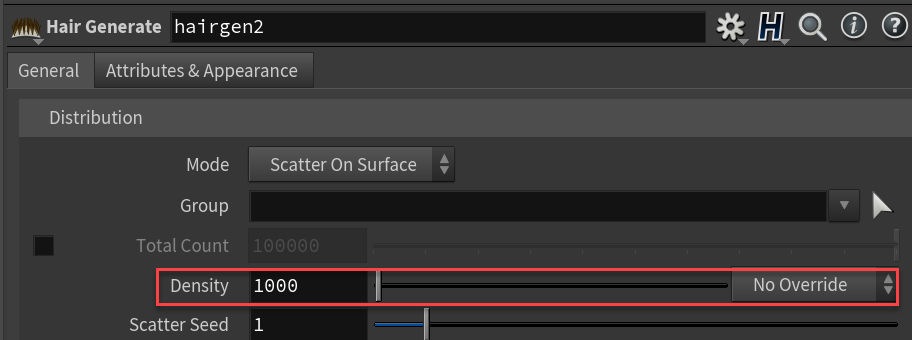
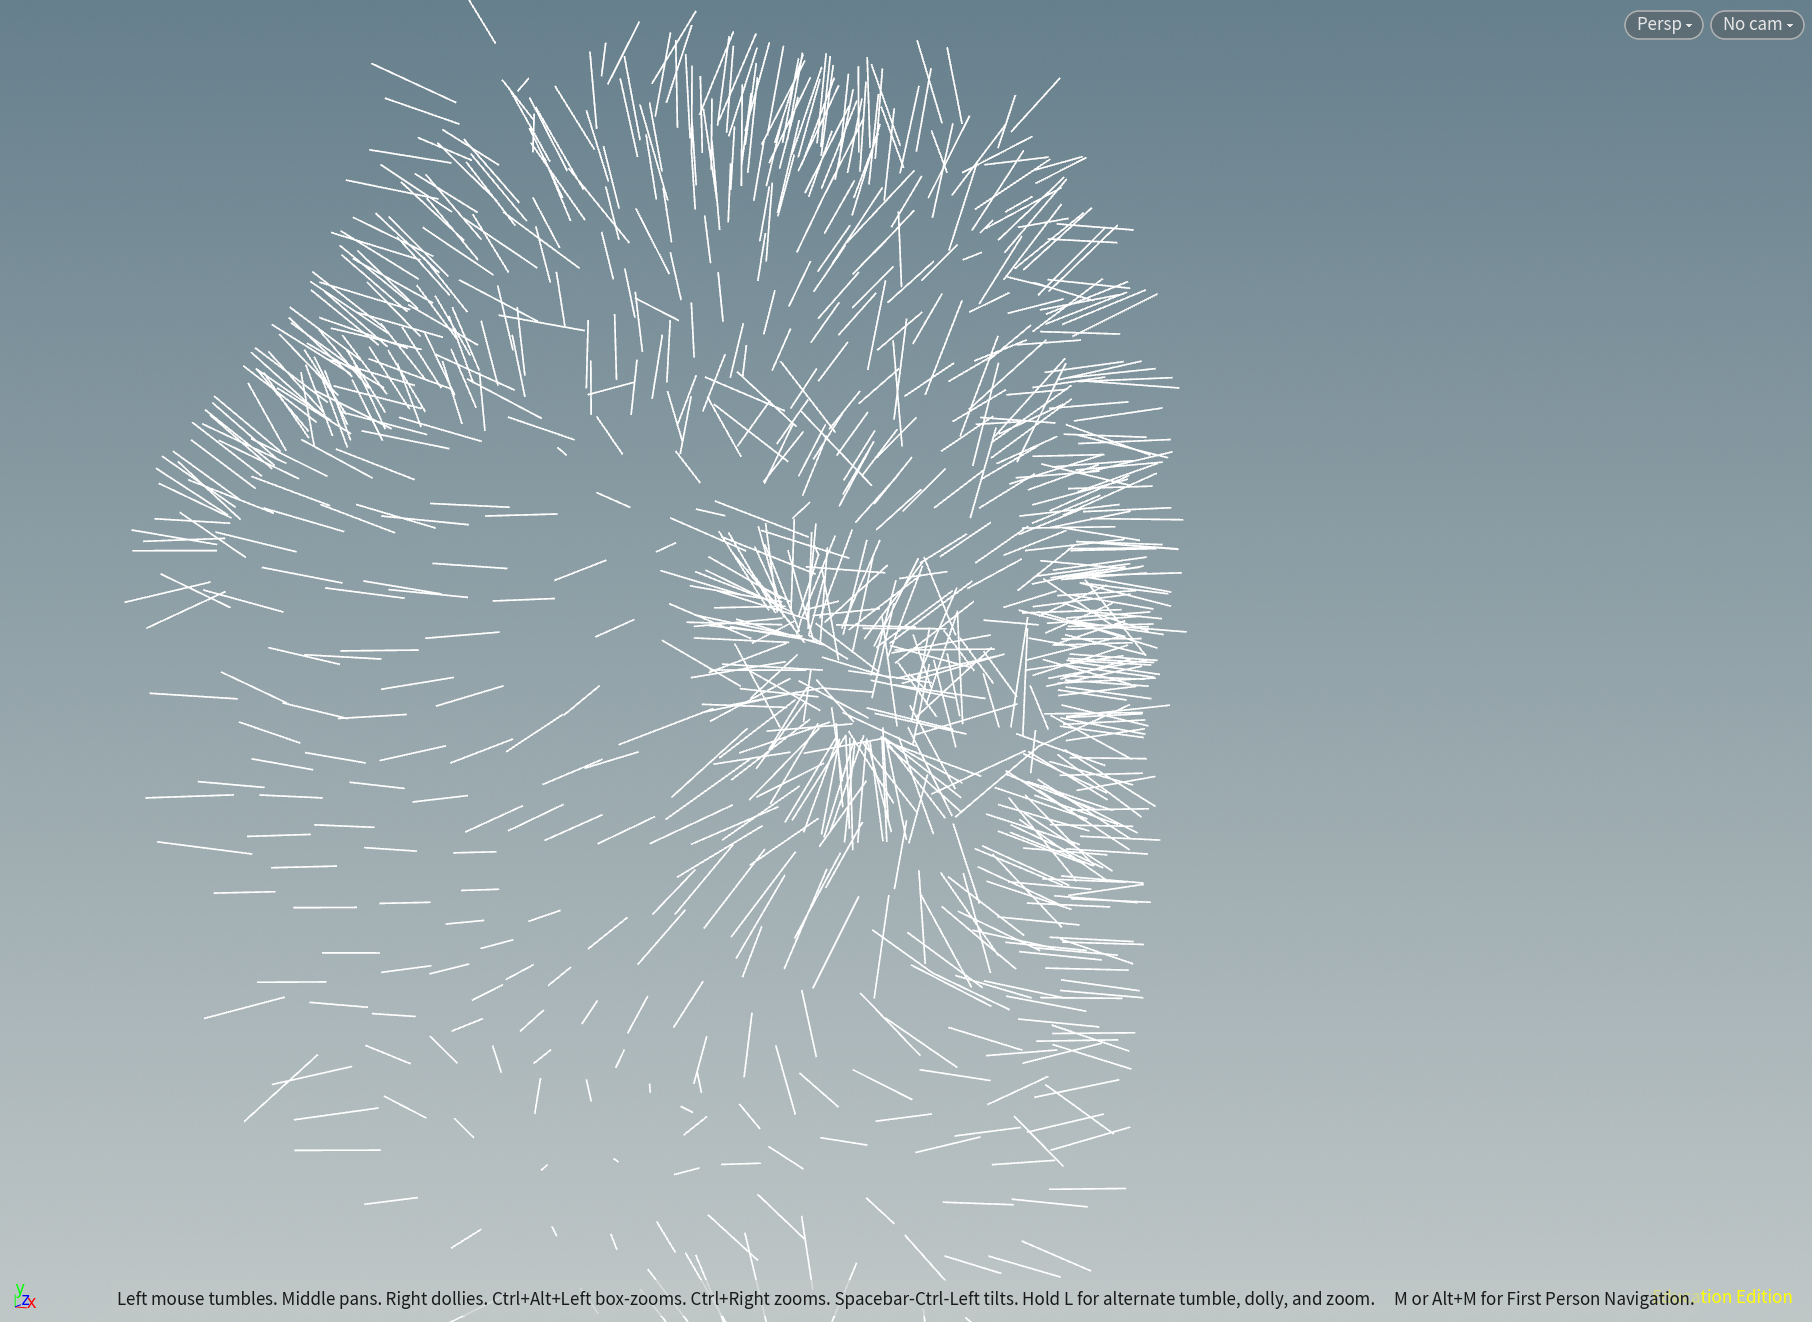
I could control where the hair grew by painting a Density attribute on the mesh. I tried to prevent hair growth on the inside of the mouth, eyes, and nostrils.
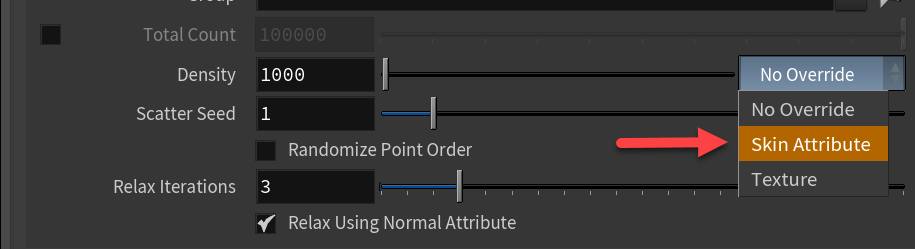
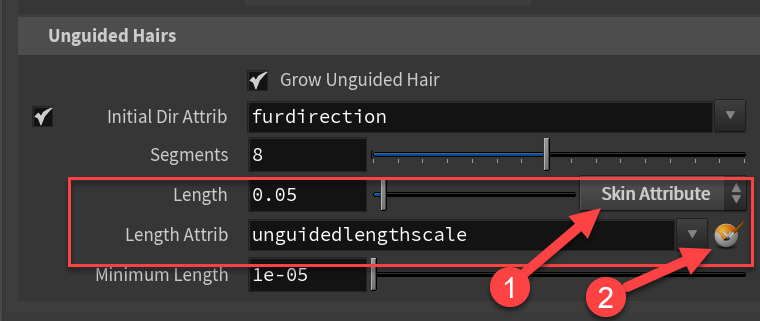
When I switched from No Override to Skin Attribute, a shortcut appeared that set up the controls to paint where the hairs would go
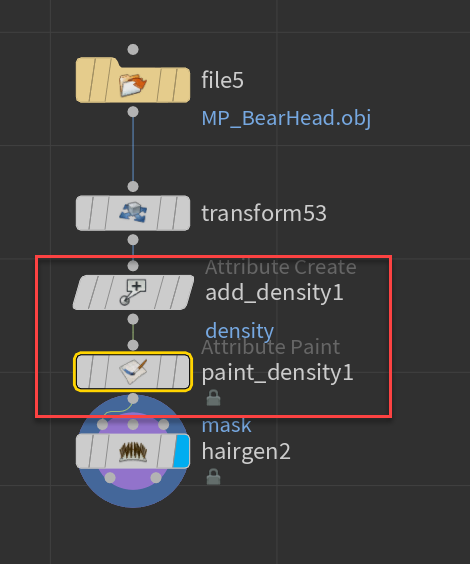
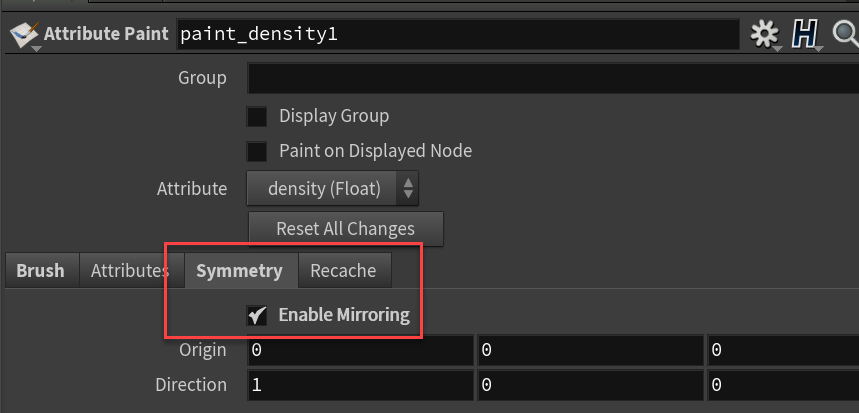
This process created two nodes. The first node, Attribute Create (named add_density1), generated a Density value of 1 over the entire mesh. The second node, an Attribute Paint node (named paint_density1), was where I could do my paint work.
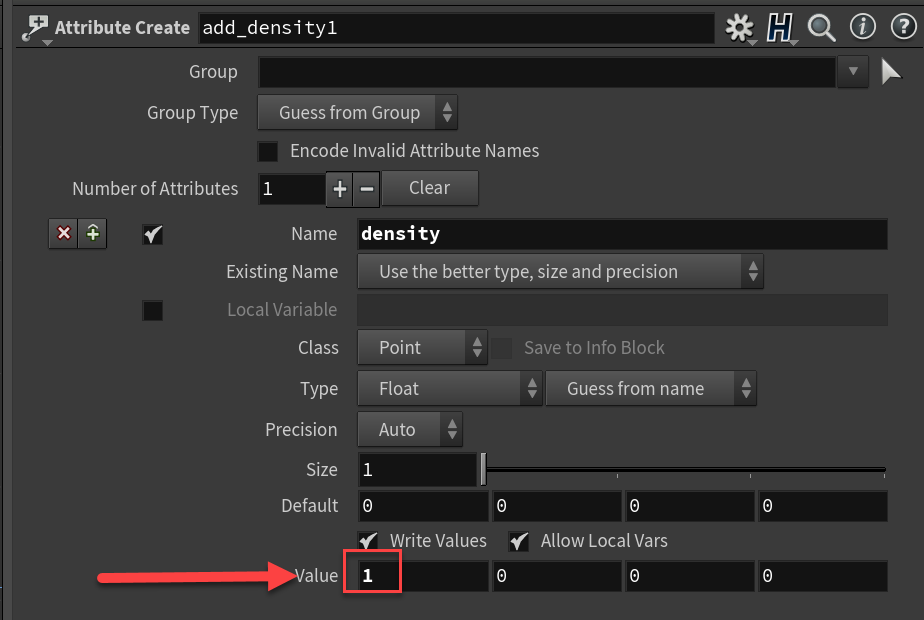
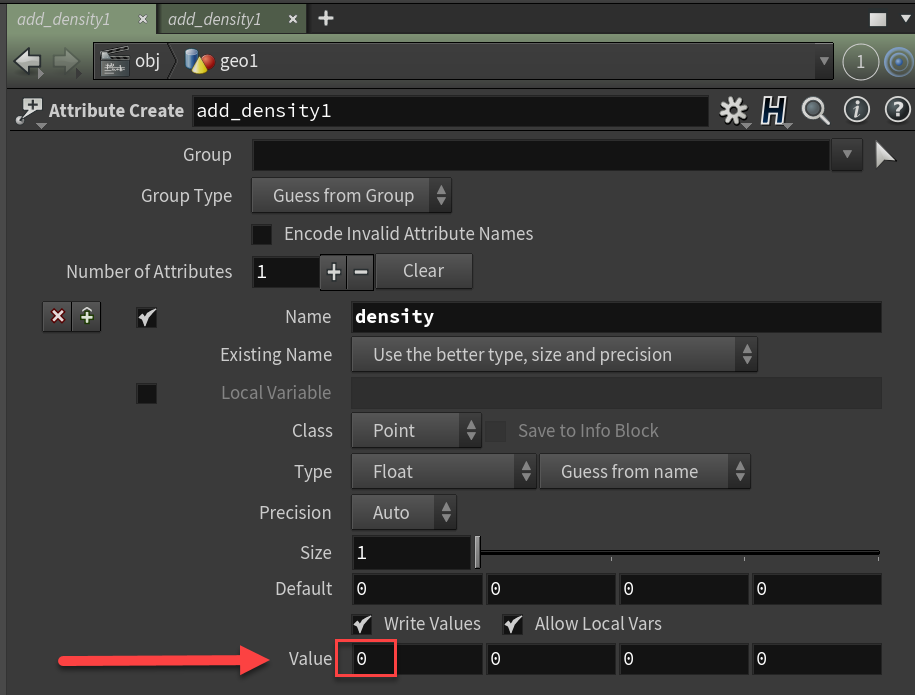
The Attribute Create nodes generated a density attribute on all the points on the mesh with a value of 1.0. This meant that hair could be placed on it. If it had a value of 0.0, then no hair would be placed there. I was going to changed the value from 1 to 0.
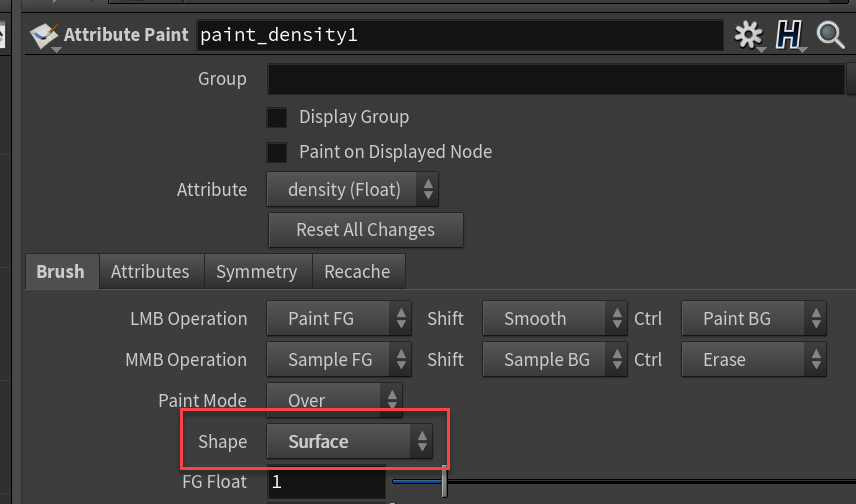
Notice that the brush shape was set to ‘volume’. This wasn't ideal since it’s easy to accidentally paint the interior of the mouth. I switched this to ‘surface’.
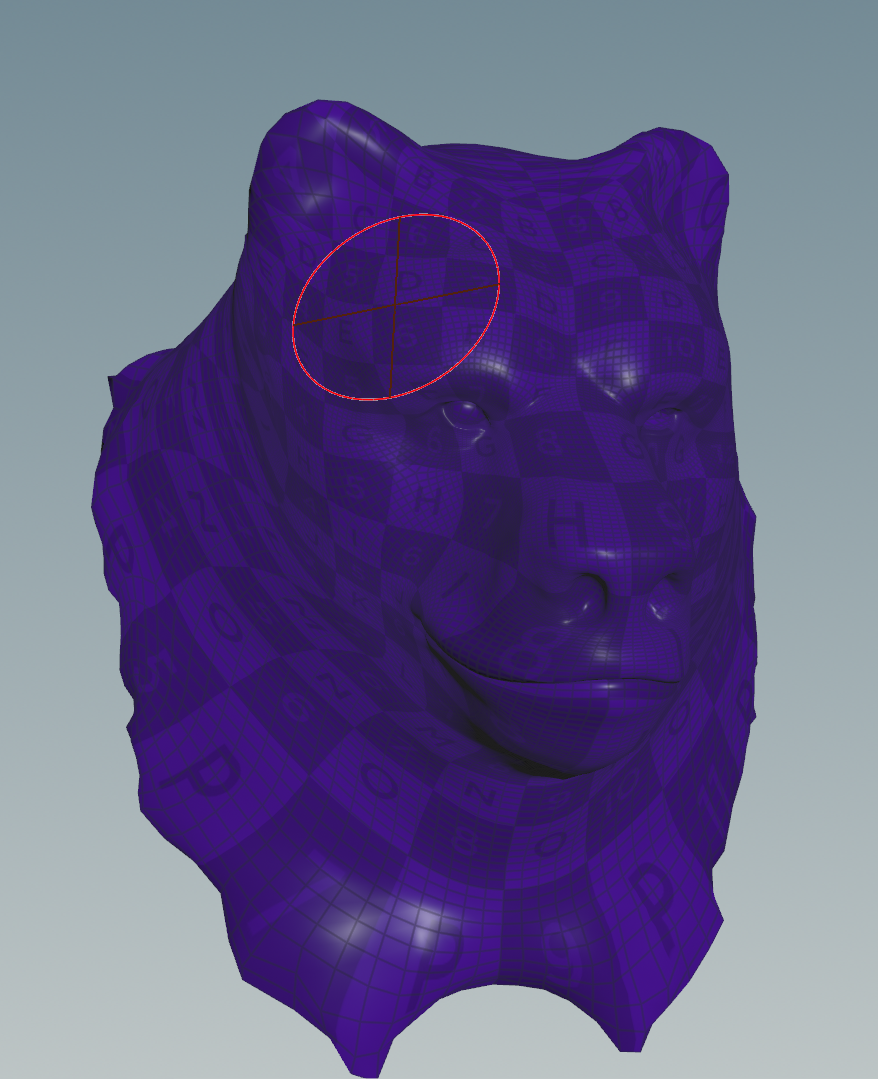
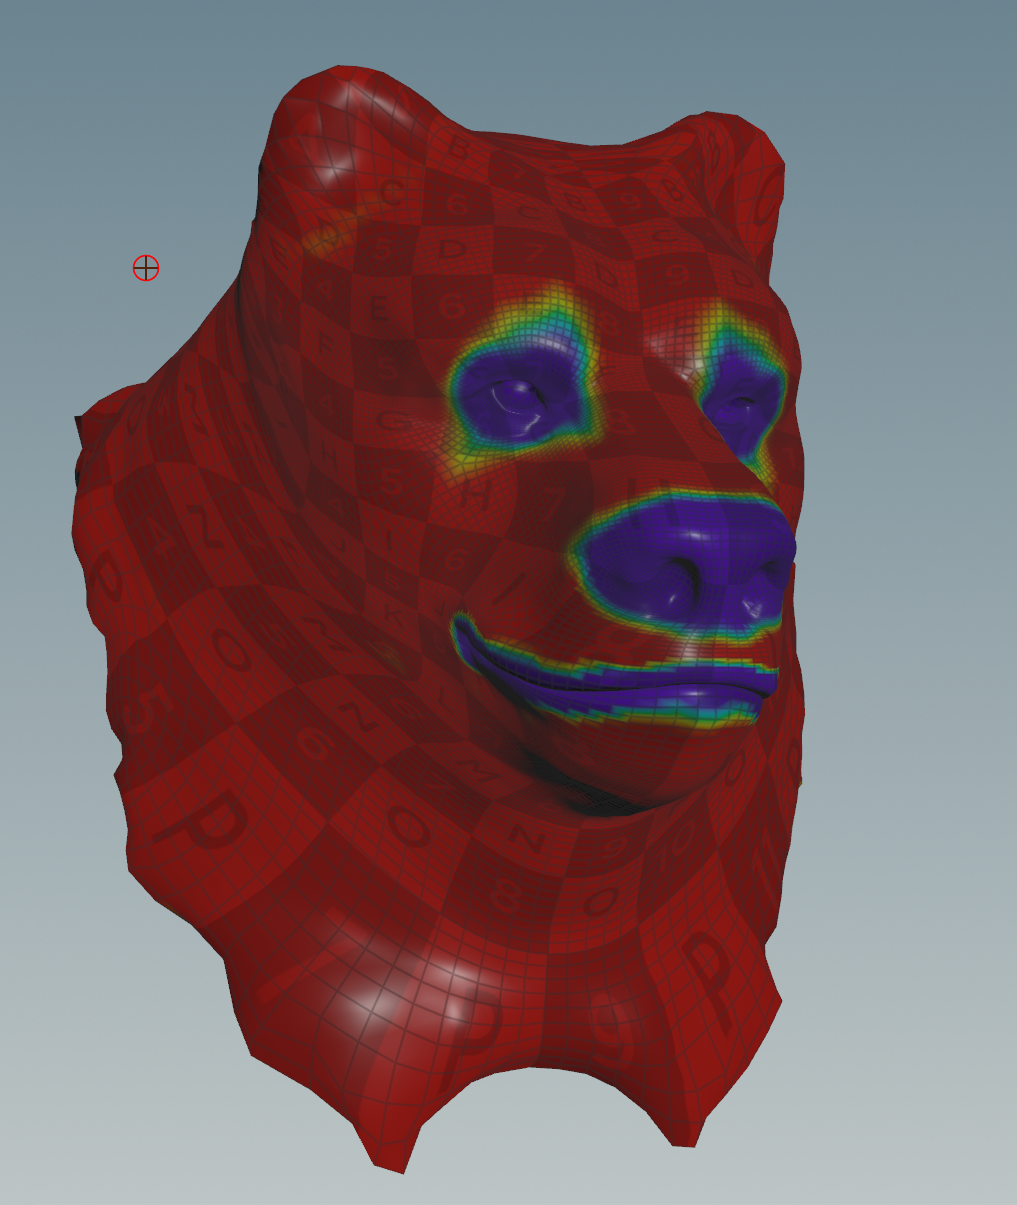
When I’m done I get something like this bizarre clown looking thing.
Red = density is 1
Blue = density is 0
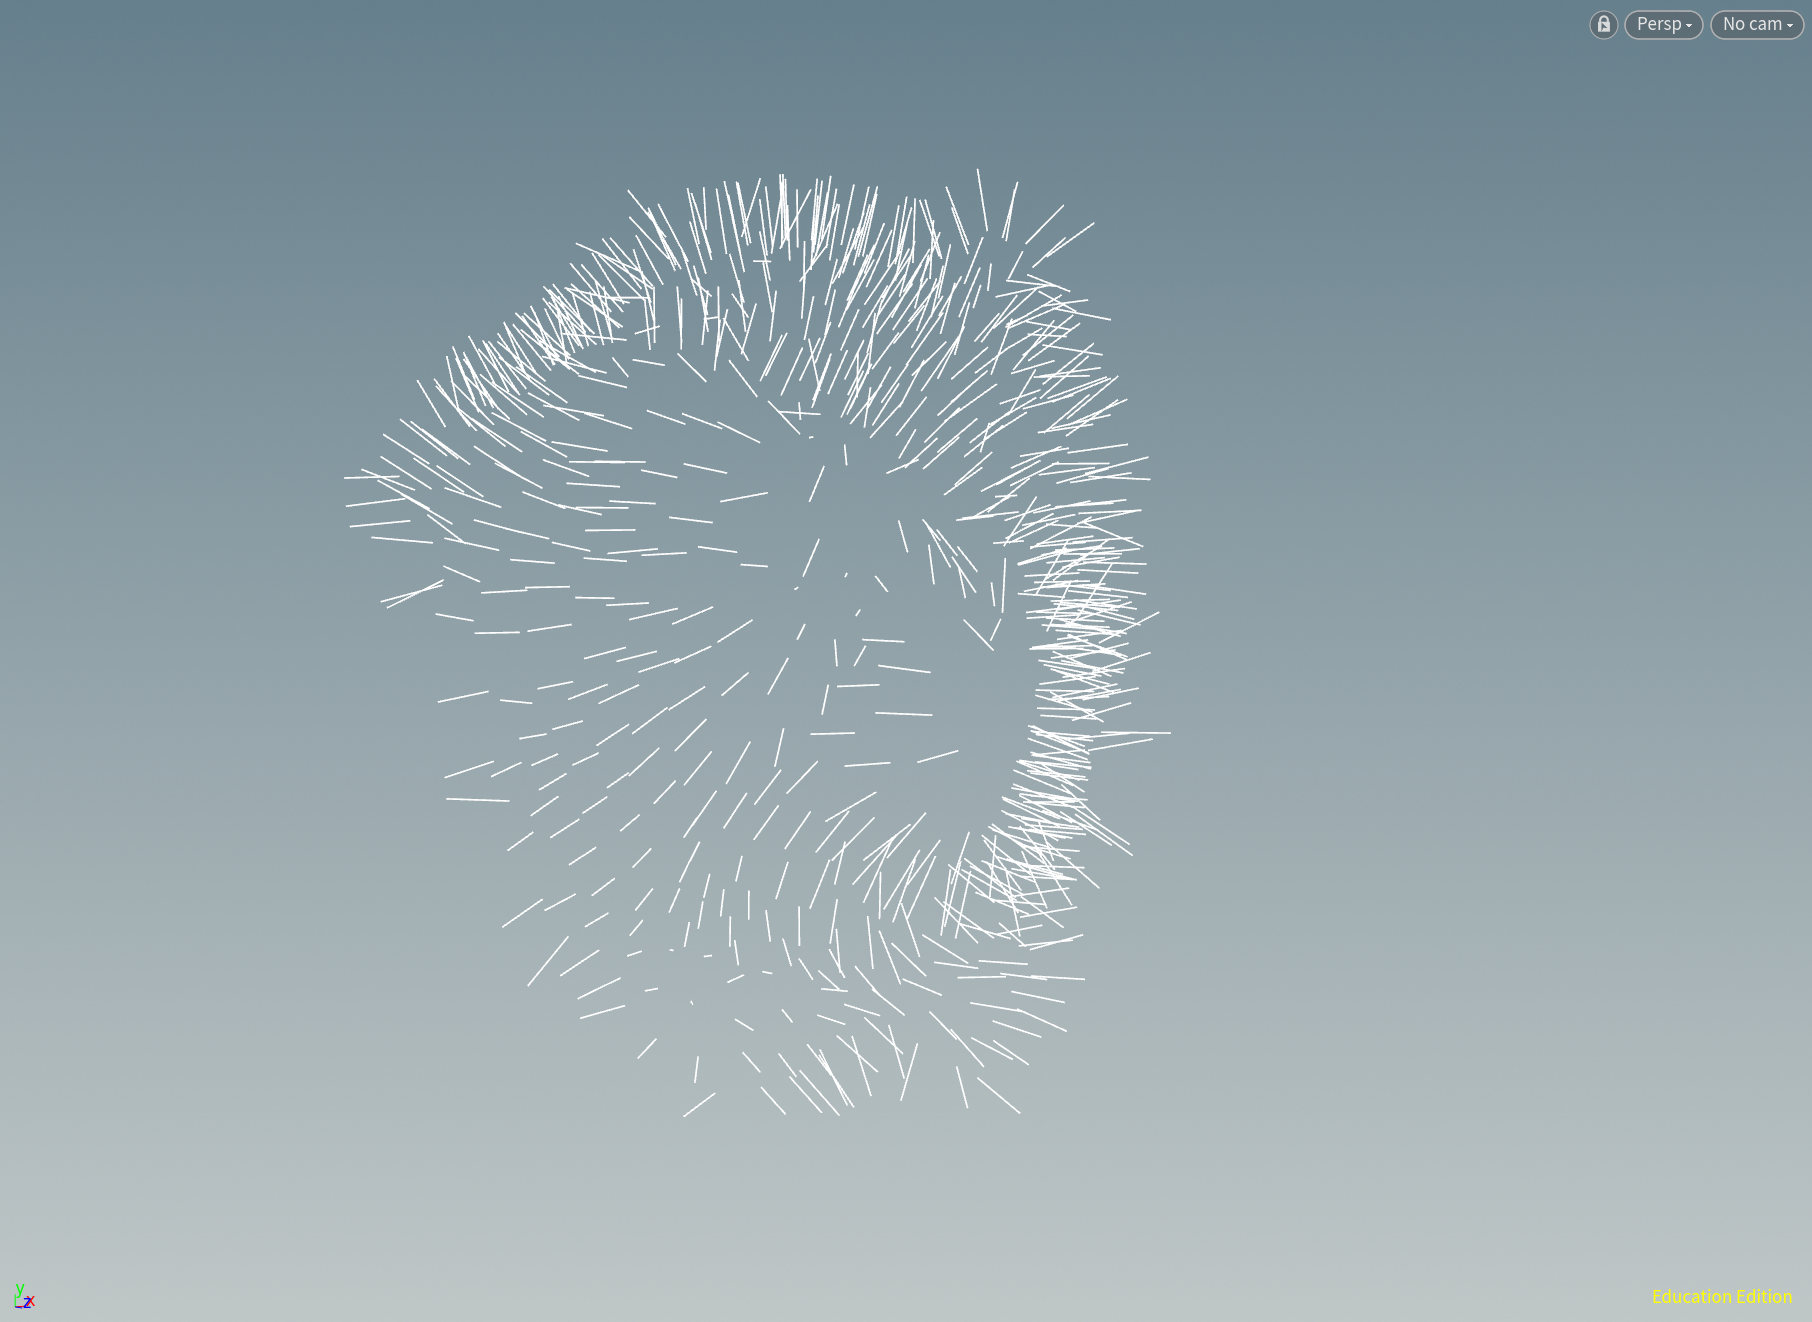
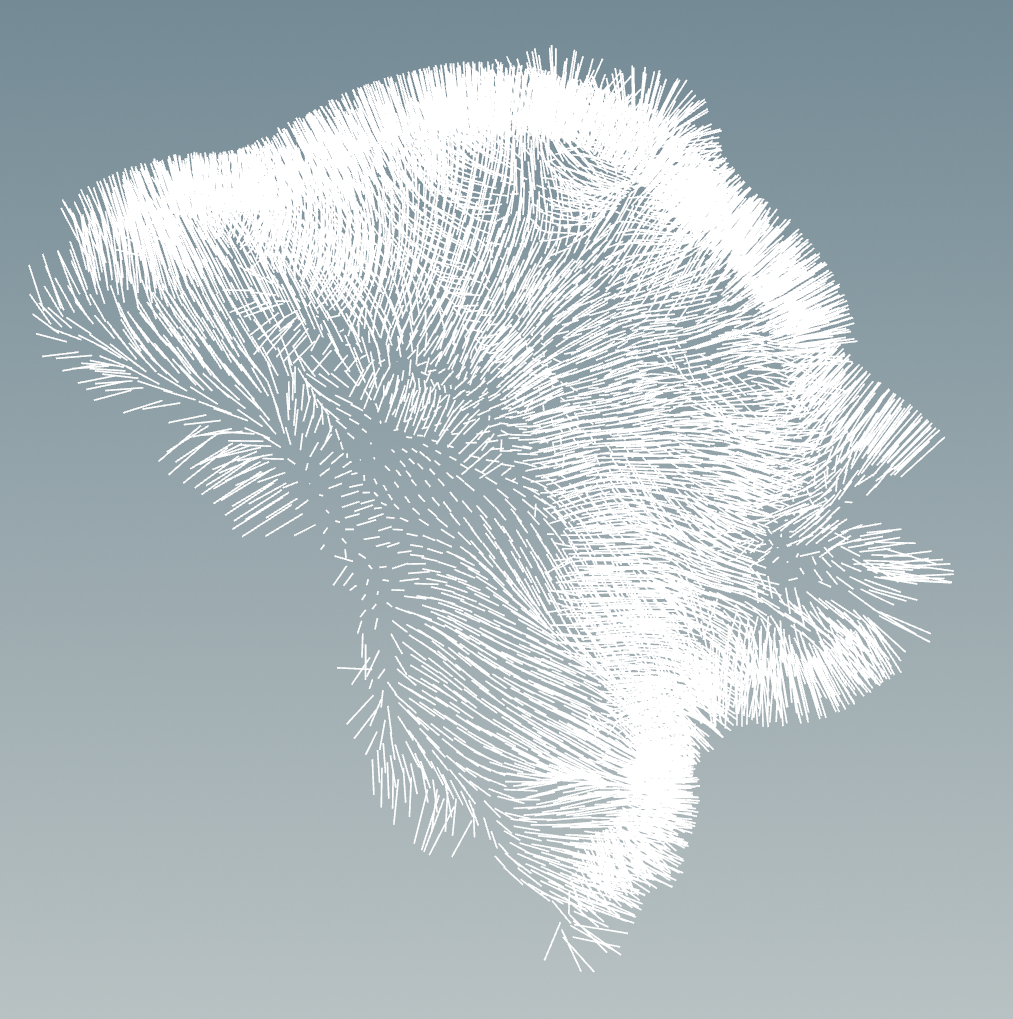
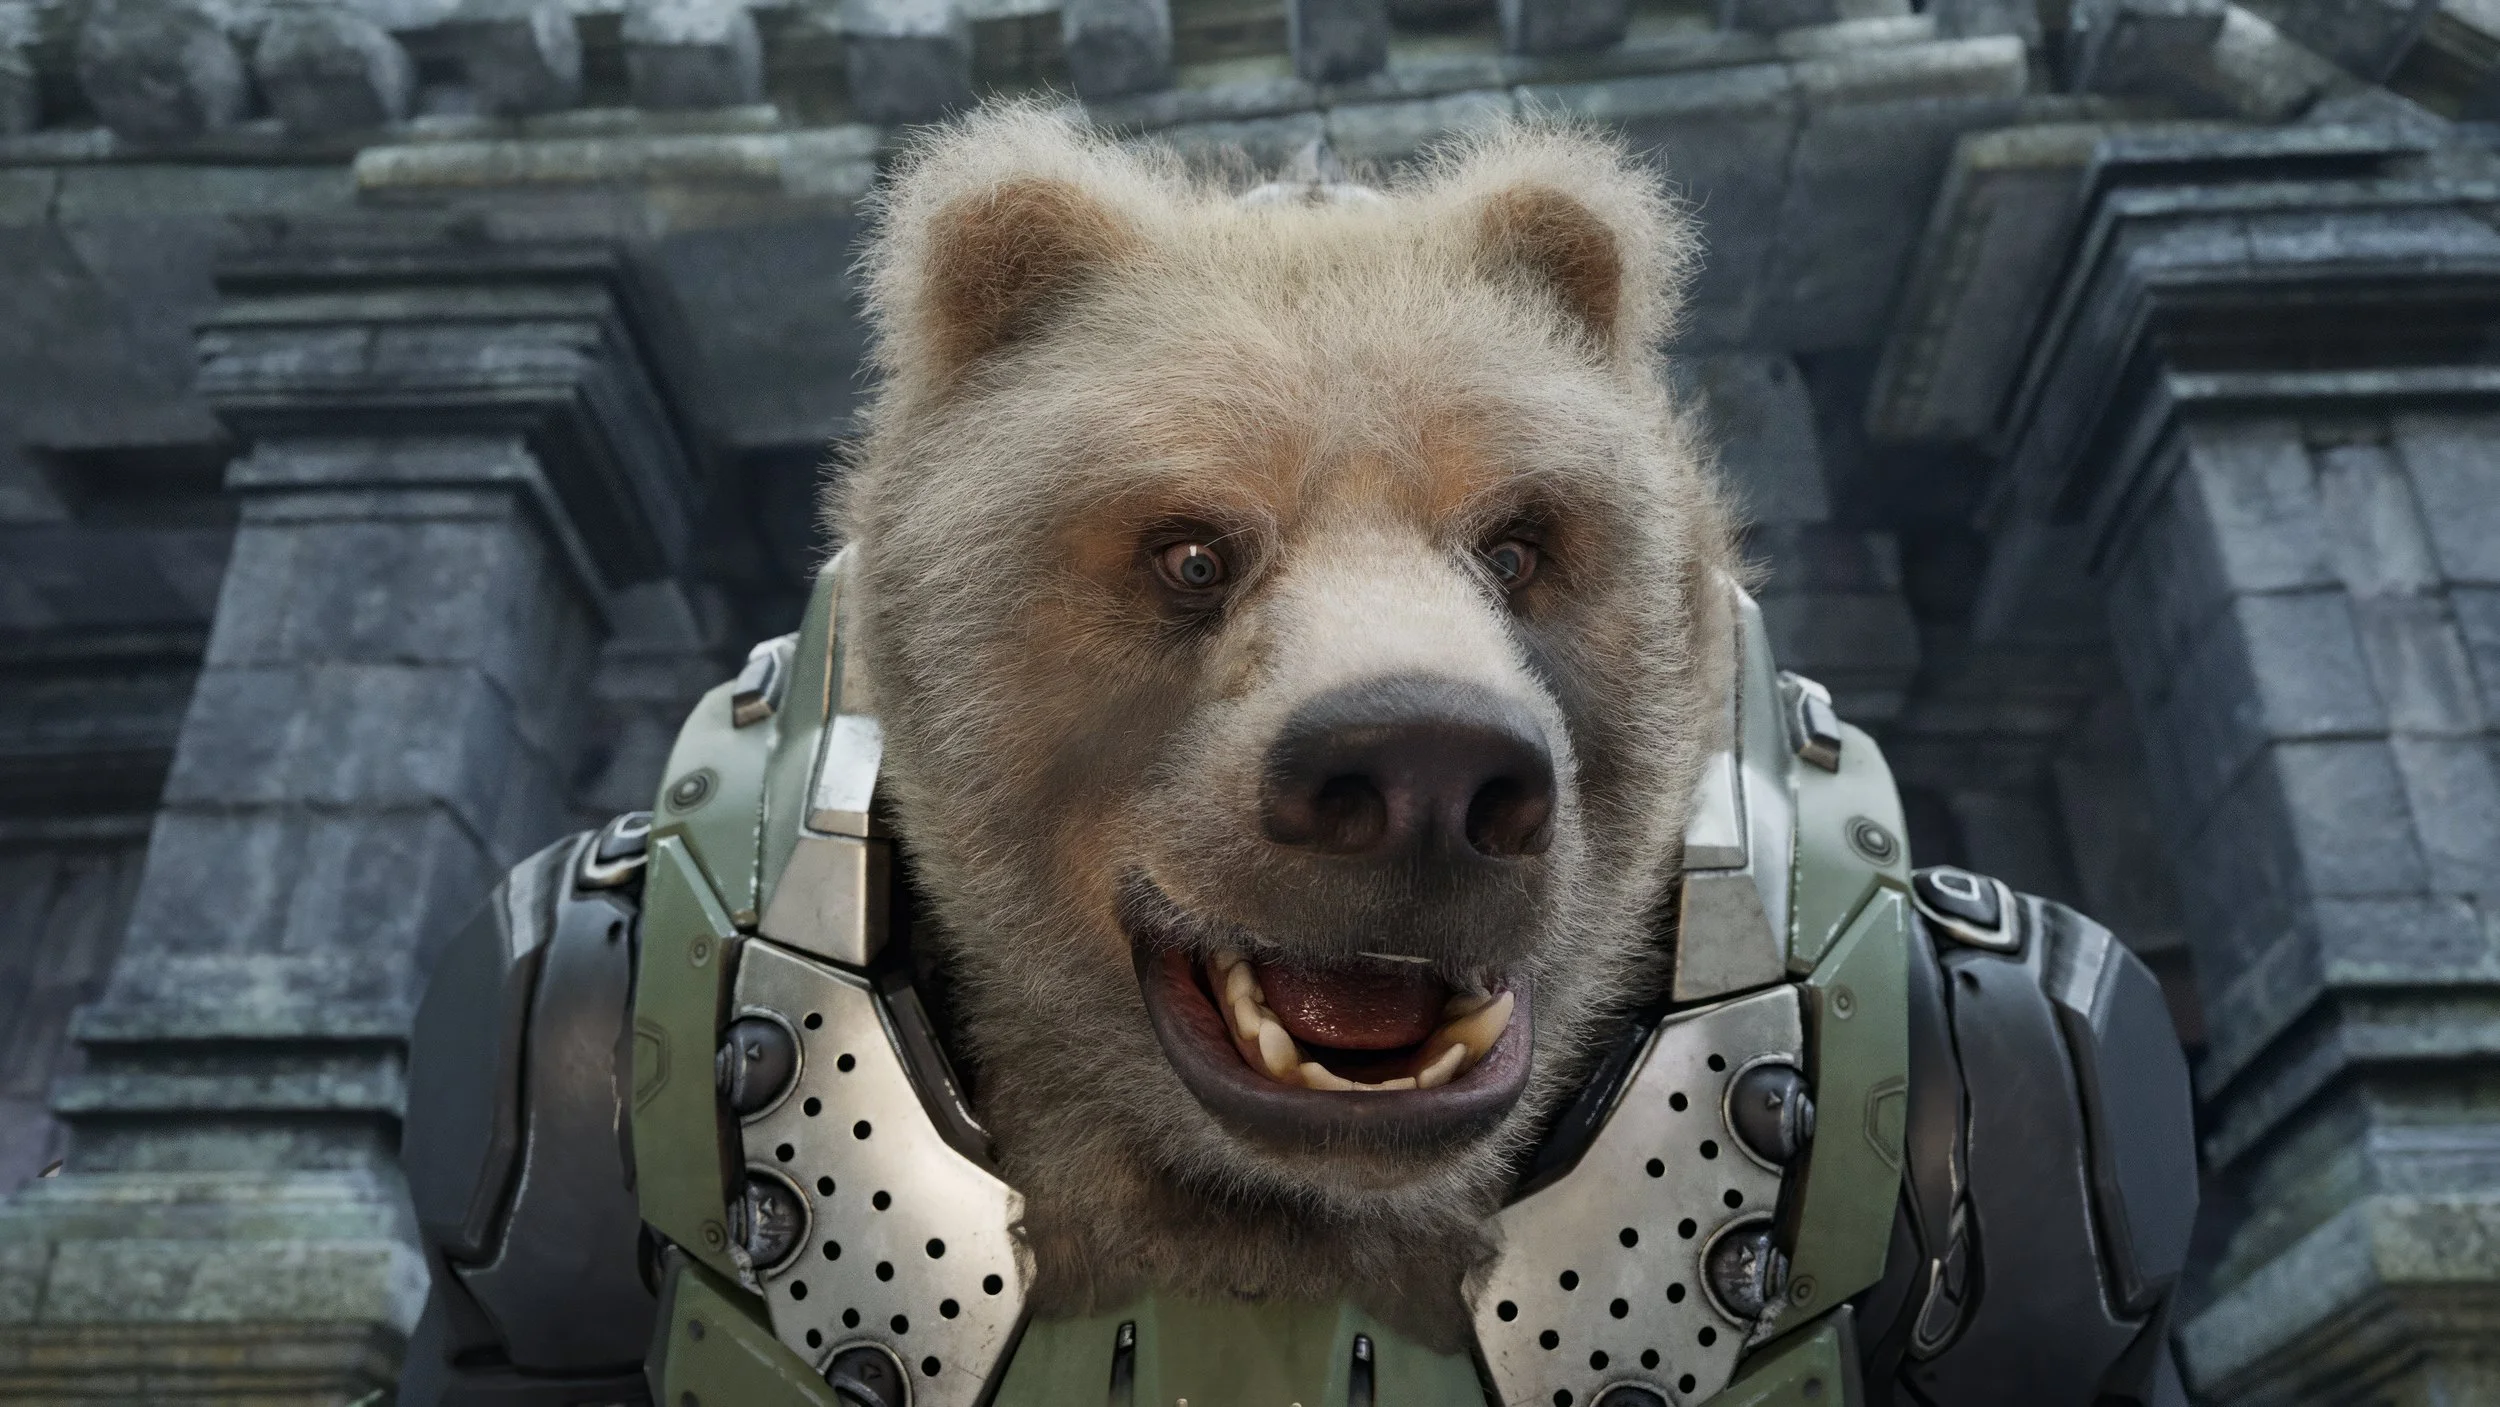
I could control the length of the hair in the Hair Generate node. The hairs being created at in this node are referred to as 'unguided hairs.' This node can also be used to spawn more hair based on incoming hairs, which would be termed 'guide hairs.' One approach could be to create a light groom with very few hairs, then feed that into a second Hair Generate node to create many more hairs. I decided to create all the hair in this one node.
With this node I could paint which hairs I wanted to be long or short. I planned to make the hairs around the nose and snout shorter, and have the hairs at the base of the neck longer. The procedure was the same as painting Density; but the control is ‘Length’ instead of Density. I switched the Length control to ‘No Override’ to ‘Skin Attribute’ and then painted those attributes.
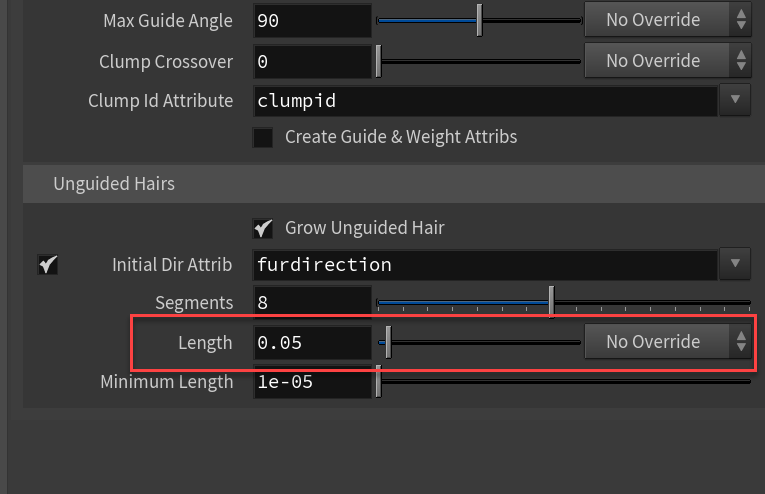
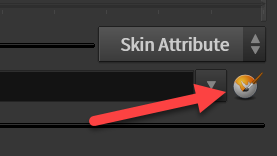
Clicking on the Paint symbol (2) will create the setup to paint the Length attribute of the hair. An Attribute Create to initialize the unguidedlengthscale attribute and a Attribute Paint node that’s set up to paint that attribute.
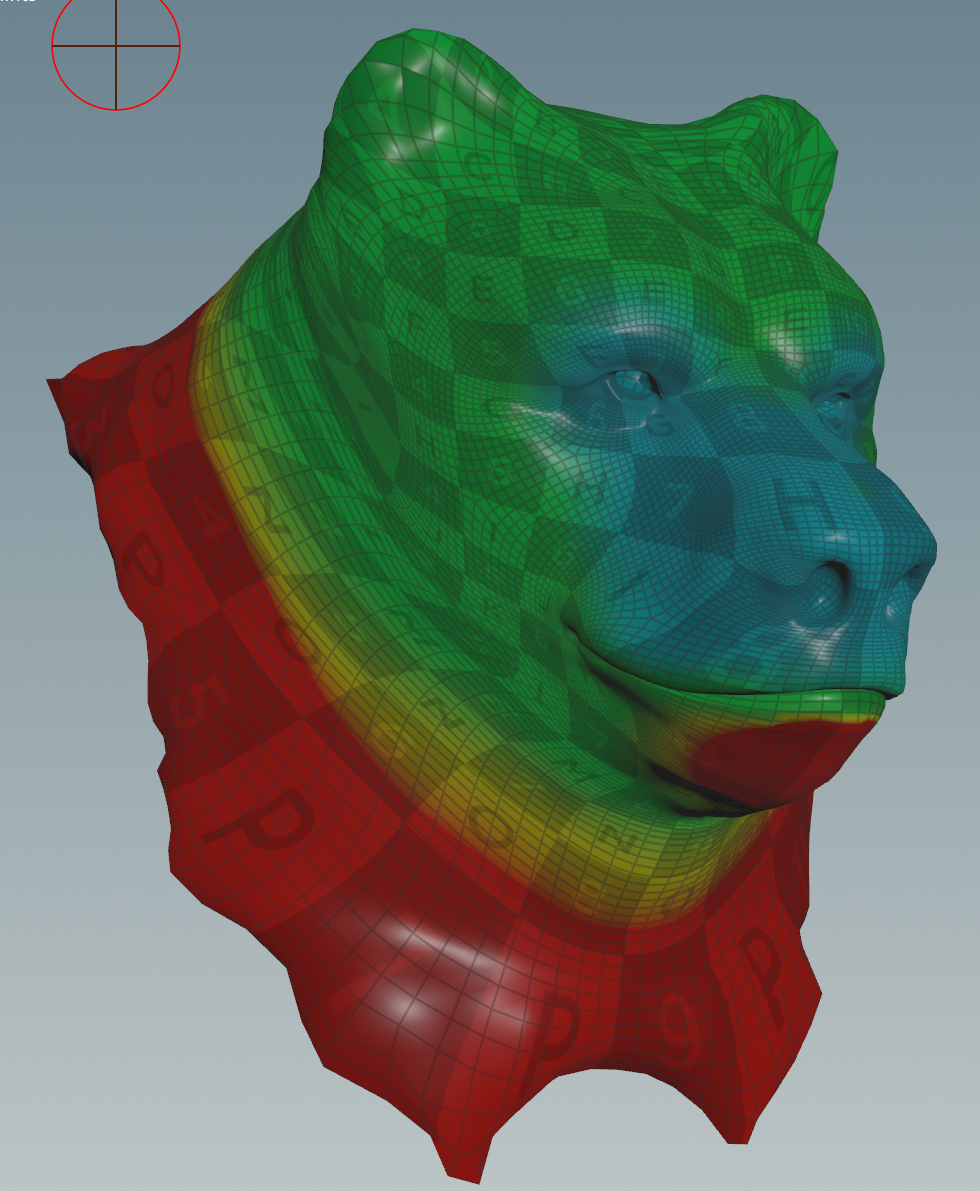
The painting of the Length attribute looks something like this
The red areas have a Length value of 1 or higher, the blue has a value of .25 and green has a value of .5.
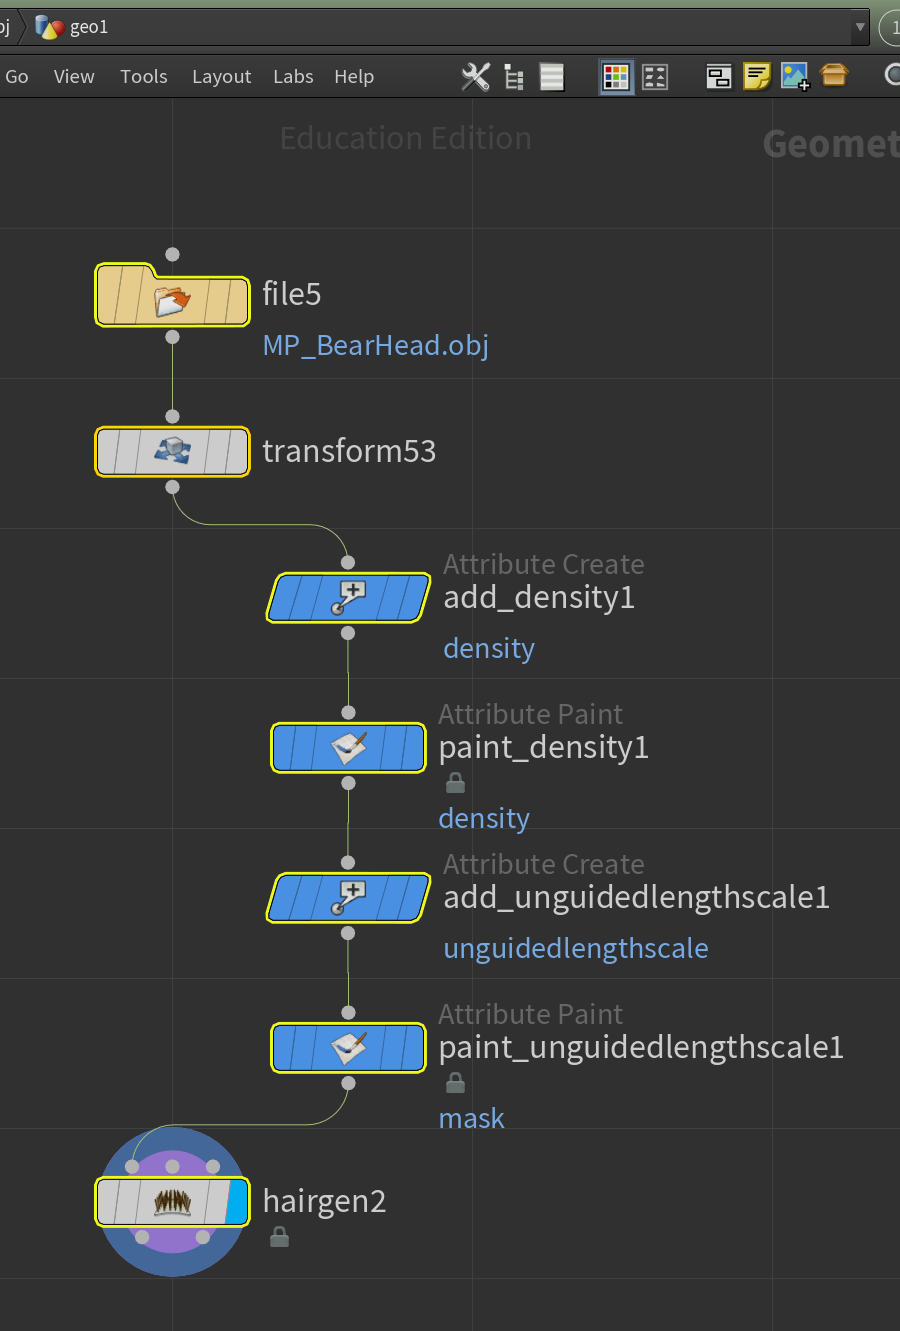
I like to color and offset the nodes I use to change Attributes so that it’s easy to identify them in my setup.
(Hit C inside the Network View to bring up the color palette to change node colors)
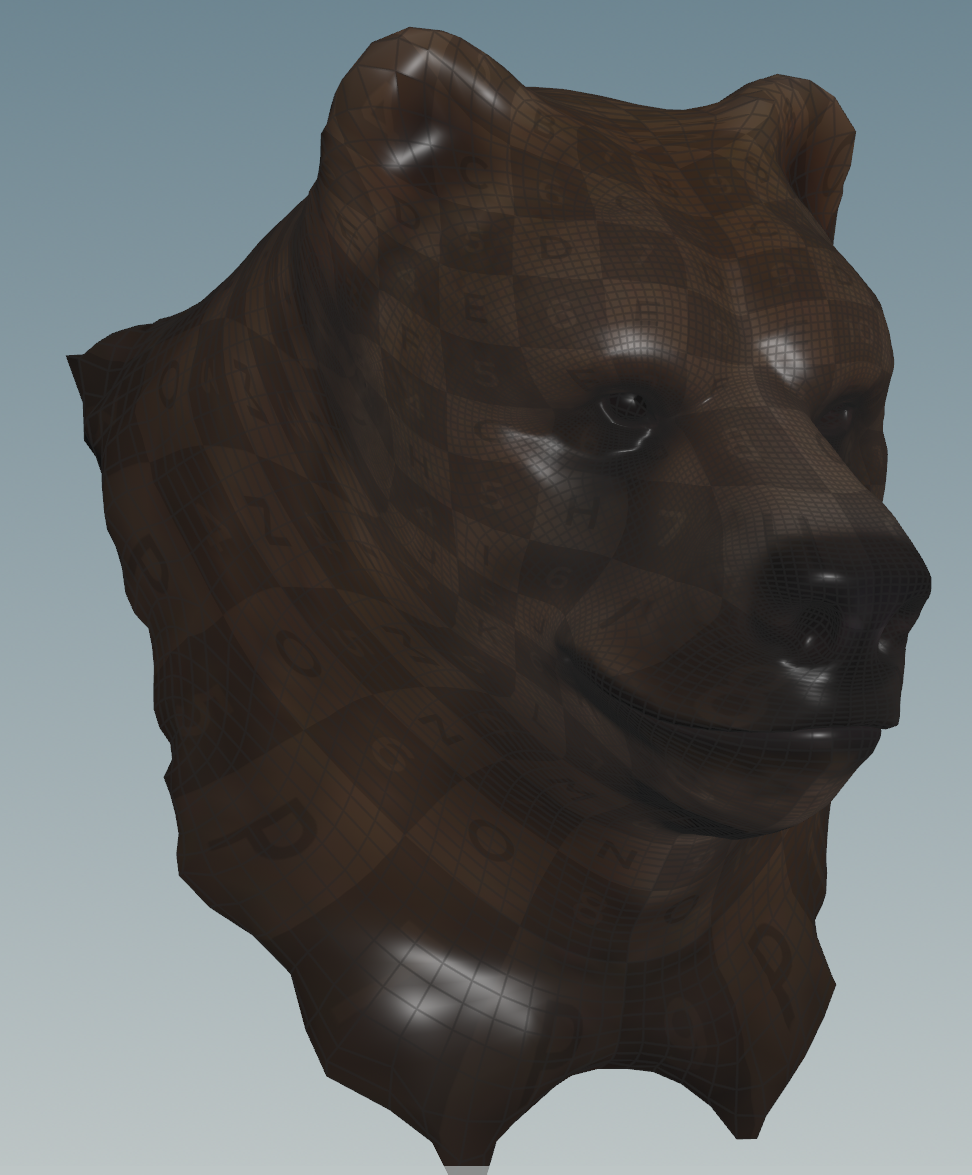
I wanted to change the hair color from the default white to match the color of the texture map.
I used the 'Attribute from Map' node to read in a texture and apply the color to the mesh. Then the hairs would pick up that color.
I placed an Attribute from Map node near the start of my setup.
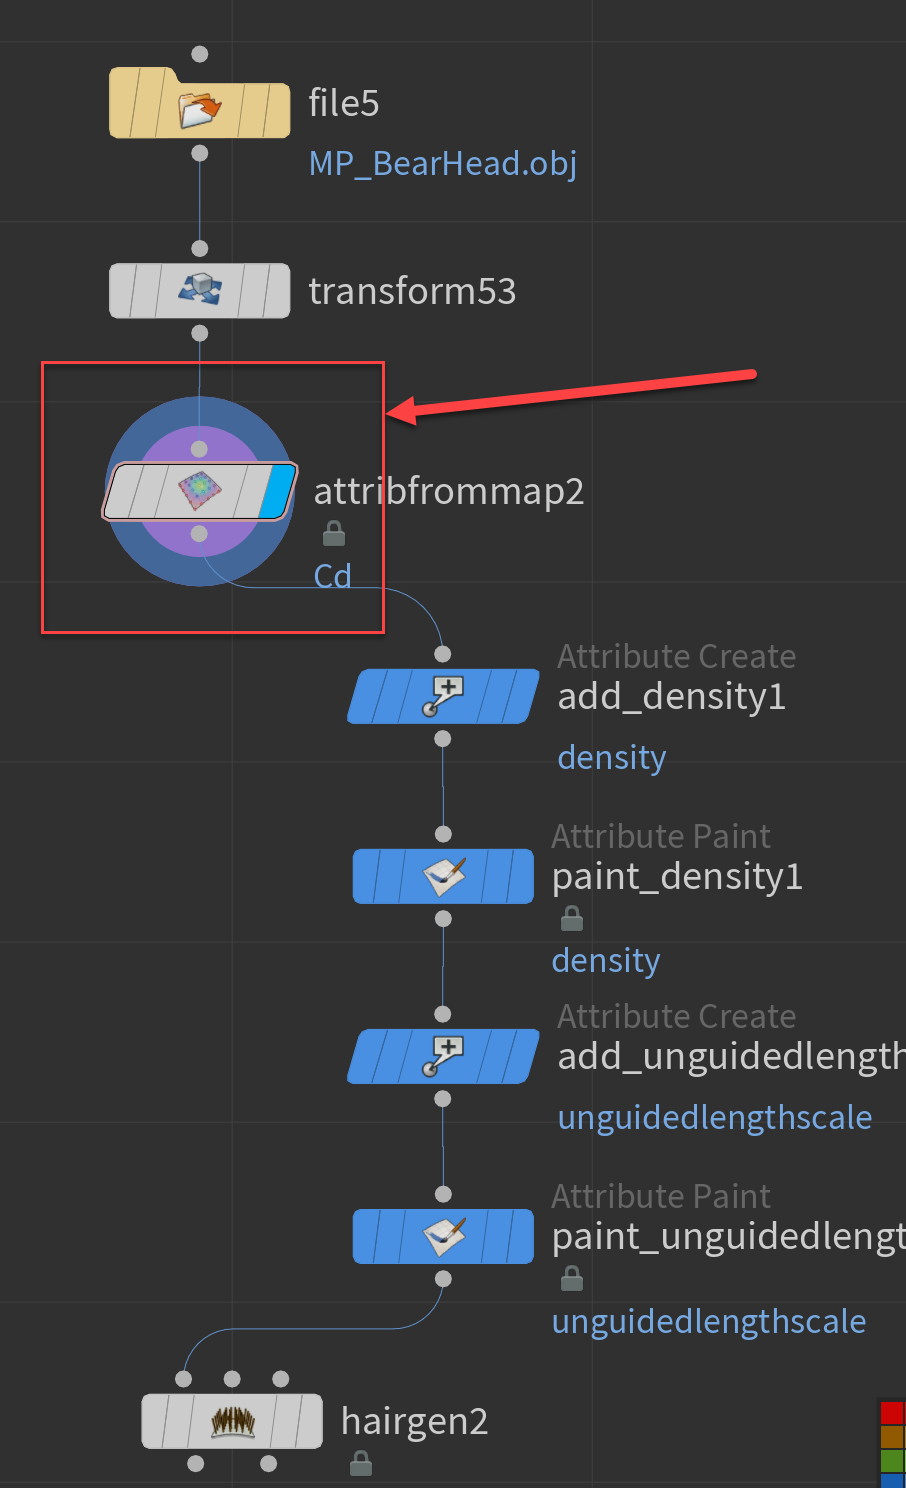
This node is currently grabbing a default texture and applying that texture to the geometry’s point colors.
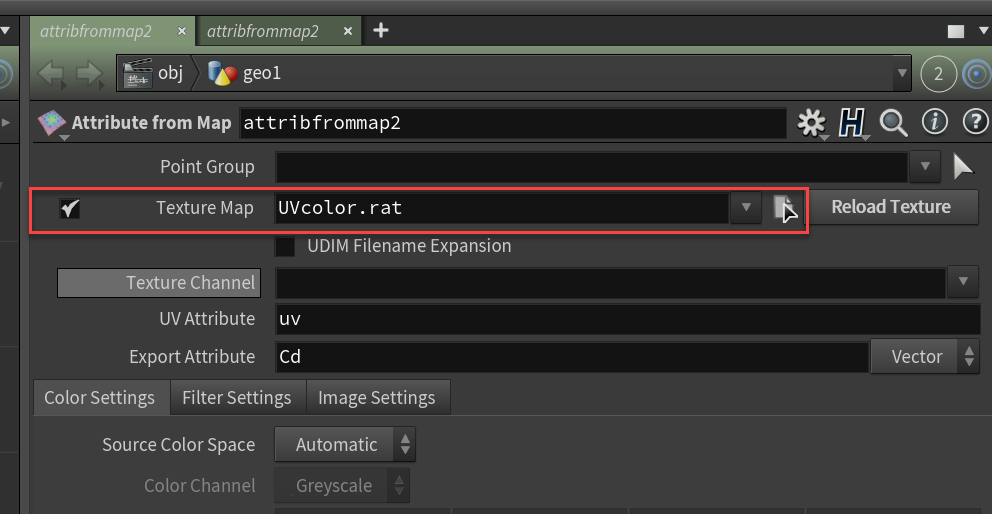
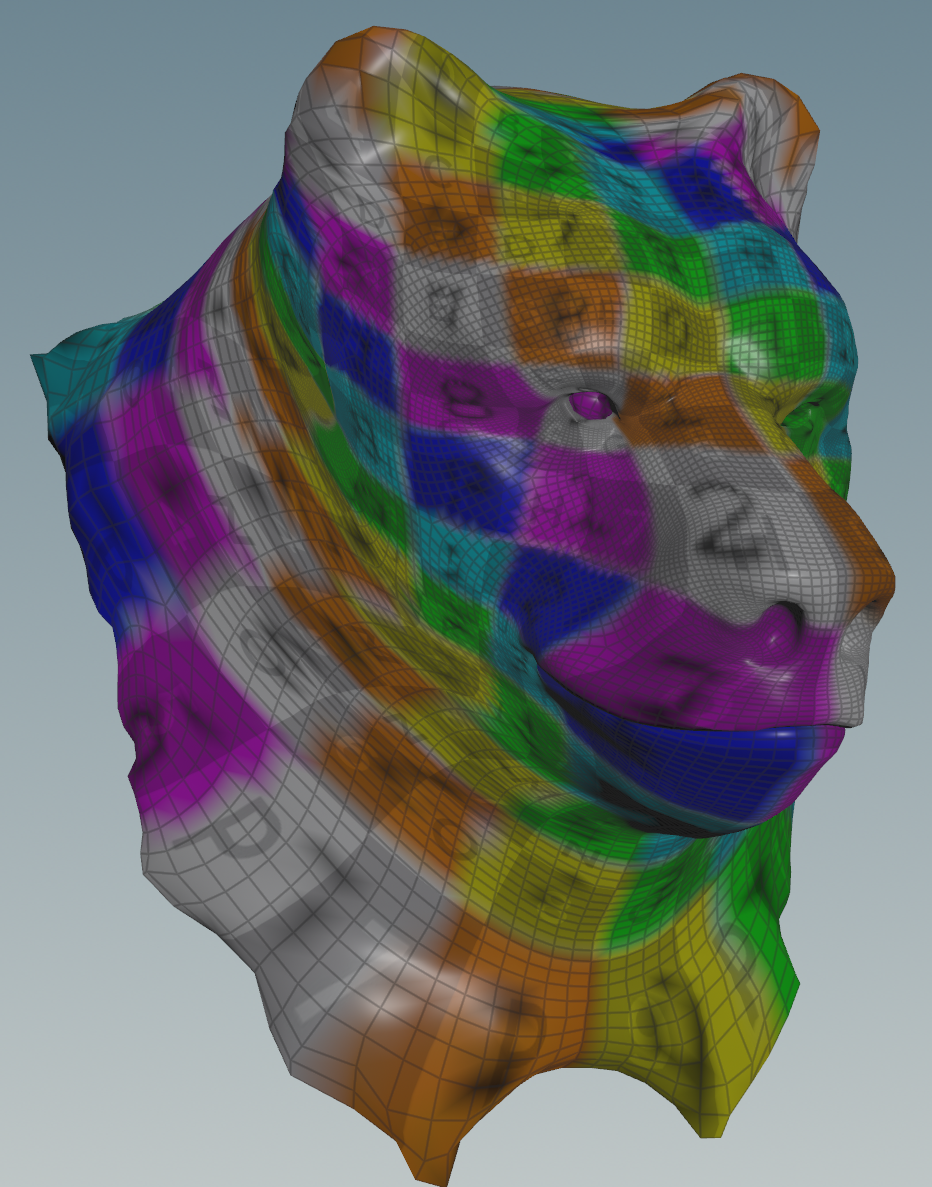
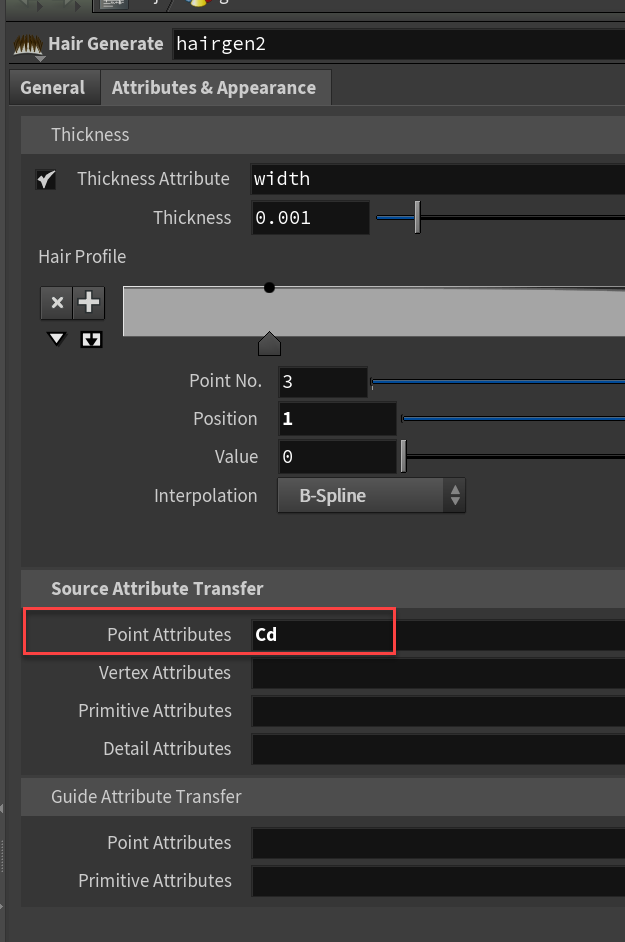
In the Hair Generate node, under the second tab (Attributes & Appearance), we can instruct the hair to transfer the Color (Cd) Attribute from the geometry to the hair.
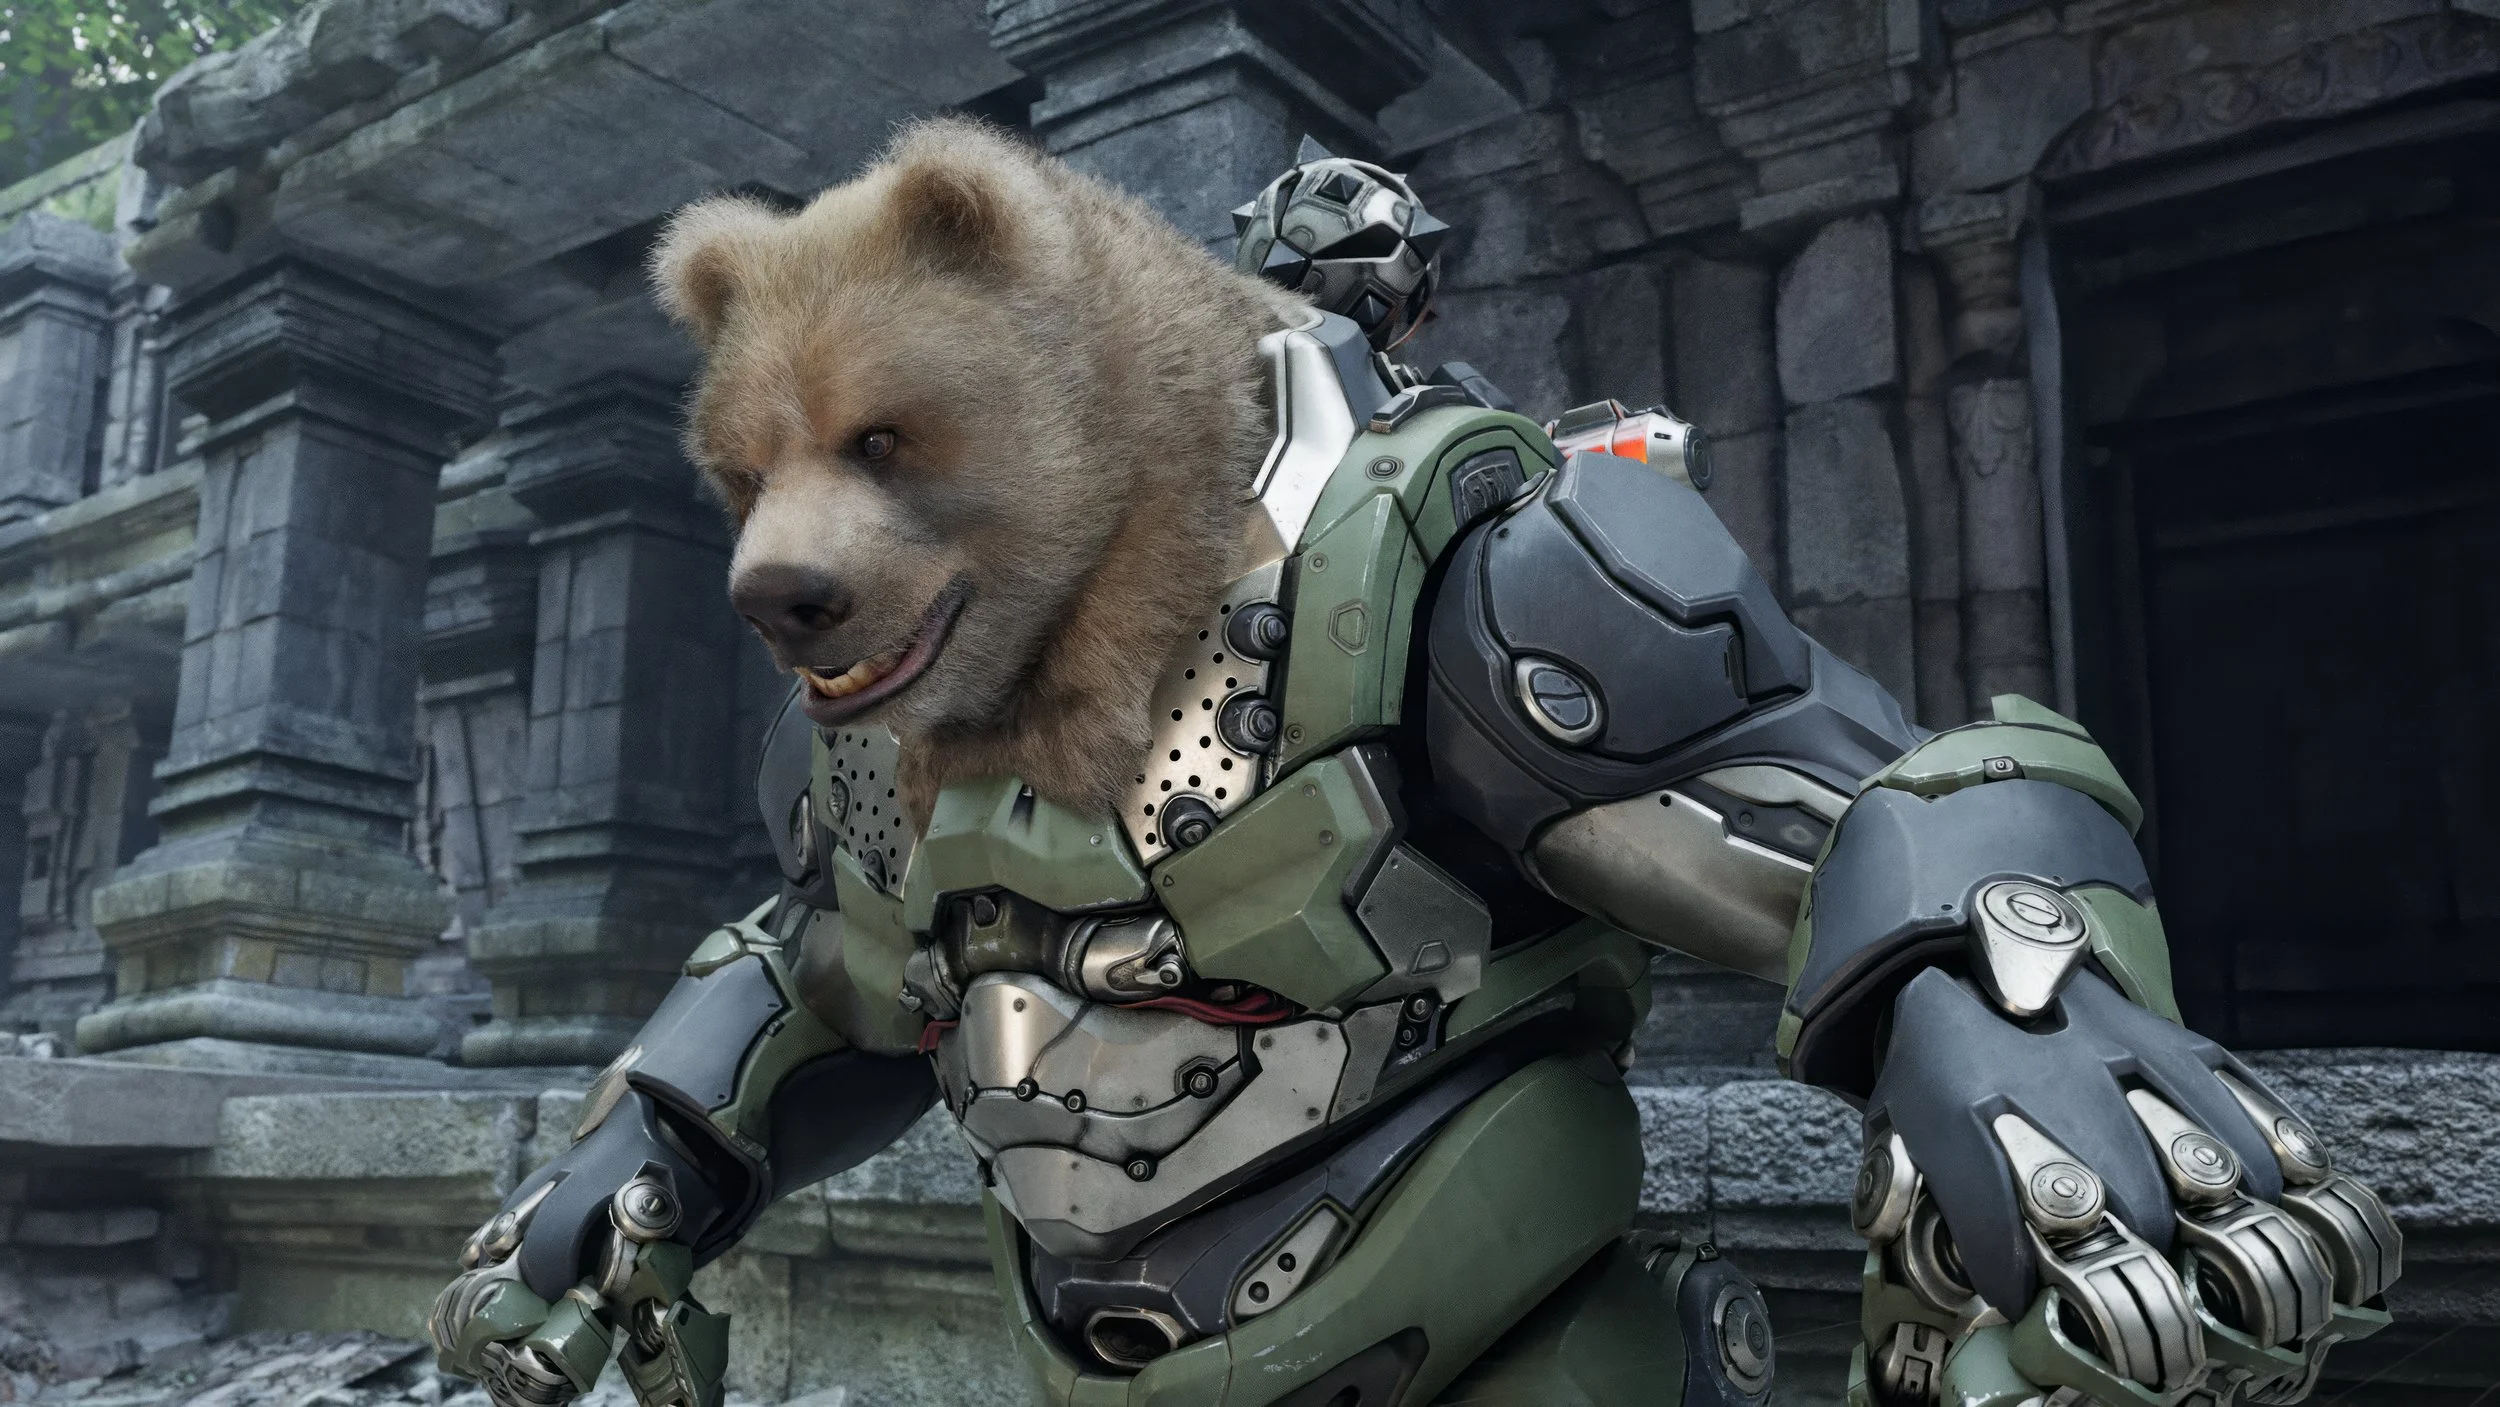
Once we set up the basic hair scattering, the process becomes more challenging. I have to try styling the hair appropriately, and this is an area I'm weak at. I don’t really know how hair behaves in real life, so I'm just looking at references and doing my best. I'll show you what I did, although there may be more accurate methods.
The rest of this document will provide more of an overview, rather than a step-by-step walkthrough.
I used a Guide Process node set to ‘Set Direction’ to give some initial direction to the hairs. This is to push the hairs back and give some initial flow to the look. Some areas get scrambled which will need to be corrected.
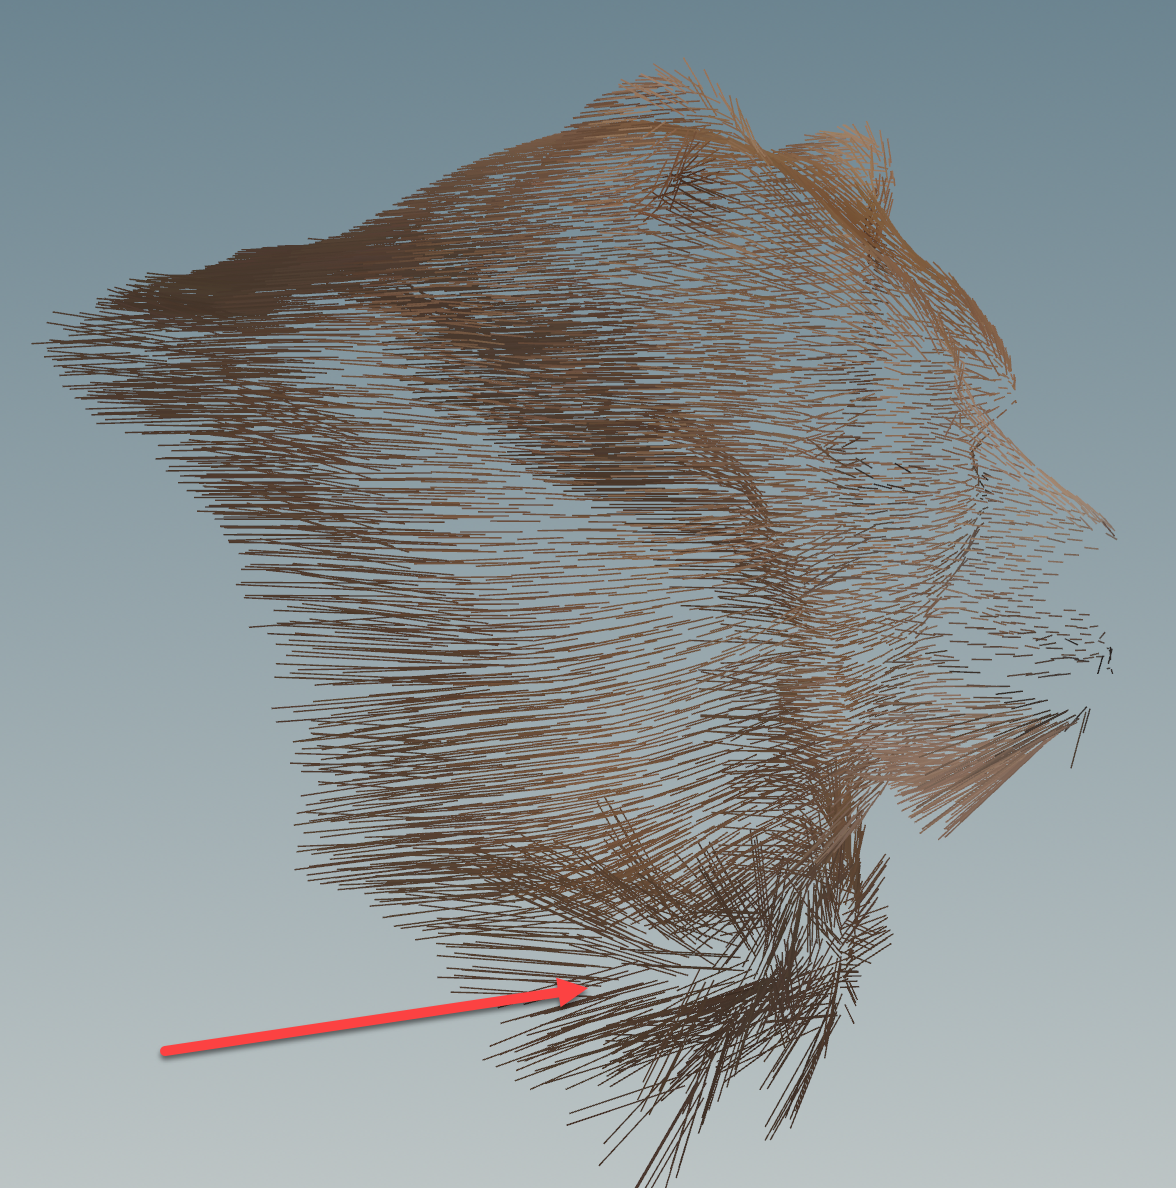
Some of the hairs didn't look quite right, so I added a second Guide Process node to set the direction, but this time aiming downward. On this second Guide Process, I modulated the Direction Amount with some paint work. By the end, the result looked something like this (I increased the amount of hair up to 50,000 guide hairs).
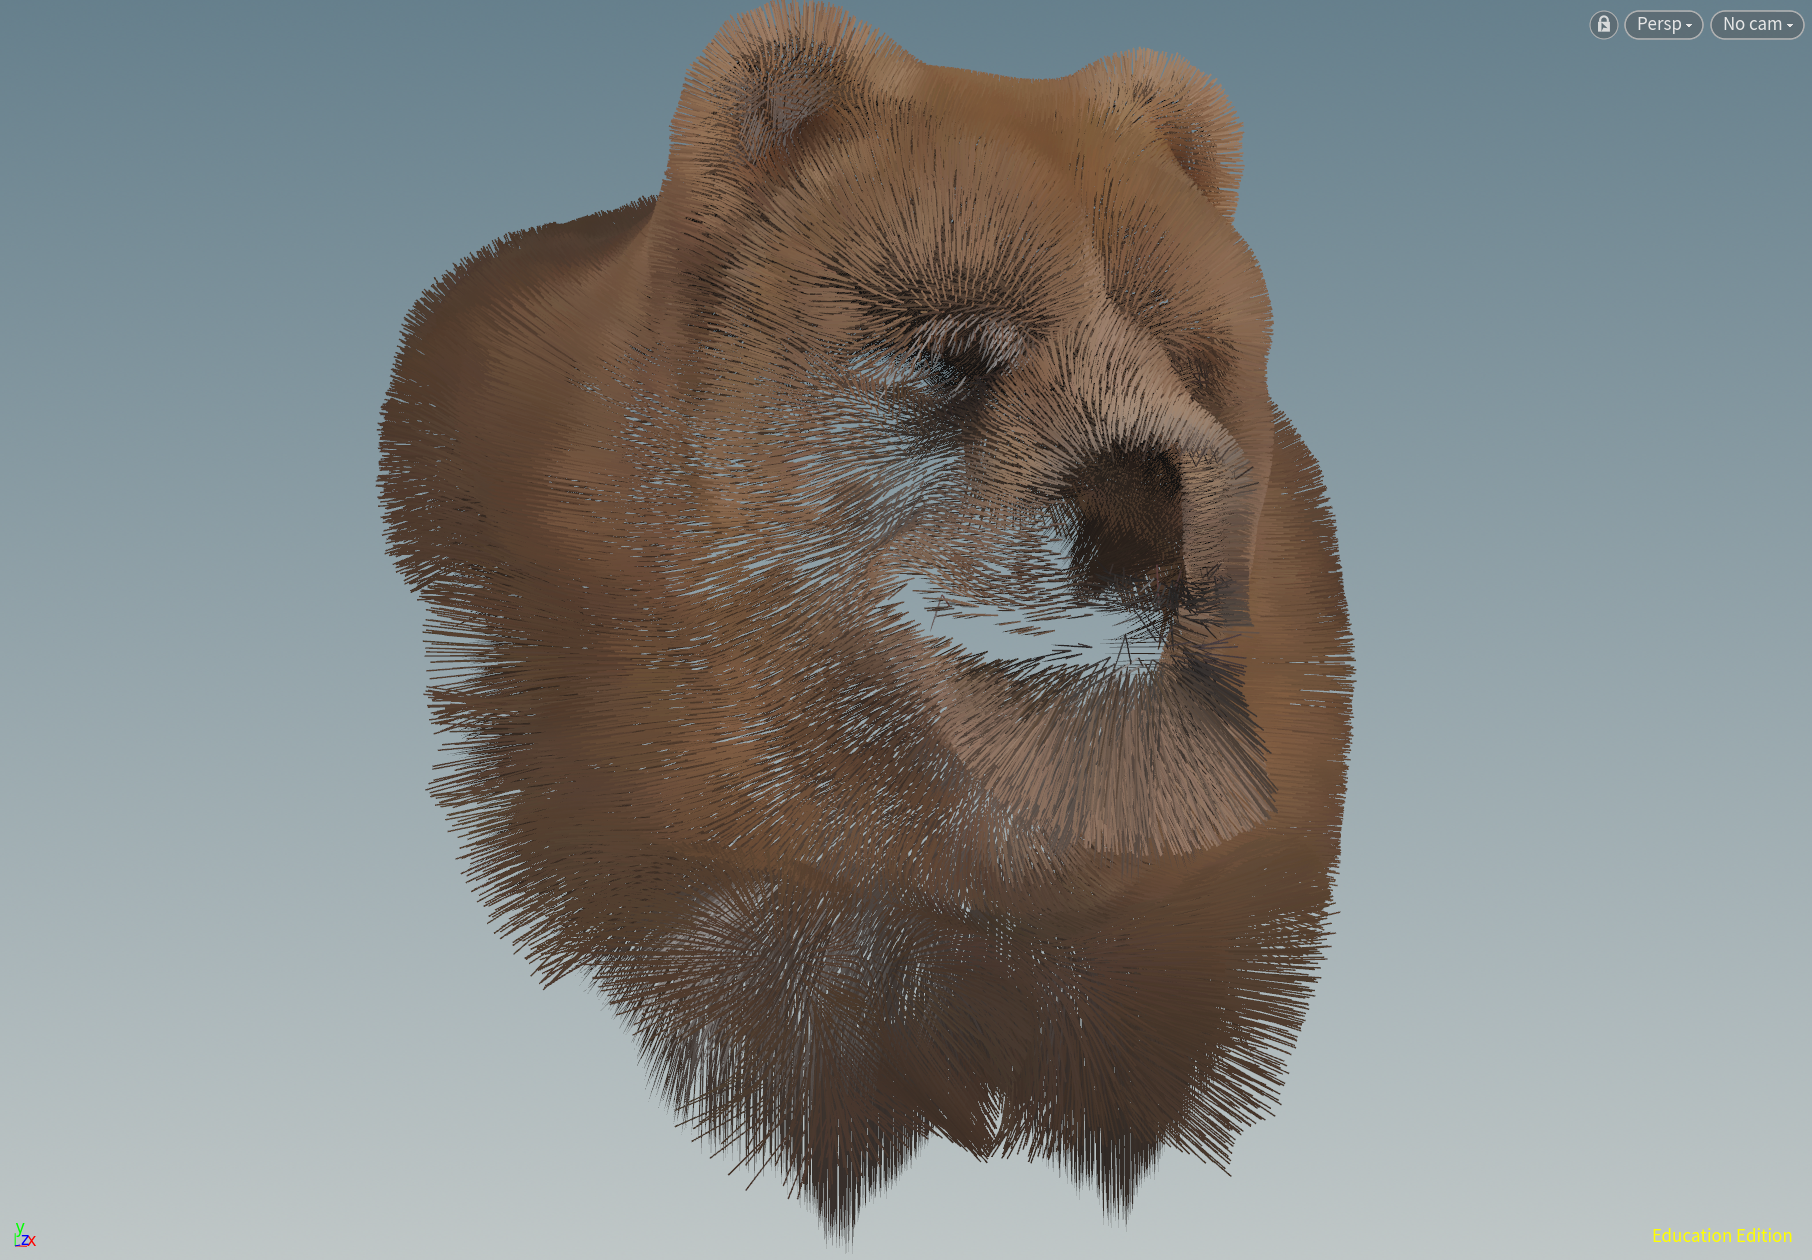
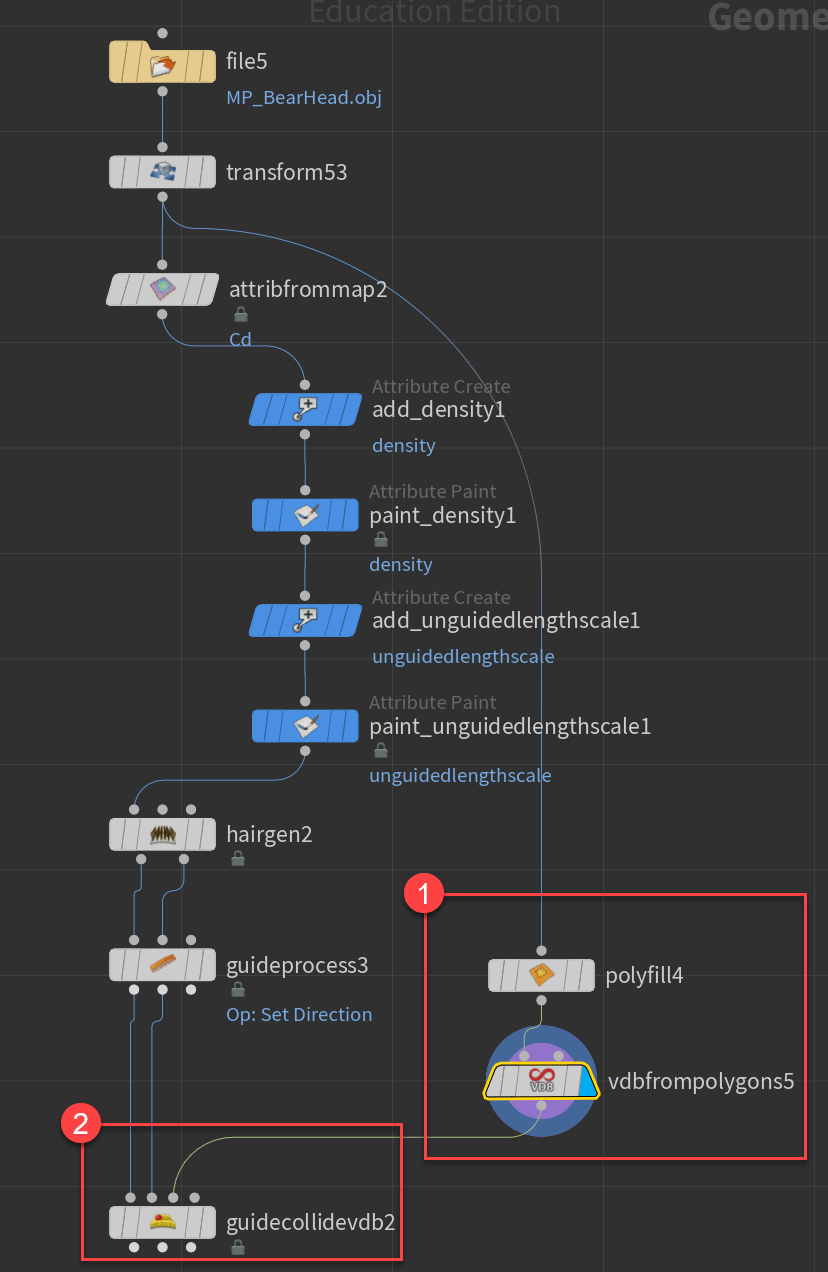
Once the initial direction of the hairs is set, sometimes the hairs get pushed into the geometry, necessitating a node called 'Guide Collide With VDB'. With this node, we feed in a volume, and the volume will push the hairs out from the geometry.
The 'Polyfill' node makes the head a solid piece of geometry. This is then fed into a 'VDB From Polygons' node to create the volume. These are then fed into a 'Guide Collide' node that will push the hairs out from the geometry.
I added a 'Hair Clump' node to group some of the hair together in bunches, and a 'Hair Frizz' node to introduce some randomness. Then, I returned to the 'Hair Generate' node to increase the number of guide hairs to 100,000
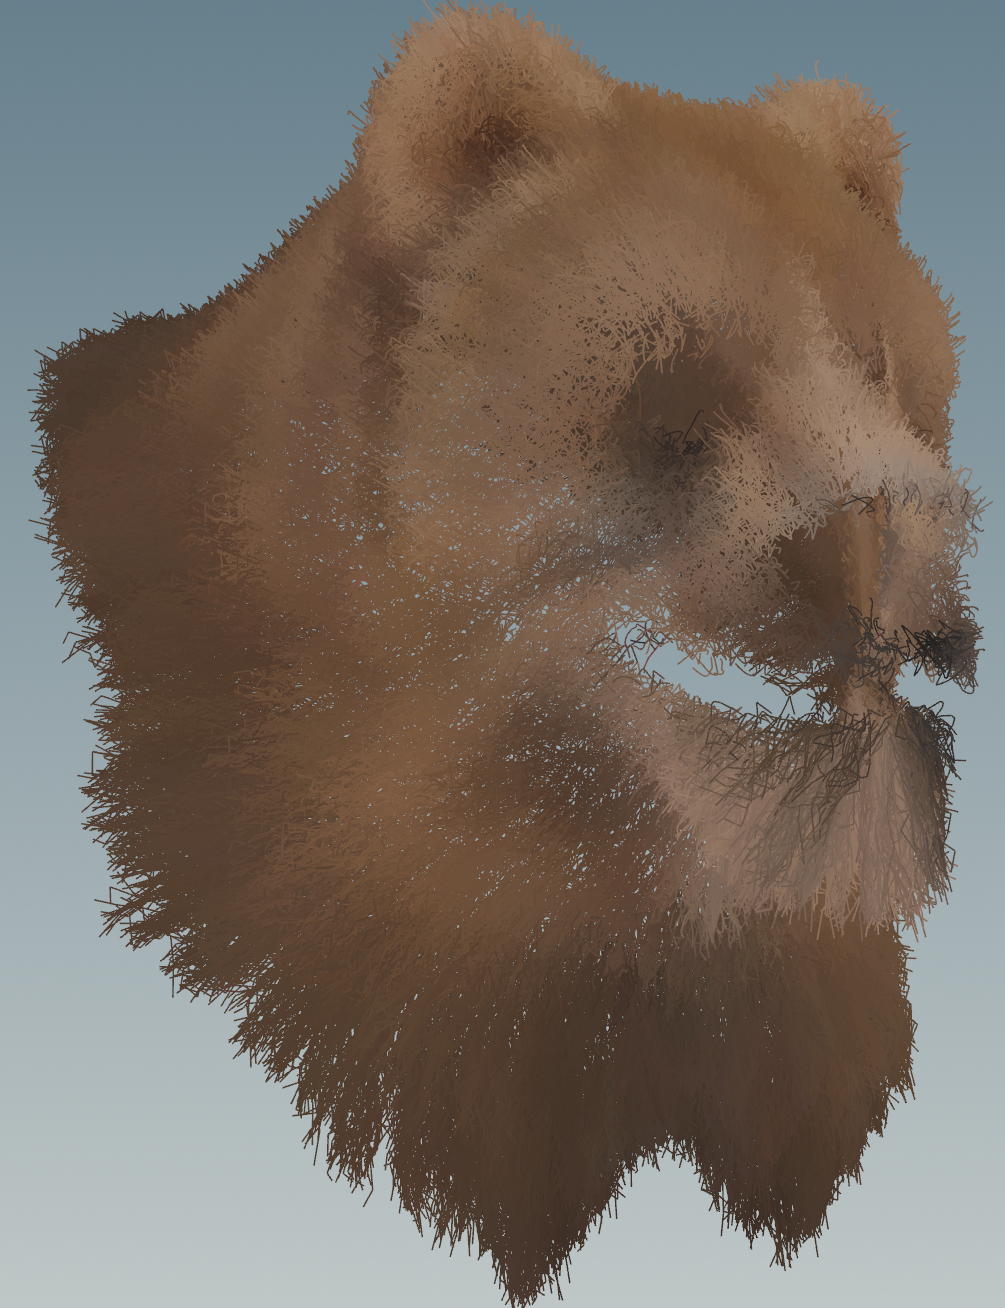
At this point, I merged the hairs with the skin geometry to assess how they look together.
I noticed that the area under the nose and around the eyes could use more hairs, so I planned to go back and adjust the density in those areas using the Attribute Paint node.
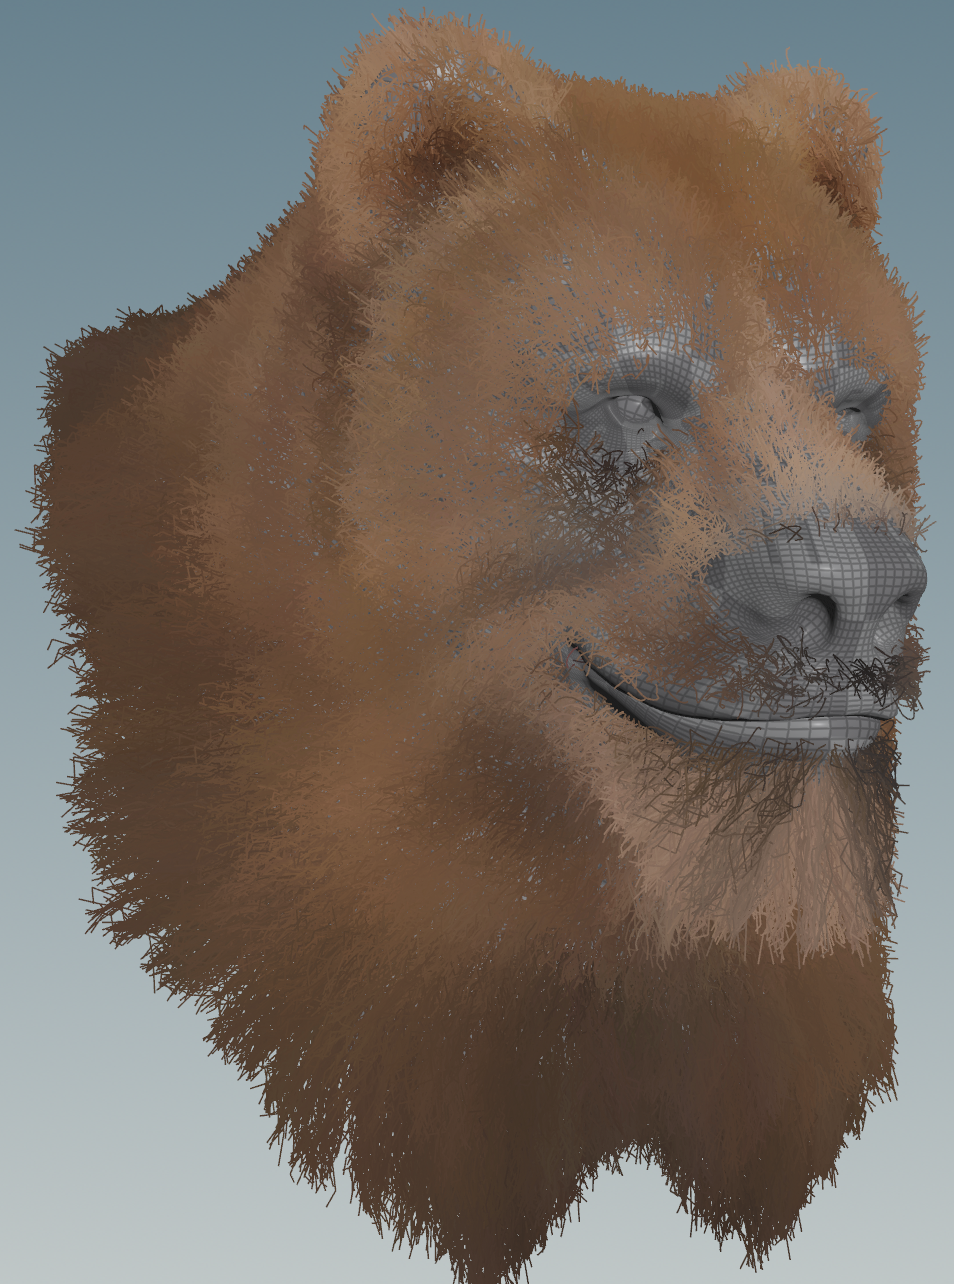
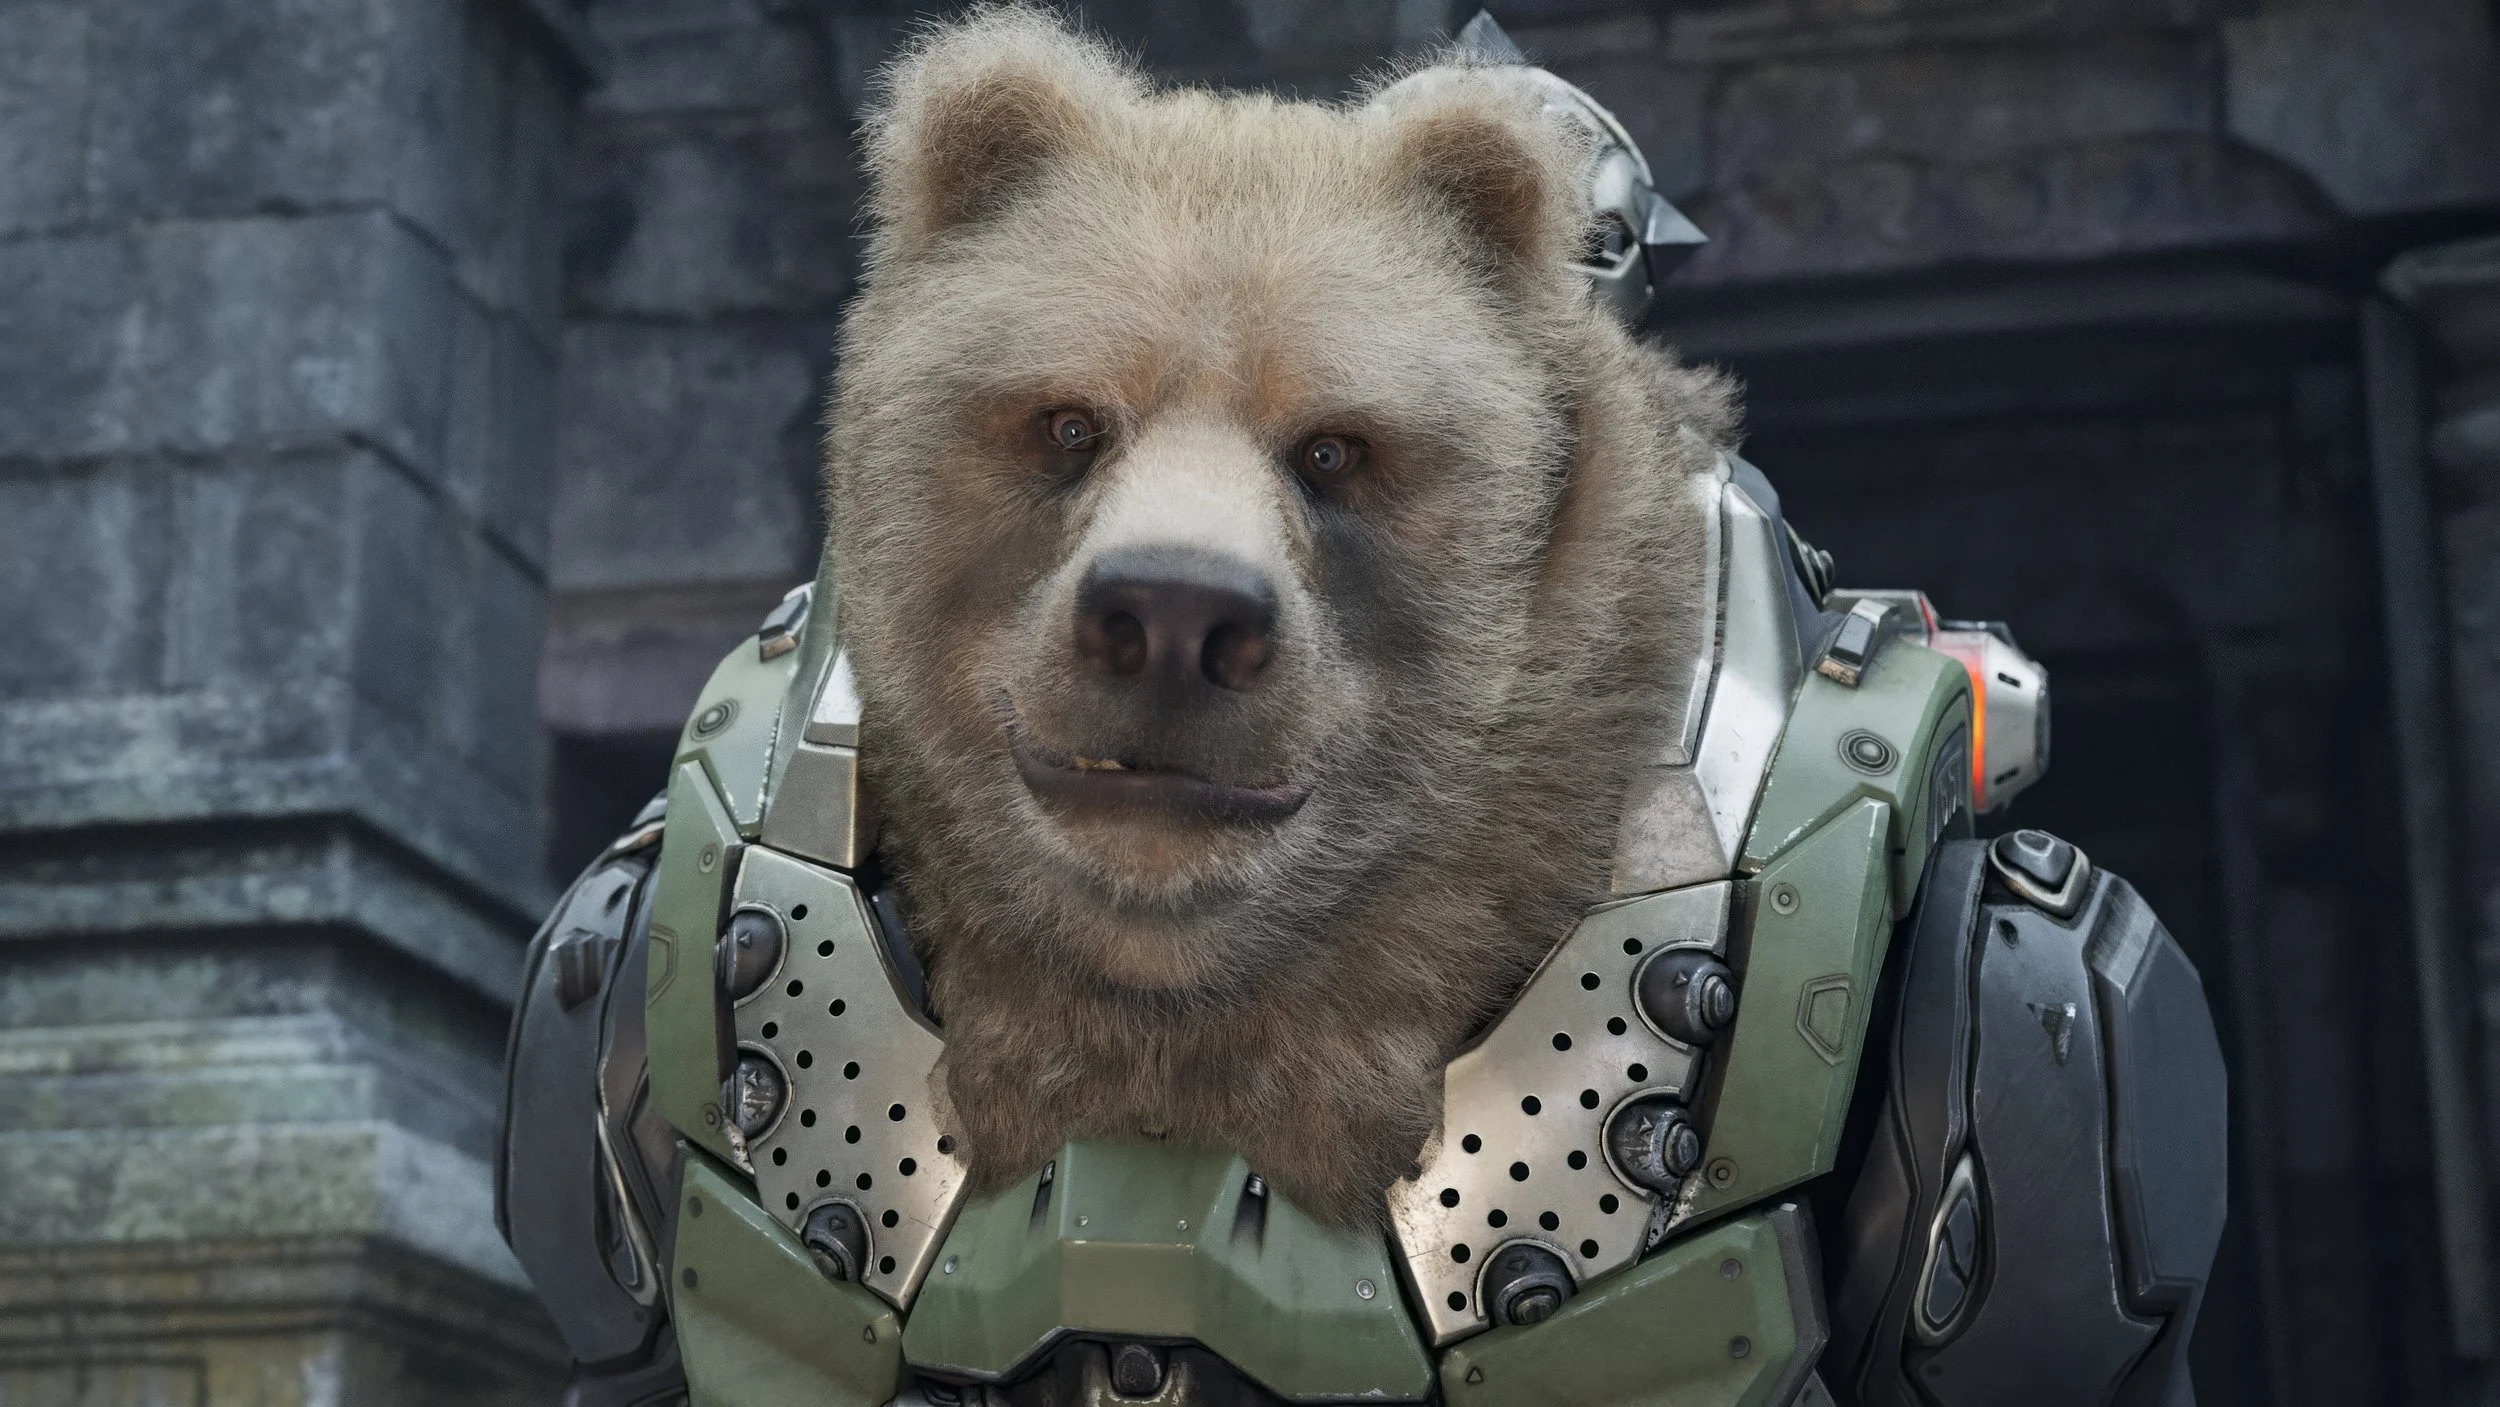
At this stage, I was just bouncing around my setup, tweaking things. I increased the density of hairs, adjusted the frizz, and modified the clump size.
The last stage was to apply non-procedural adjustments with a Guide Groom node. This is a brush-based tool that allows you to sculpt hair, among other functionalities it offers. Note that this tool caches the data from upstream nodes, so if you change anything upstream, then you have to redo the work that you’ve done in this node
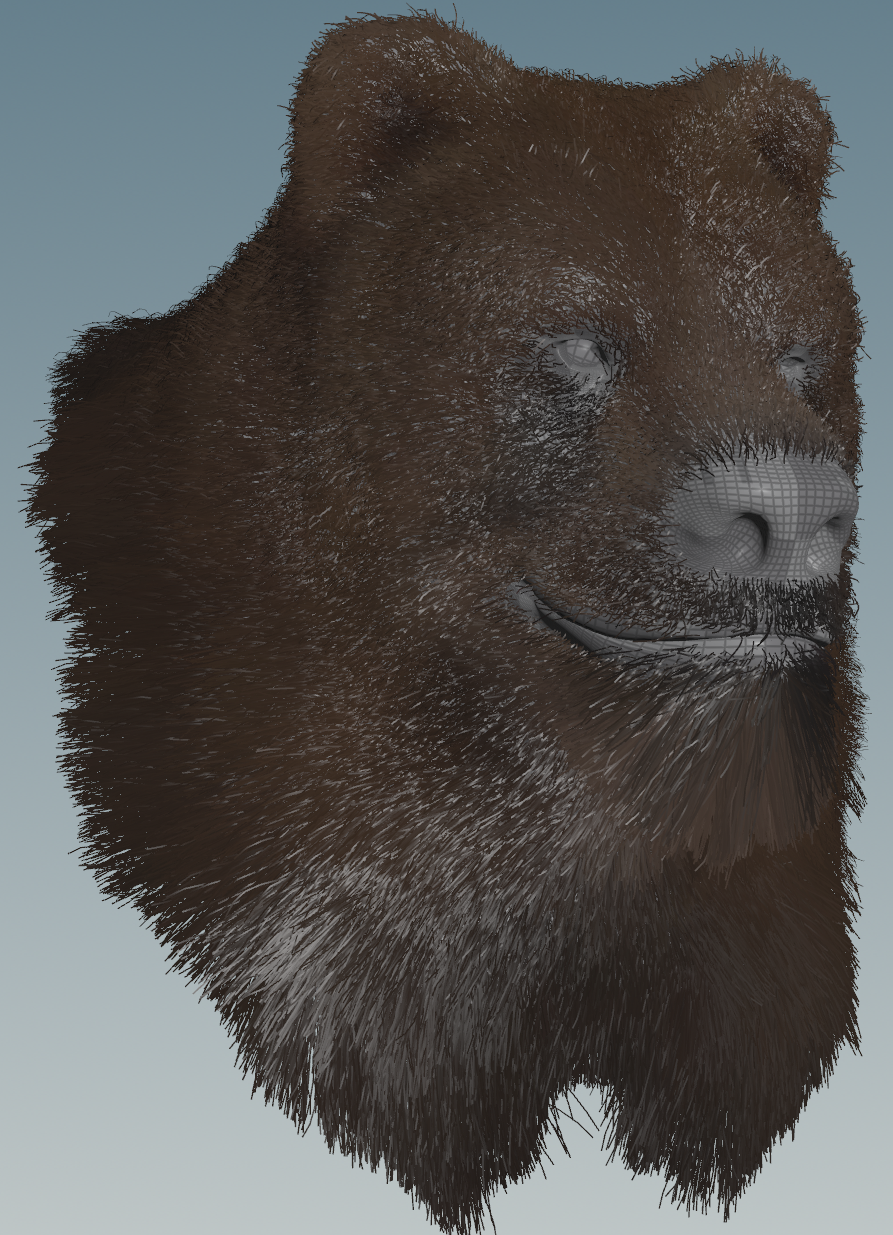
The main task I focused on while I was sculpting the hair was ensuring that the hair stayed out of his eyes and making minor direction adjustments (mostly under the nose). I mostly used the ‘Brush’ setting, but the tool also allows for sculpting hair, planting more hairs, deleting hairs, and so on.
I noticed that this node removed the color, so I utilized an Attribute Transfer node to restore the color attribute after the Guide Groom node.
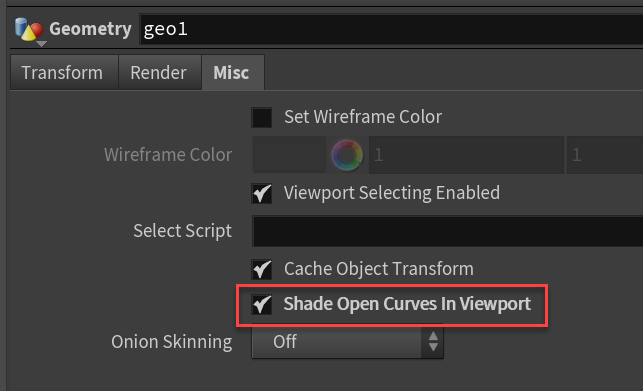
I also activated the 'Shade Open Curves In Viewport' option on the Geometry node that holds the hair setup.
Once this step was complete I started to prepare to write the hair geometry out and import into Unreal.
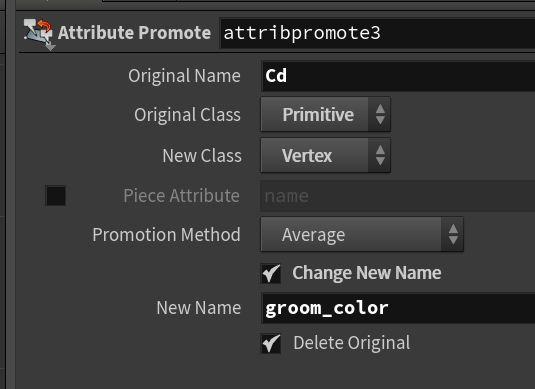
To display the hair color in Unreal, it is necessary to copy the Cd (Color) attribute from the hair edges to the vertices using an Attribute Promote node. The attribute should be renamed as 'groom_color' for Unreal to read it properly.
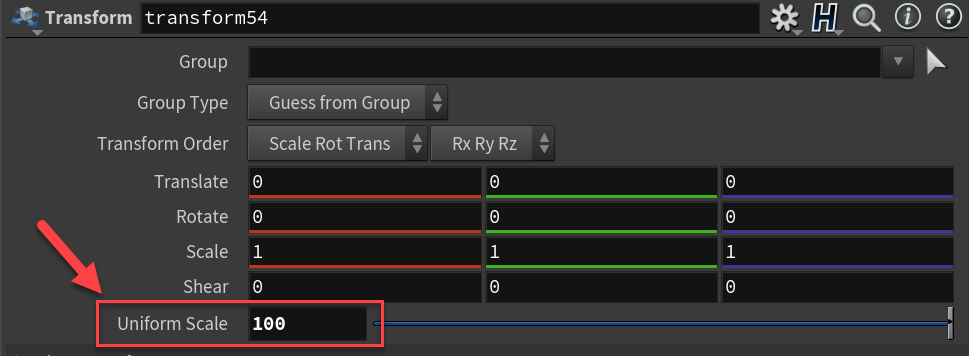
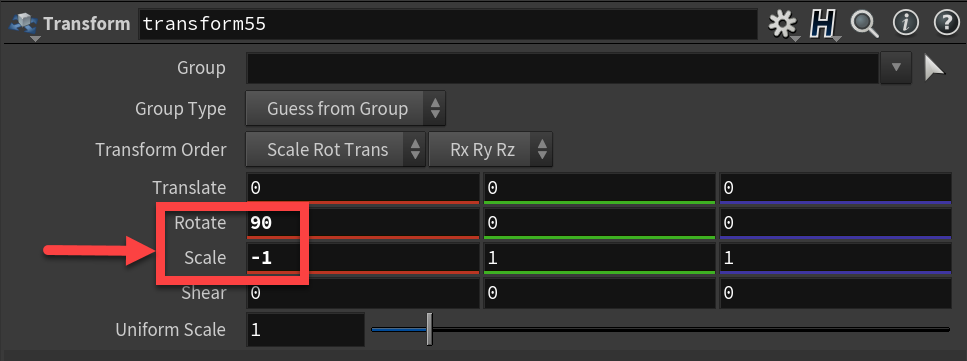
I needed to prepare it for Unreal’s scale and orientation settings. I’m using one Transform node to scale it up 100 times (to convert from Houdini’s scale to Unreal’s scale).
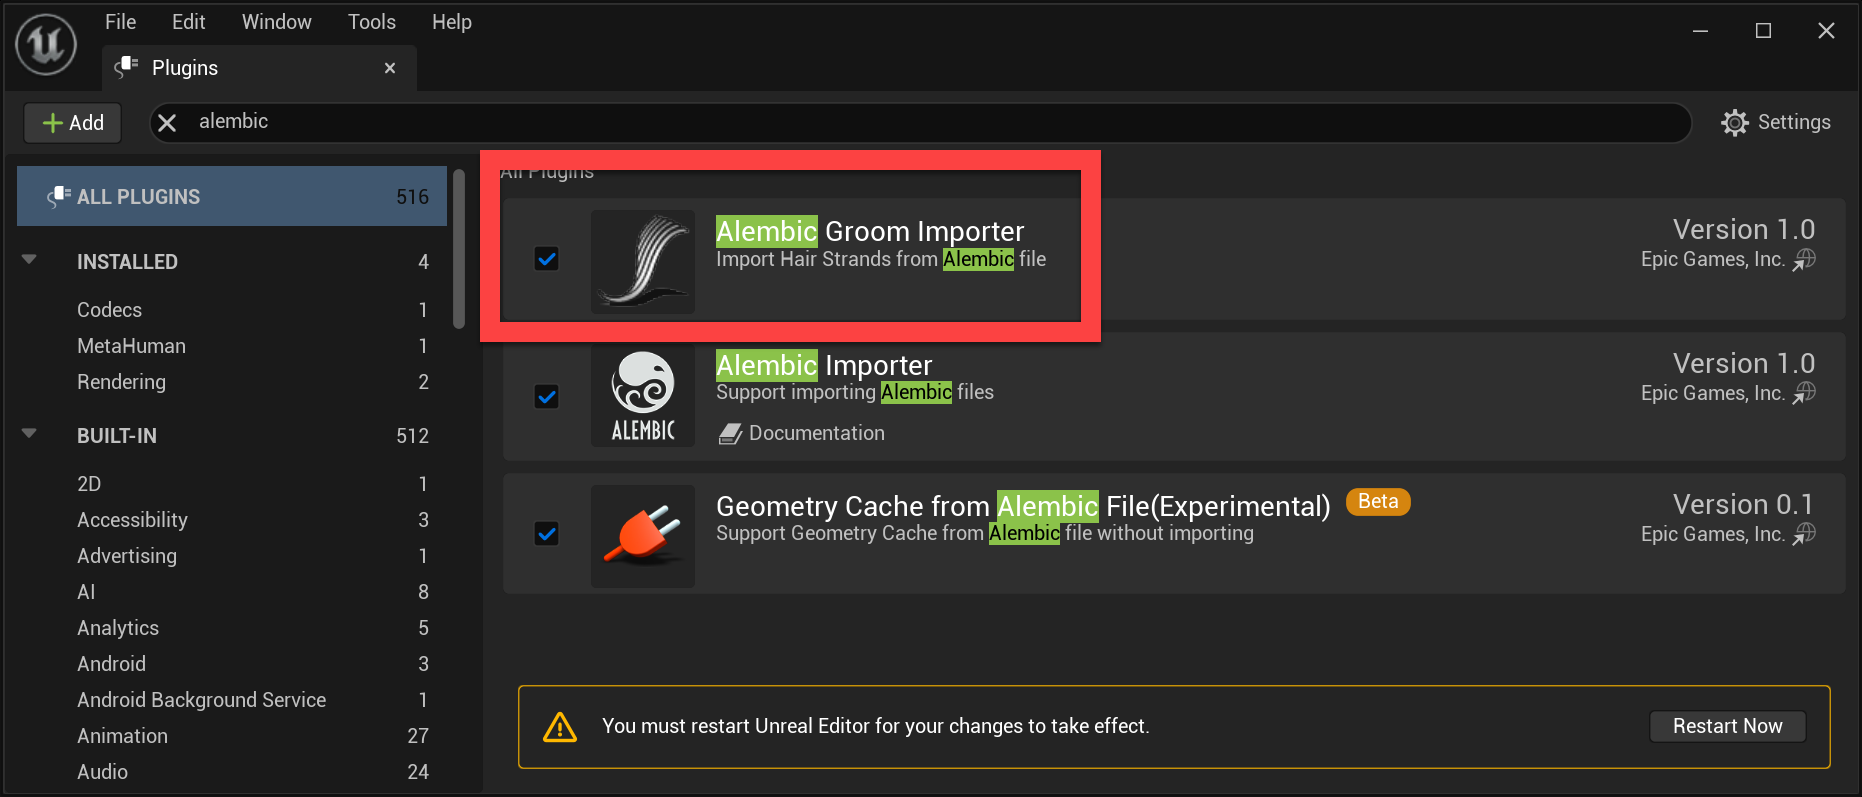
Once the plugin is active, the grooming data is imported like any other piece of geometry. By double-clicking on the imported groom, a hair shader can be applied.
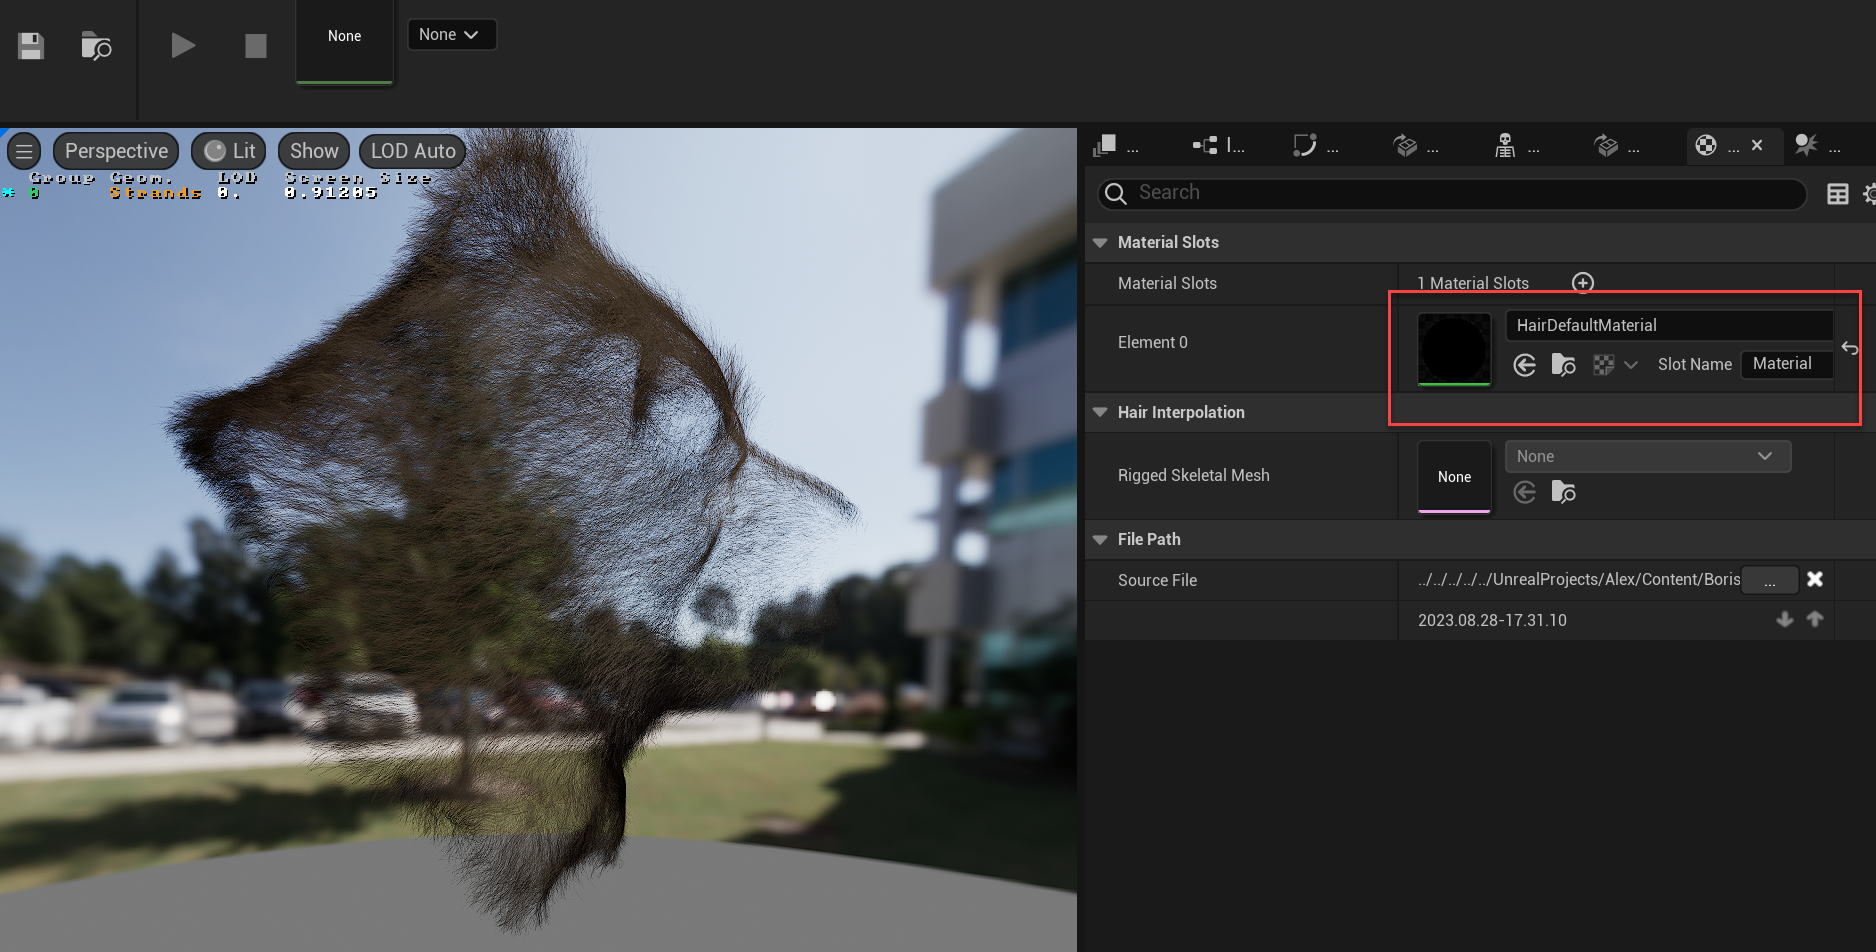
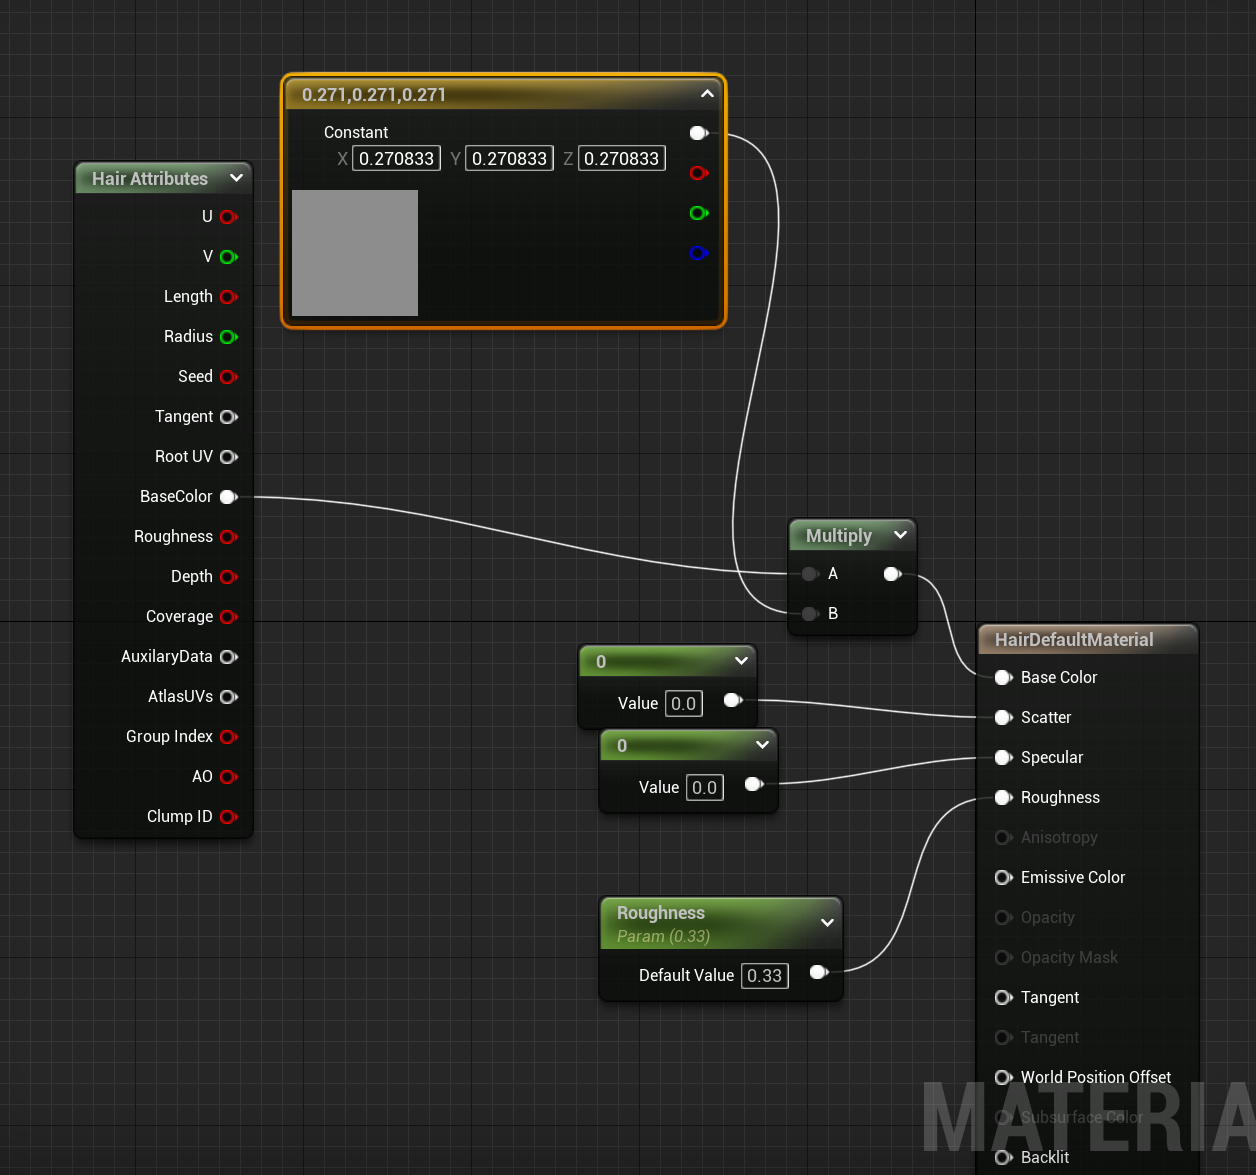
The crucial setting in the hair shader is to ensure that the Vertex color is selected as the Base Color. In my setup I multiplied the hair color by a dark color to take down the brightness of it.
Here is a link to the Unreal documentation that contains the steps to bind the Groom to a Skeletal Mesh.
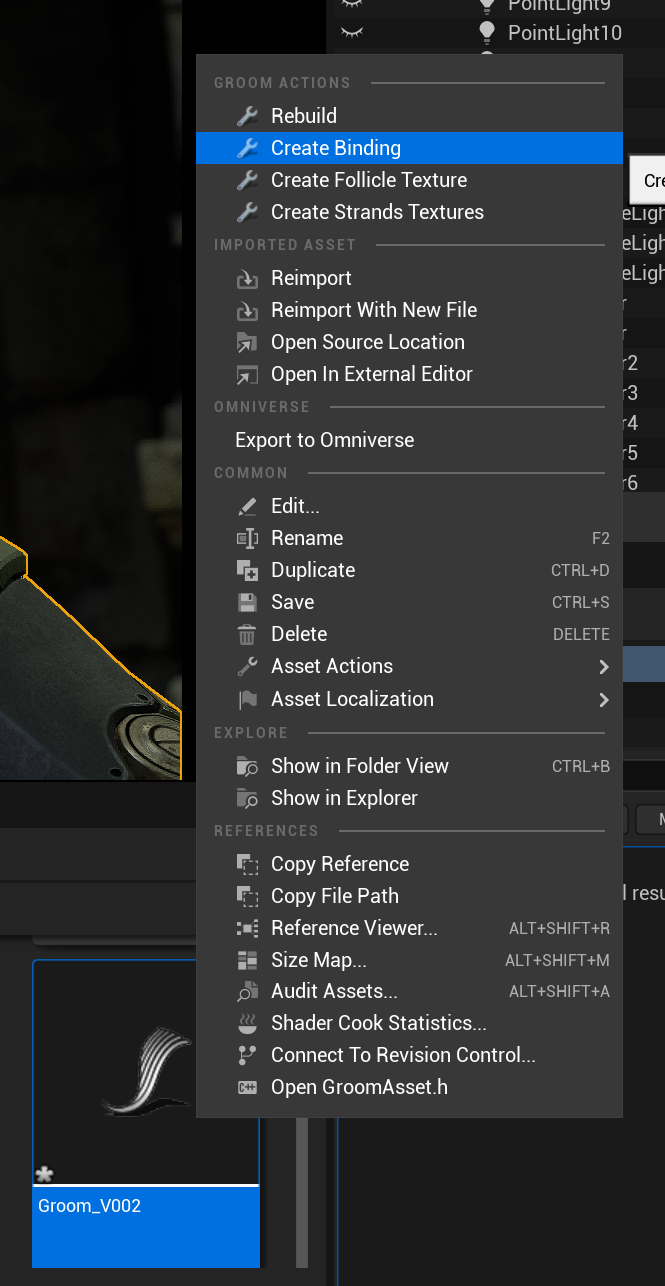
The main thing is that you have to create a Binding Asset to connect the Mesh with the Groom.
These were the main steps to create the groom for Bear.