Case study
Custom Metahuman 2024
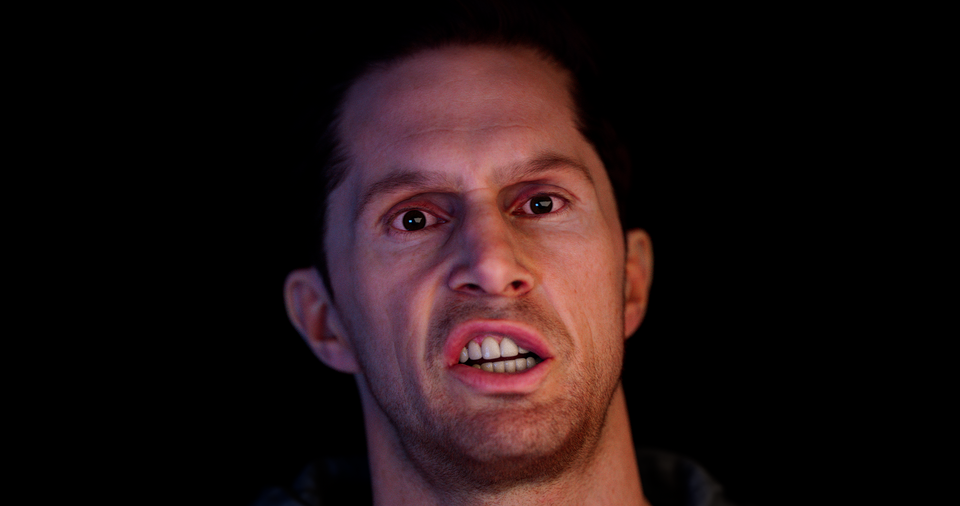
Step 1
Match Face Shape
I consider this to be a ‘solved problem’. You can adjust the facial appearance of a Metahuman, but you have to be careful how you do it.
When I first started to modify Metahumans, I would apply a Blend Shape (Morph Target) to the mesh, but this is not the ideal solution. If this is done without care, you can alter the location of the eyes, and when the eyes rotate, the eyes will rotate out of the skull.
You really need a solution that will move the bones of the Metahuman. This is tricky since the Metahuman face has so many bones and you need to write this new information to a .dna file. The .dna file contains information about the rig that can’t be stored in an .fbx file.
If you want to know more about how the Metahuman facial rig works, Epic released a fantastic white paper that goes into great detail about it.
There are a few different pieces of software that can let you do this. For this exercise I’m using Mesh Morpher, which is a plug in for Unreal.
Since I wanted this to be as photo-real as possible, I wanted to work from a scan of a real person. 3D Scan Store has a bunch of face scans that you can download, including some that are specifically useful for Metahumans.
The downside of those is that you would have to improvise when it comes to the wrinkle maps. I didn’t want to do this, so I bought a pack of scanned expressions. This pack had 30 scans of a face that could be used, all with different expressions. I thought that this would be ideal for me to extract the wrinkle maps and textures for later on down the pipeline.
The first step was to use Mesh To Metahuman. This Epic-provided tool is a great 1st step. The main reason to start with this is to try to get correct eye placement. This tool did a good job of that.
Mesh to Metahuman isn’t perfect though. It did a great job of constructing the face, it was about 95% of the way there.
Once I had the facemesh from Epic, I brought it into Wrap and wrapped the Metahuman mesh around the scan. This took the face from 95% of the way there to a perfect match.

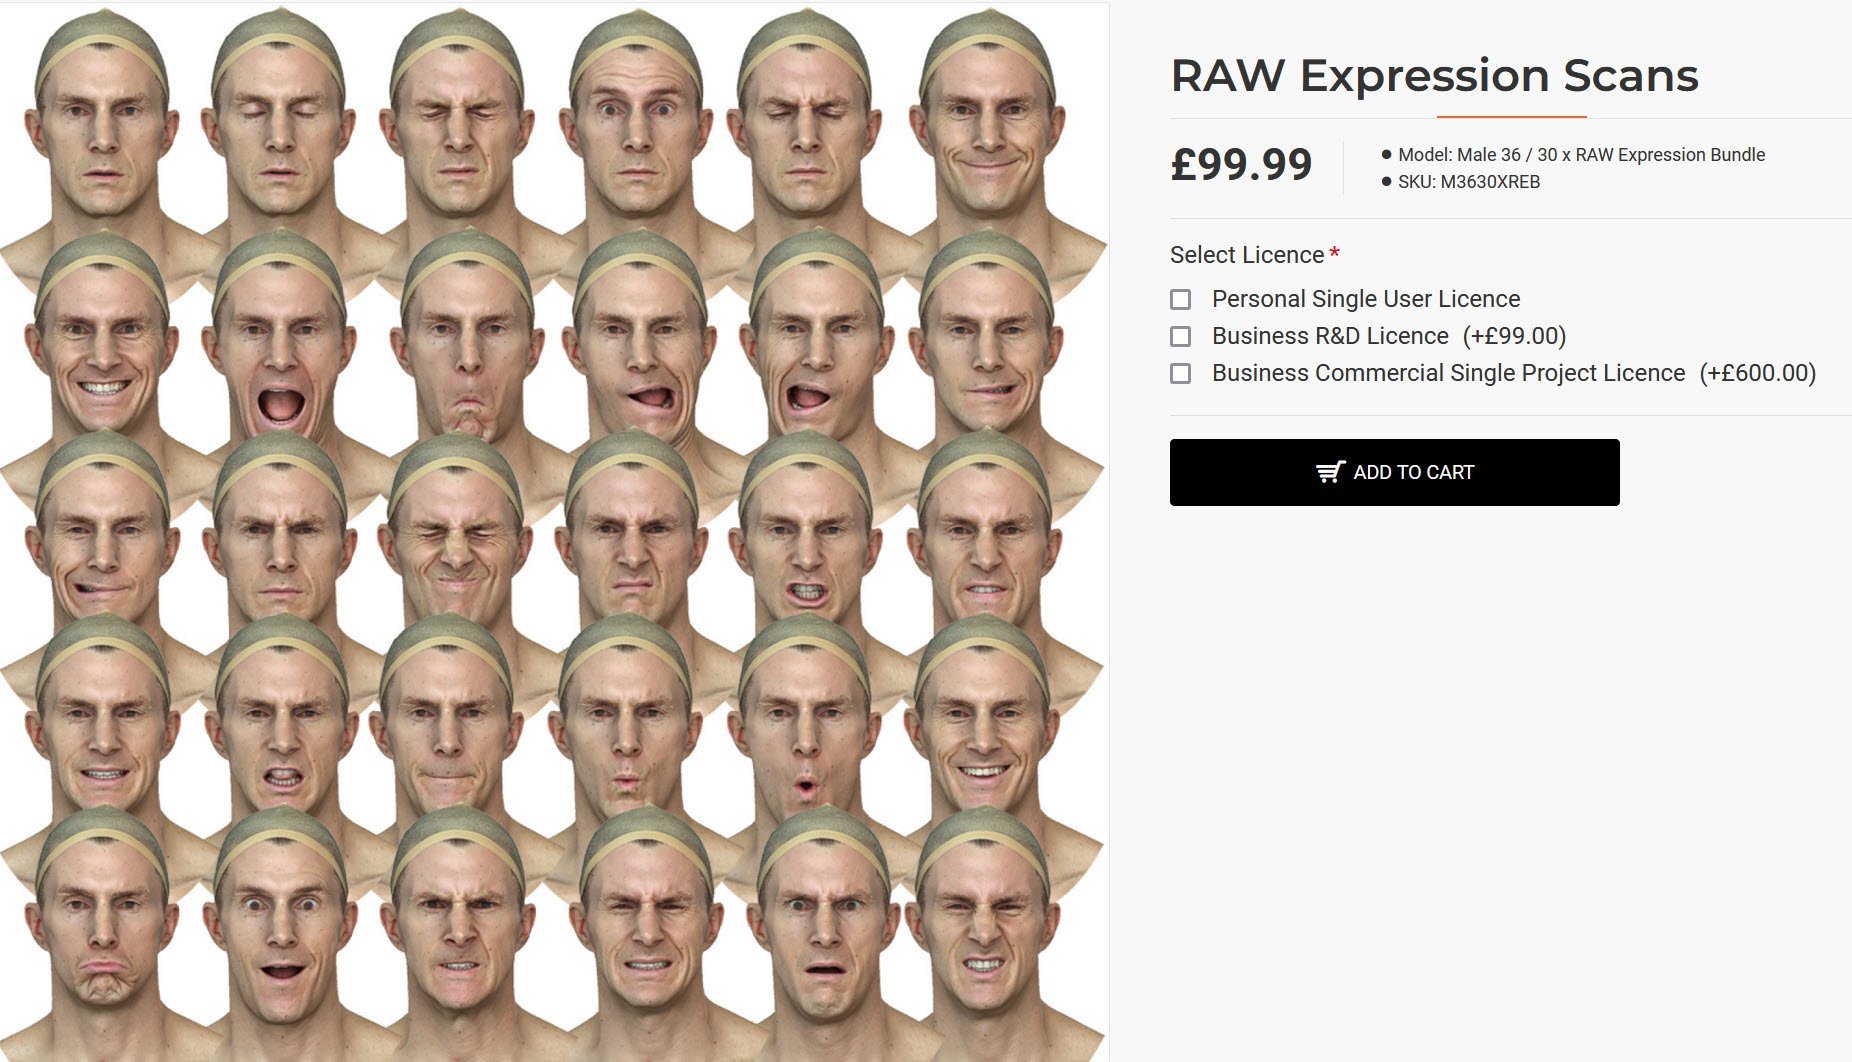

Once this process is complete, it’s pretty straightforward to import this mesh into Unreal and use Mesh Morpher to apply this shape to your Metahuman.
This gets you closer to your reference model, but textures and wrinkle maps make a huge difference.
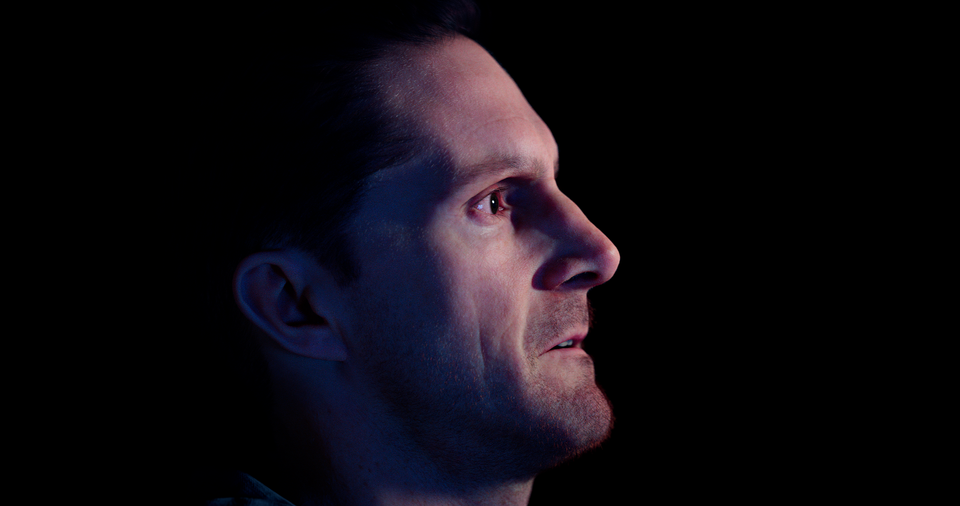
Step 2
Wrinkles and skin textures
In the Metahuman material, when certain facial expressions are made, the material swaps out and places new textures in the deformed areas.
You can see this in the face when the expression is changed. There are several maps that are used to help control when the new textures are swapped in and out.
There are several maps that are used to help control when the new textures are swapped in and out. I went to that material and took note of the names of the controls that drive those changes. Then I looked for matching shapes in the expression scans.
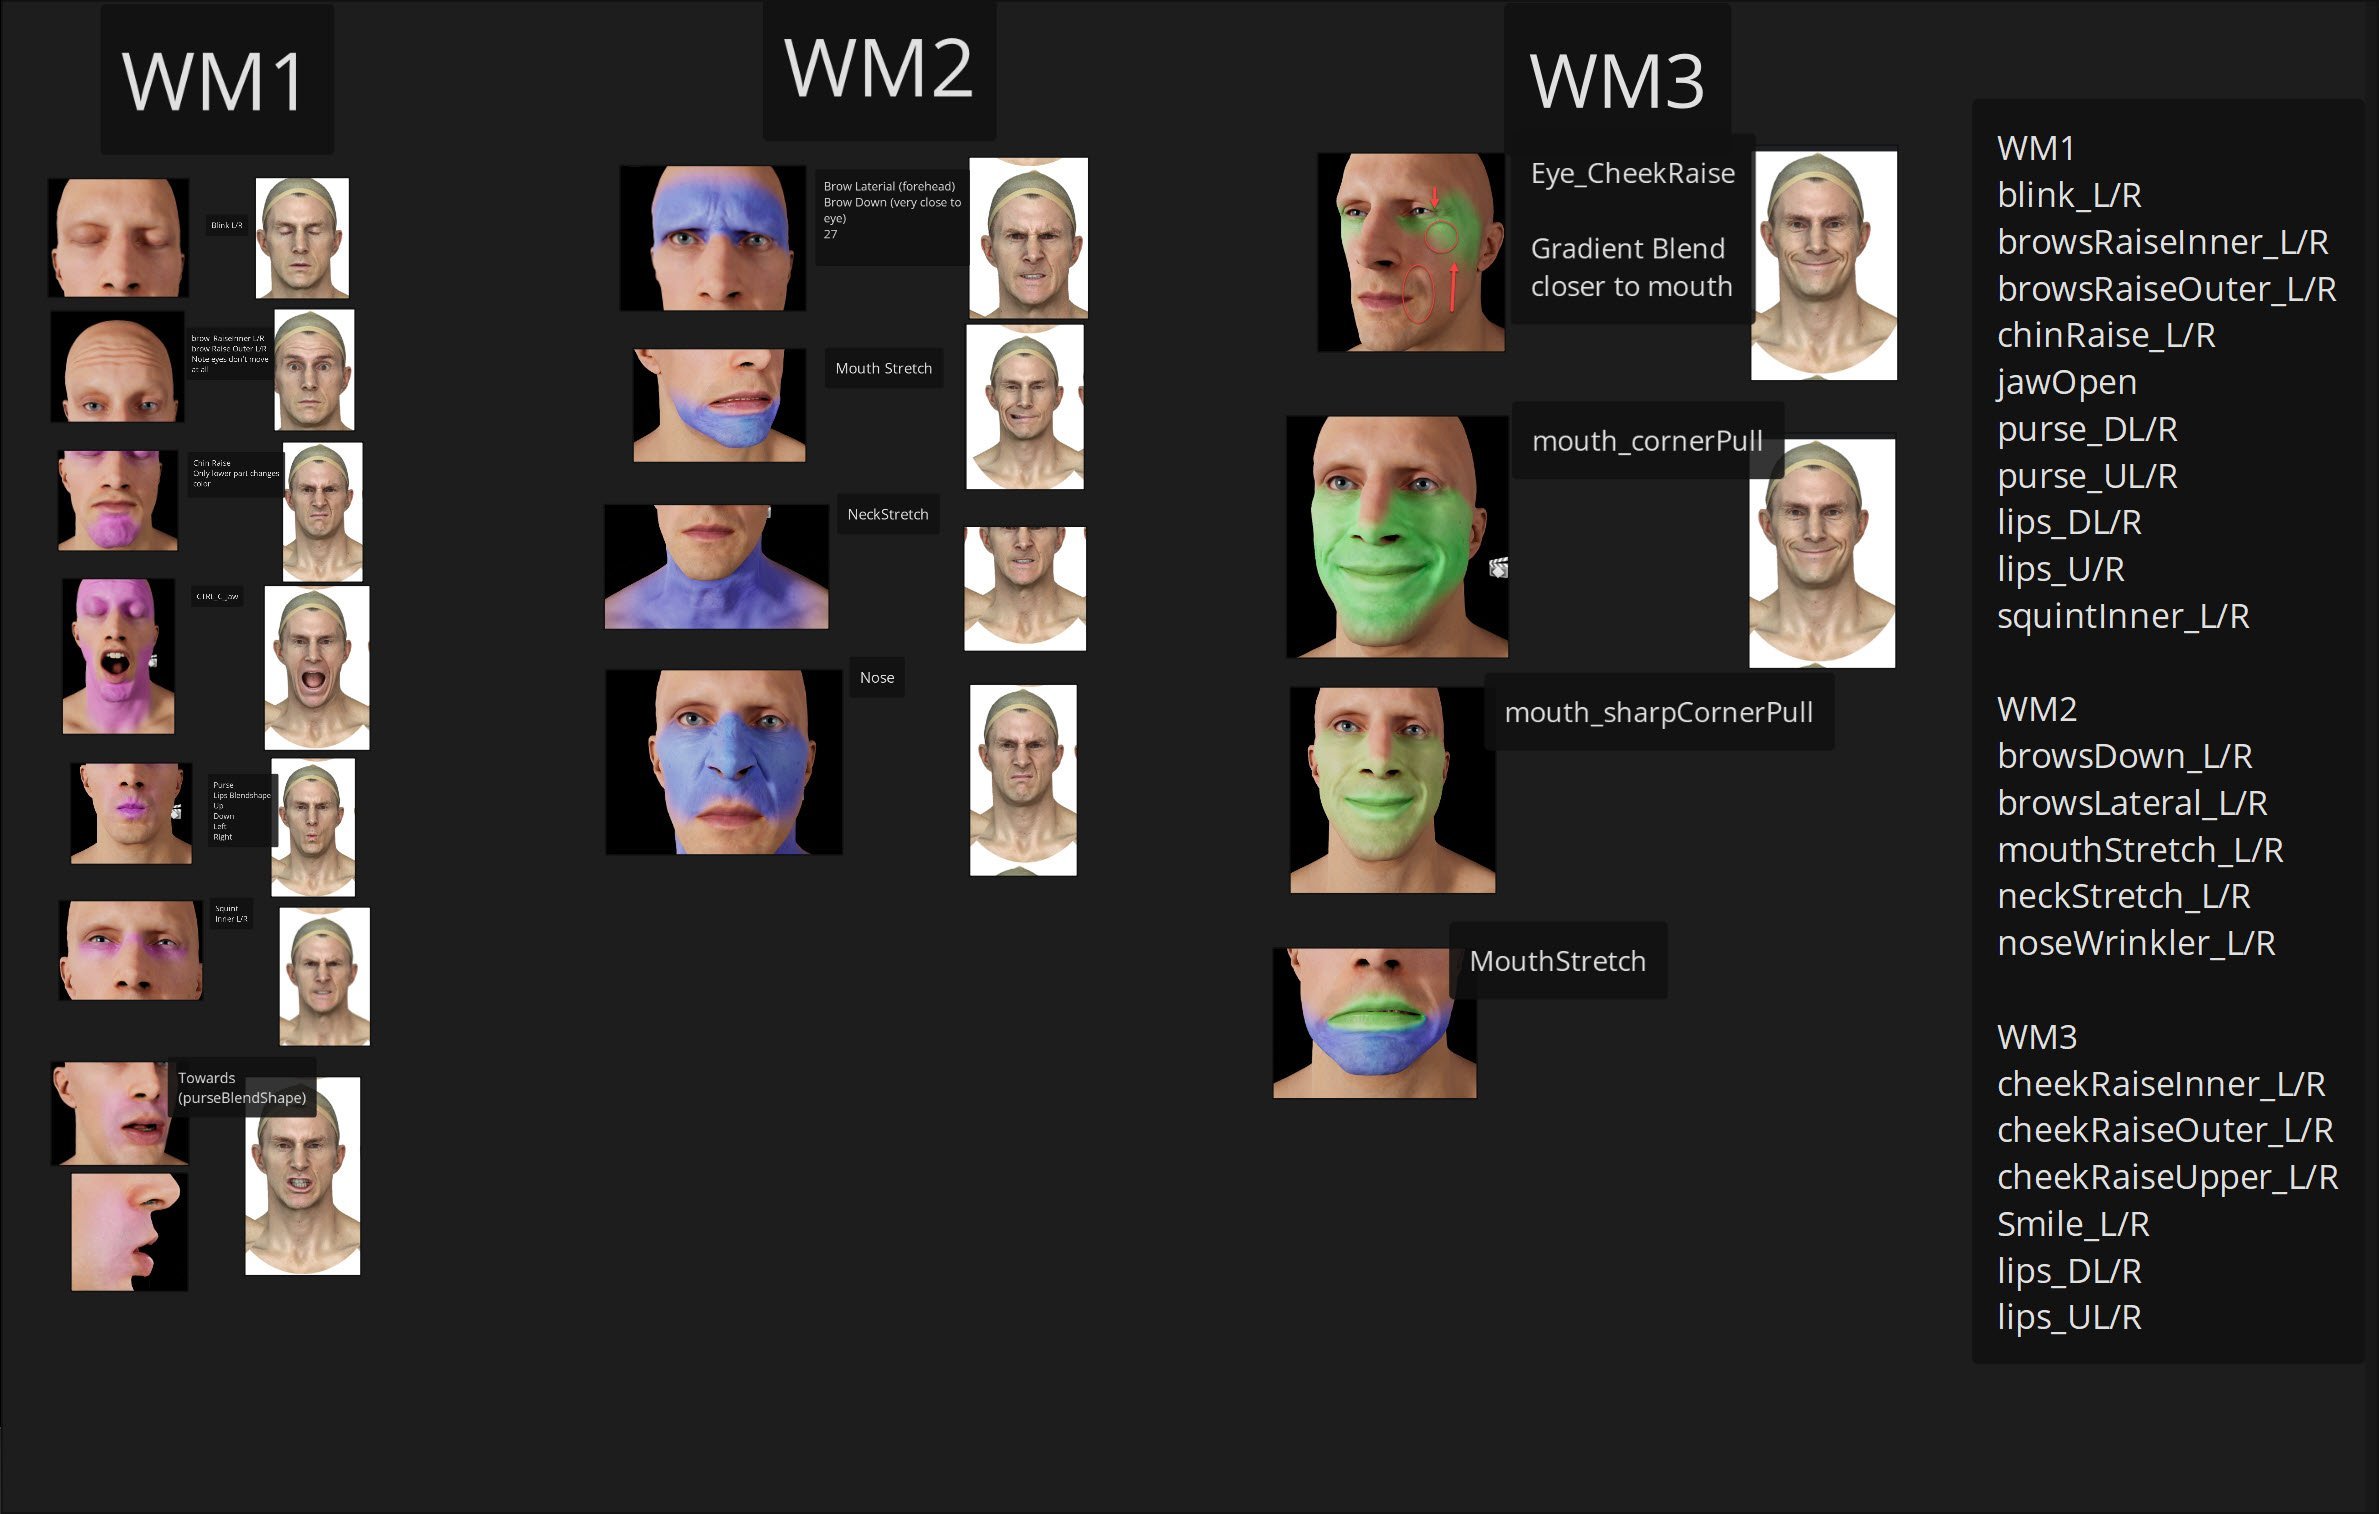
Those scanned expressions were ran through Wrap to create low resolution versions of them.
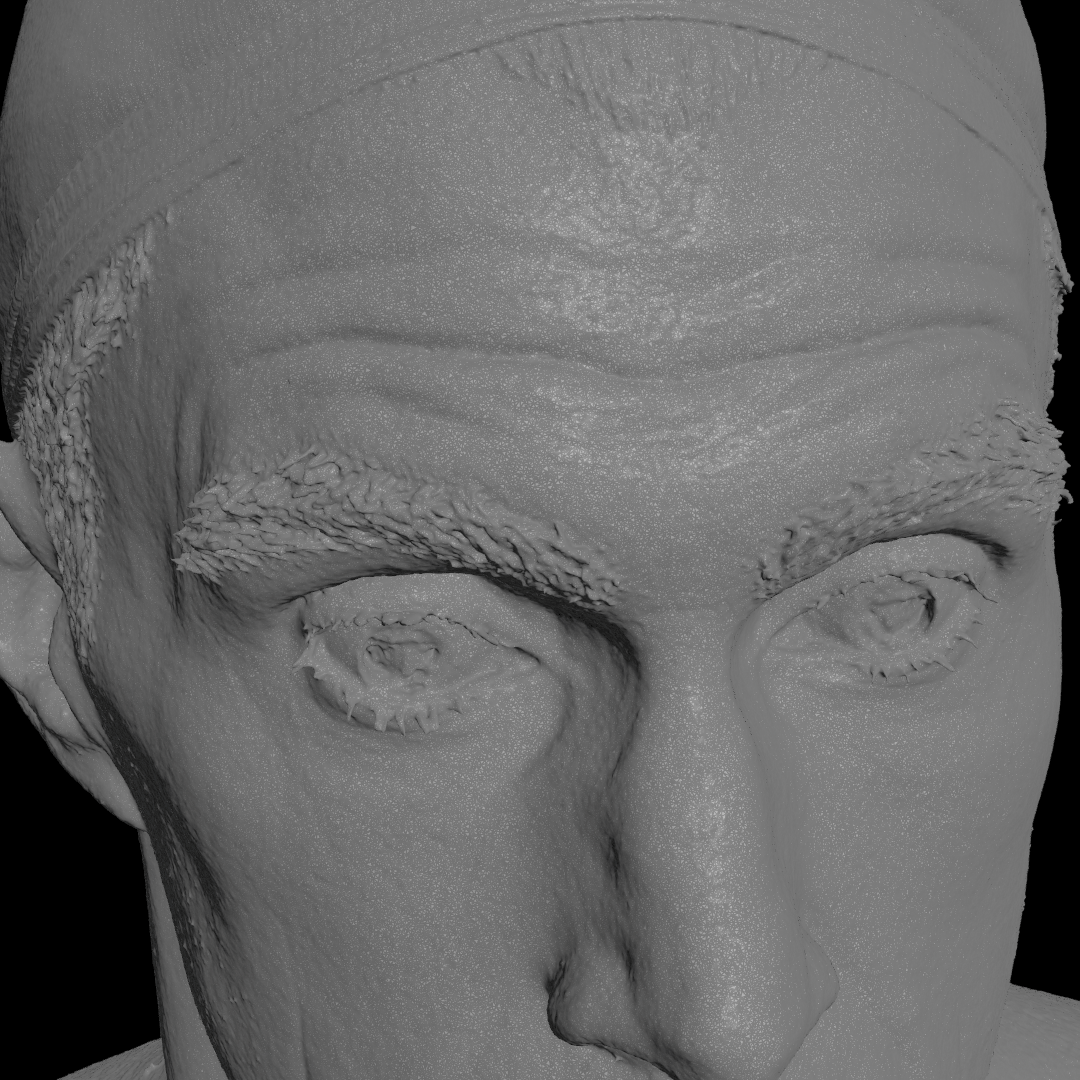
XNormal was used to create normal maps of the difference between the high res and low res geometry.
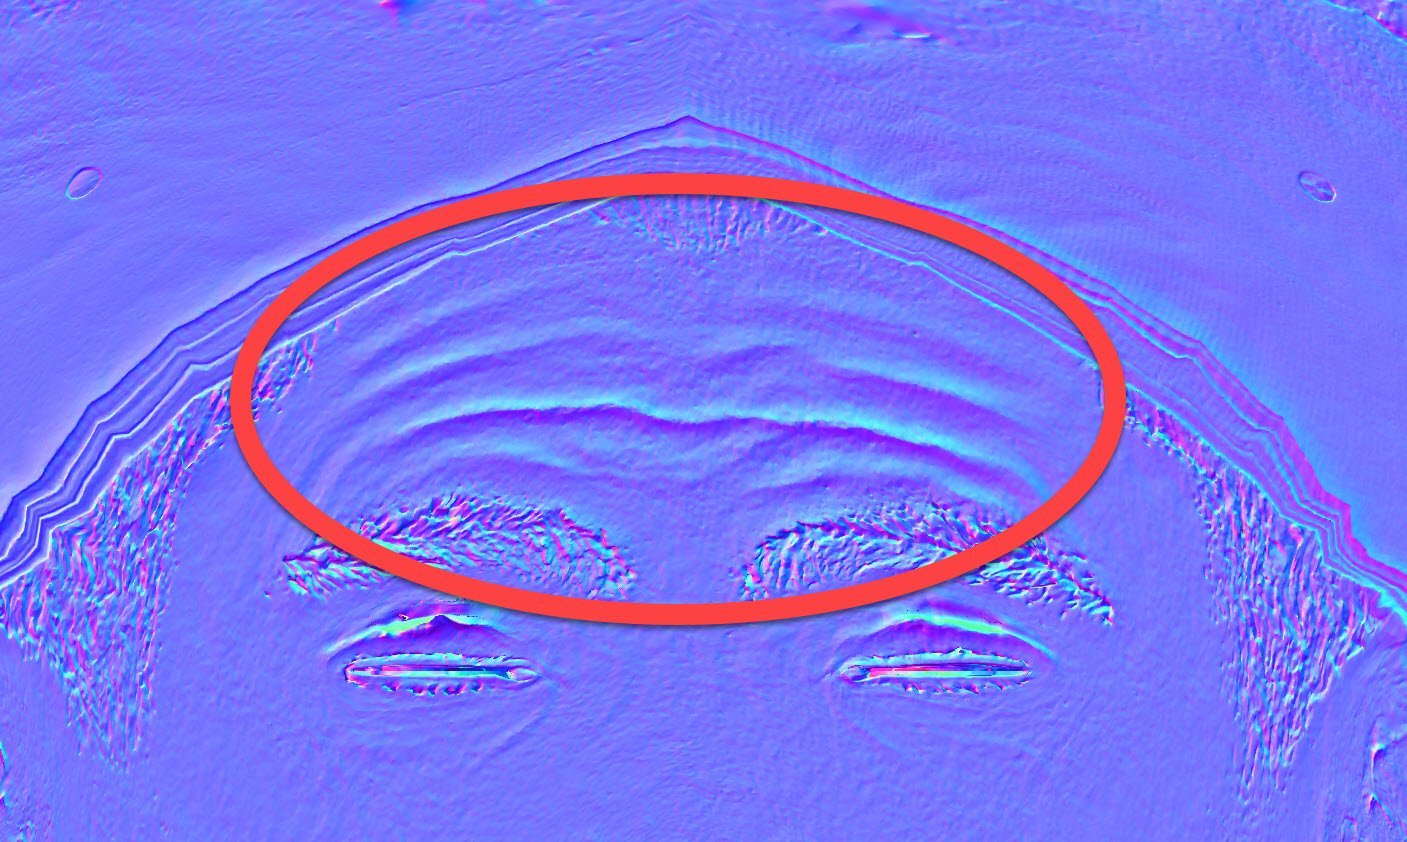
Inside of Nuke, I used the maps from Unreal to blend those textures together, creating Normal and Texture maps for all the expressions. This will give us texture maps from the actual person as well as having wrinkles in exactly the correct position for this person.
I used the masks from the Metahuman material to blend the different expressions together to create the proper color and wrinkle maps.
The scan’s don’t have details down to the pore, so I composited in the main wrinkles and used the Metahuman’s normal maps to add back in the very subtle, fine detail of the skin.
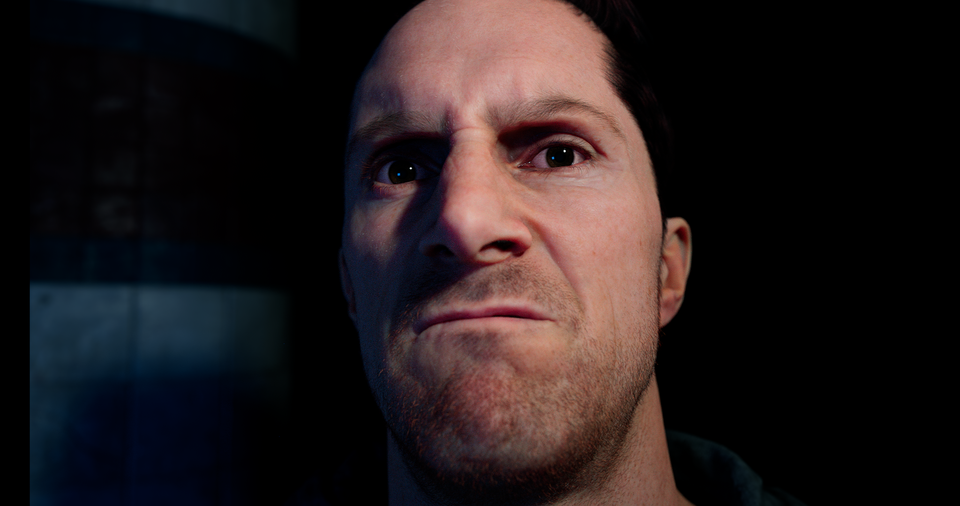
A similar process was done for the color maps. A nice bonus is that the color maps contain the blood flow detail as well (just the natural color shifts as the face changes expression).
Step 3
Expressions
This was the hardest step, since there’s there’s so much you can get wrong. But Mesh Morpher has the ability to move the skeletal bones per expression, so I wanted to give it a try.
The issue is that when you hit an expression, the multiple facial deformations can overlap and have a multiplicative effect. Epic had some good examples in their white paper.
I added in my own ‘cheekpull’ and ‘openJaw’ expressions, but it resulted in some bizarre mouth shapes. Notice how mangled the lower mouth looks.

I ended up not adding any expressions to the lips, but the ones I added above the lips (nose wrinkle, eye squints, brow lowering, etc) seemed to work fine.
Just to be clear, I could add a unique shape to the ‘jaw Open’ controls. On it’s own, it looked fine, just like the scan. But if the jaw was open and the cheek pulls were active in extreme amounts, the lips got real weird, really fast.
In the end, I was pretty happy with what I came up with, but there’s still a ways to go. But compared to what Mesh to Metahuman gave me (on the right), I’m relatively happy with what I was able to do.